Share

Set Up & Maintenance

How To Re-Waterproof And Repair Snowboard Outerwear

You can either love the weather or suffer

With a new gear guide out every year, you’d be forgiven for thinking that here at Whitelines we’re all about just buying stuff.

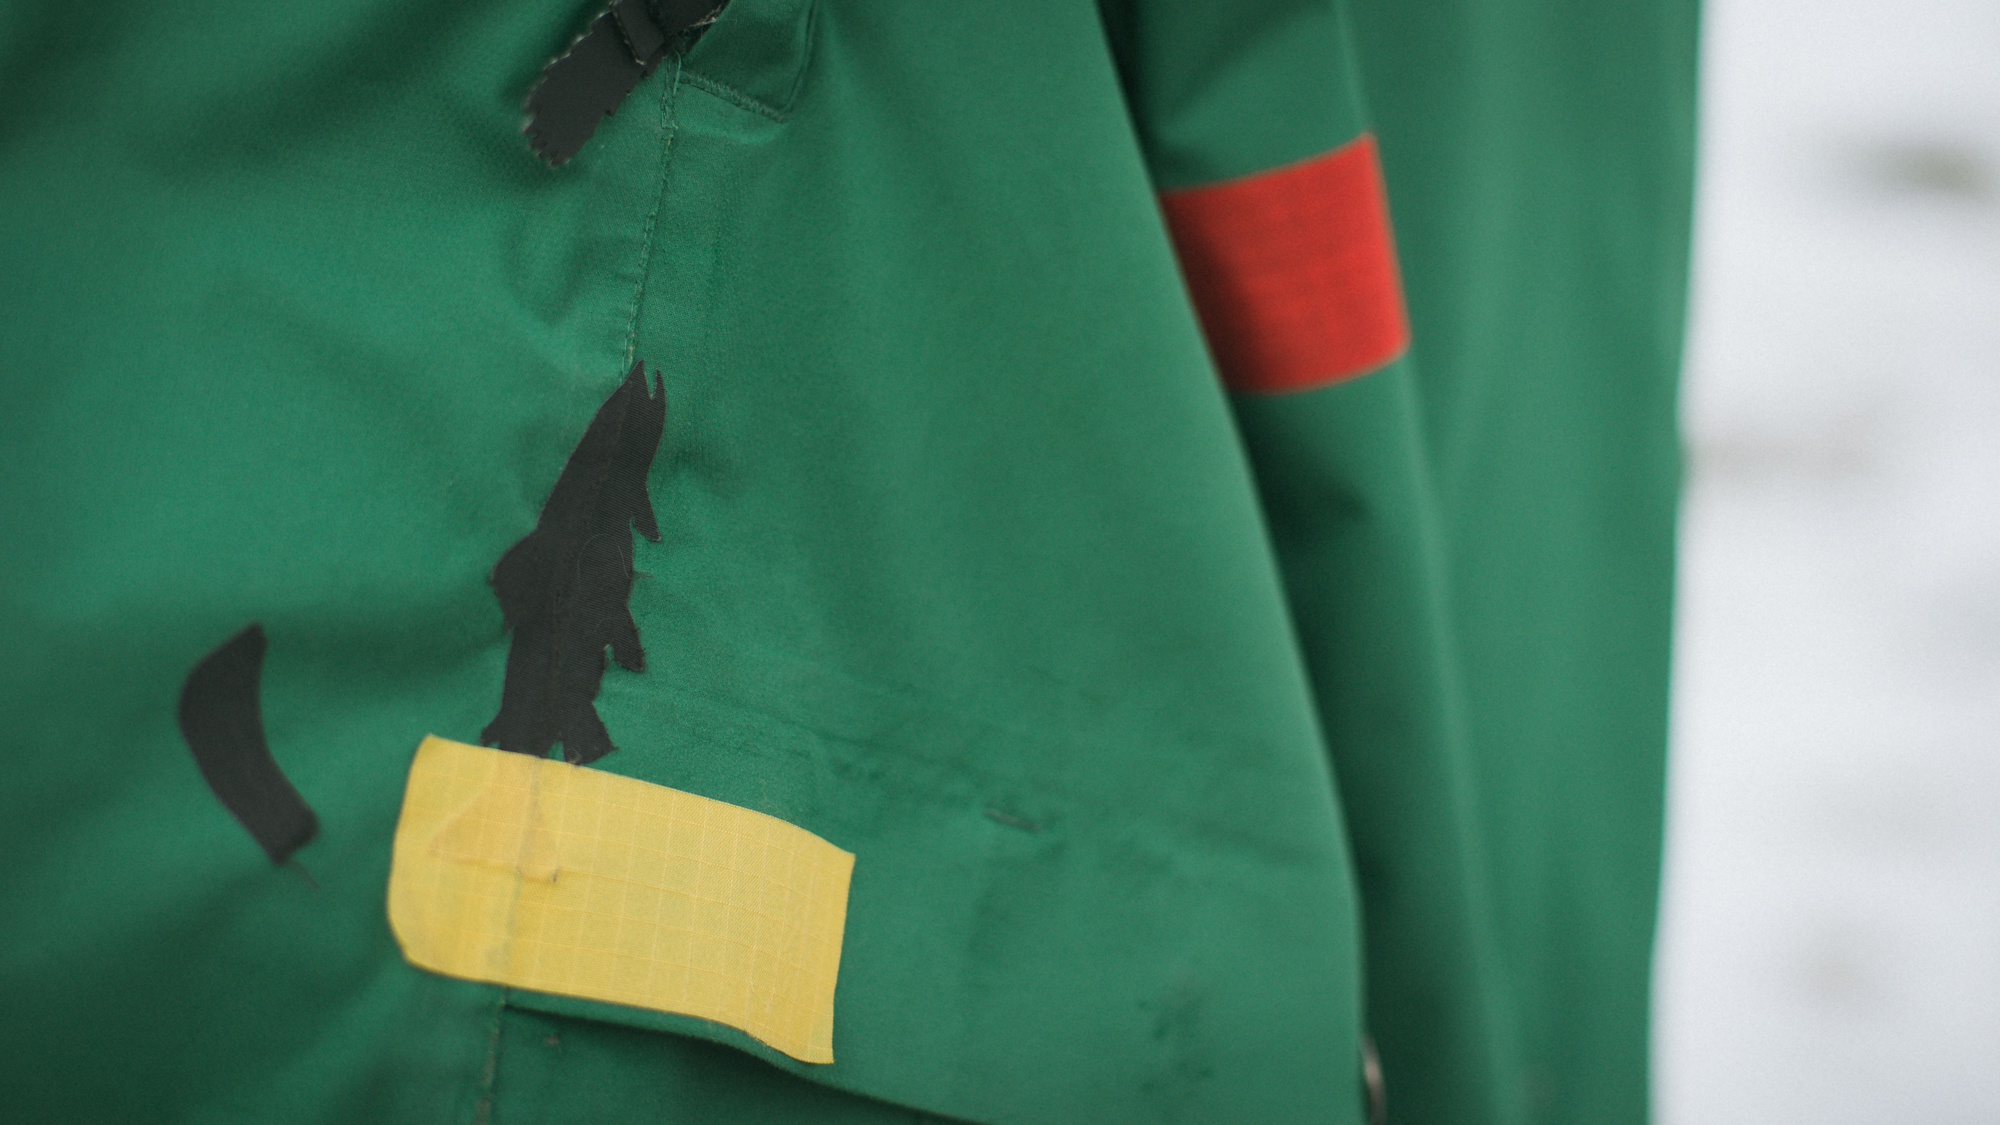
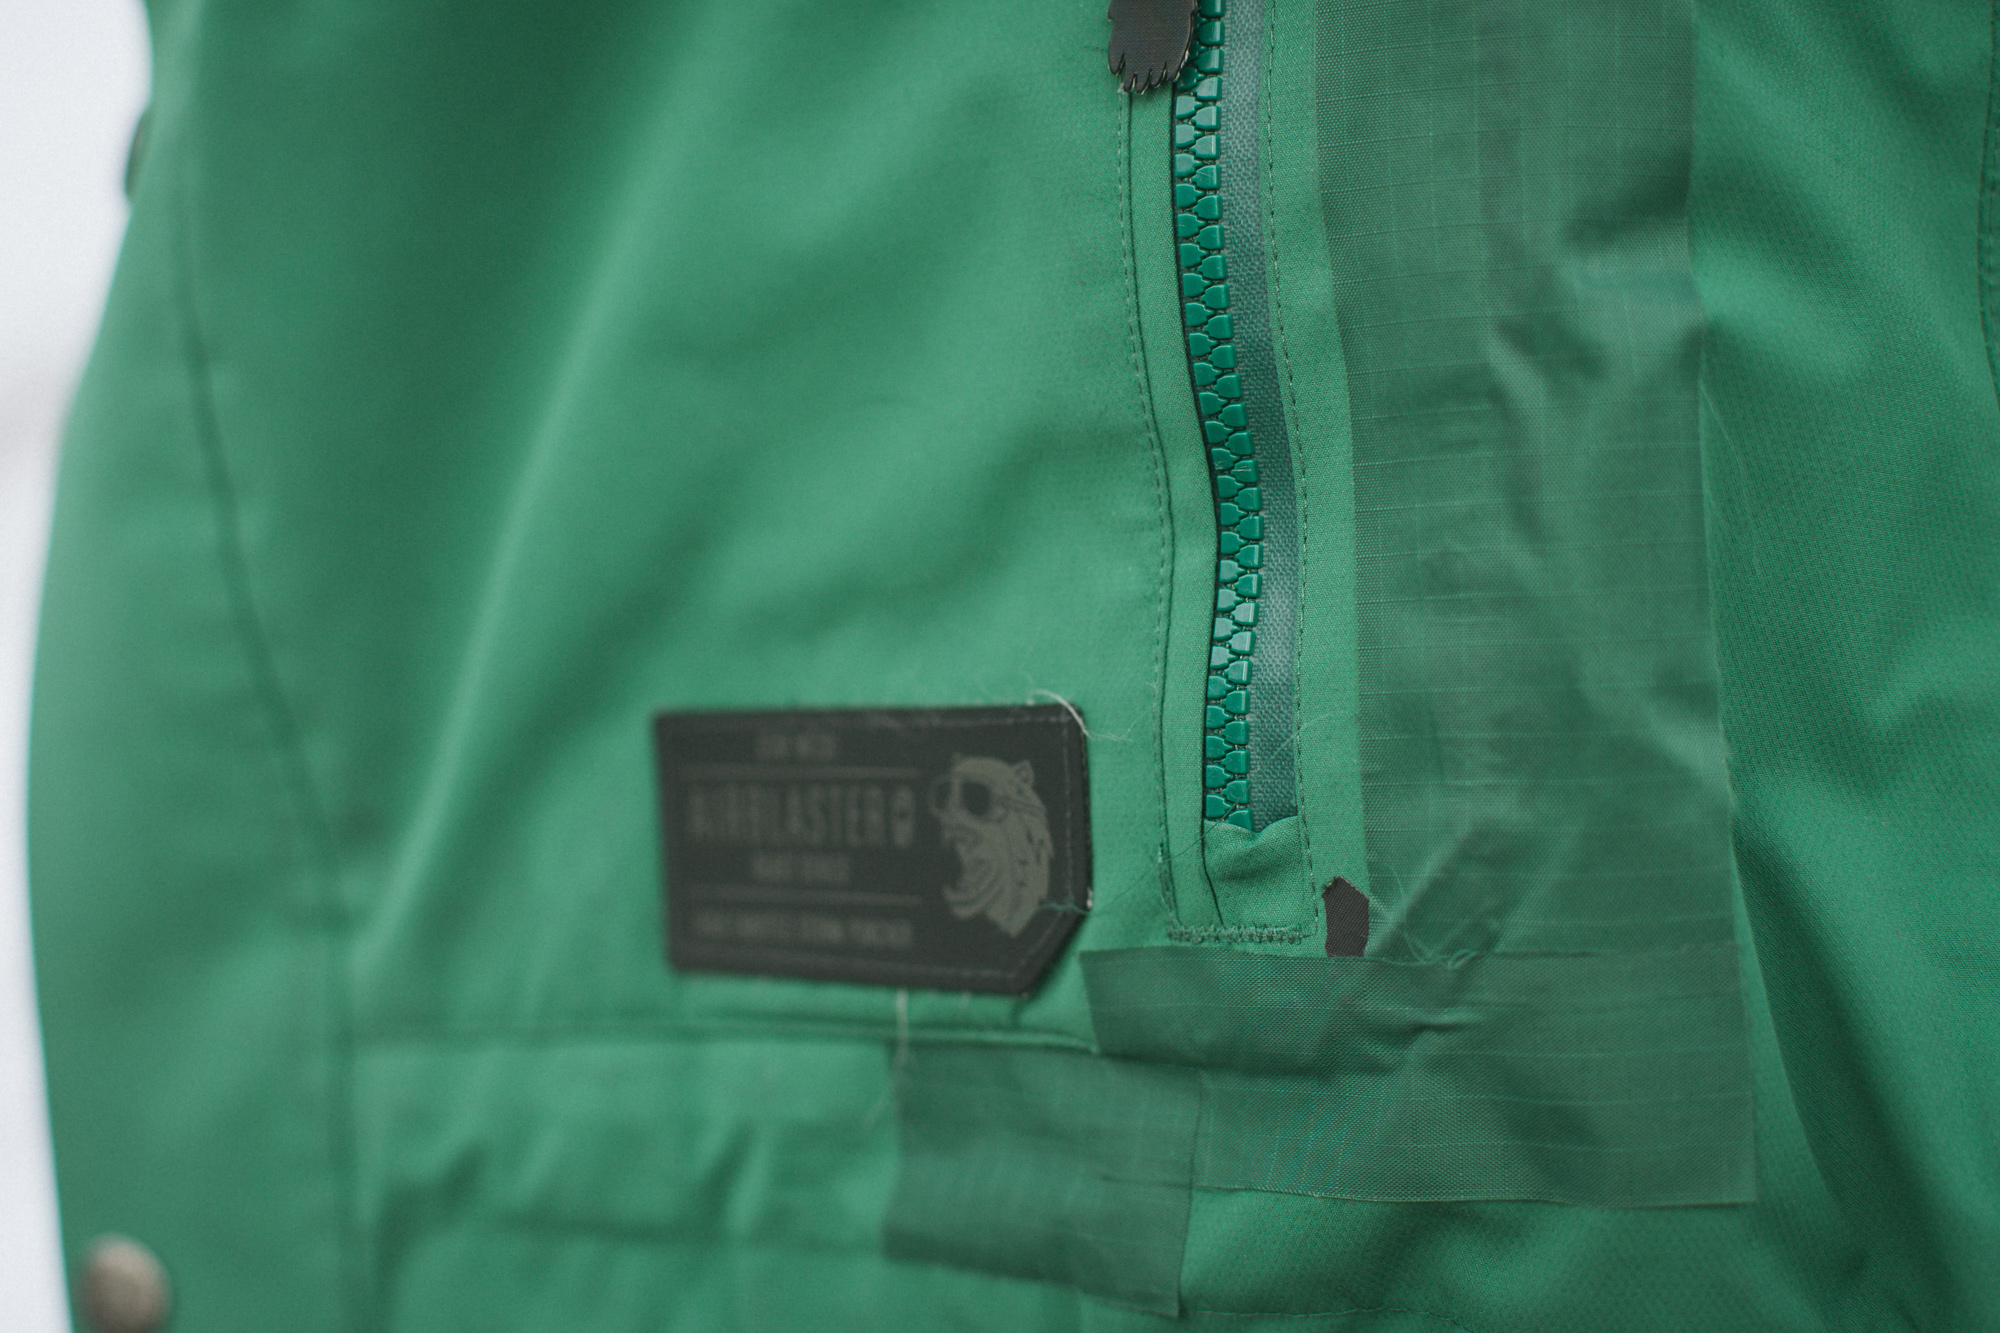
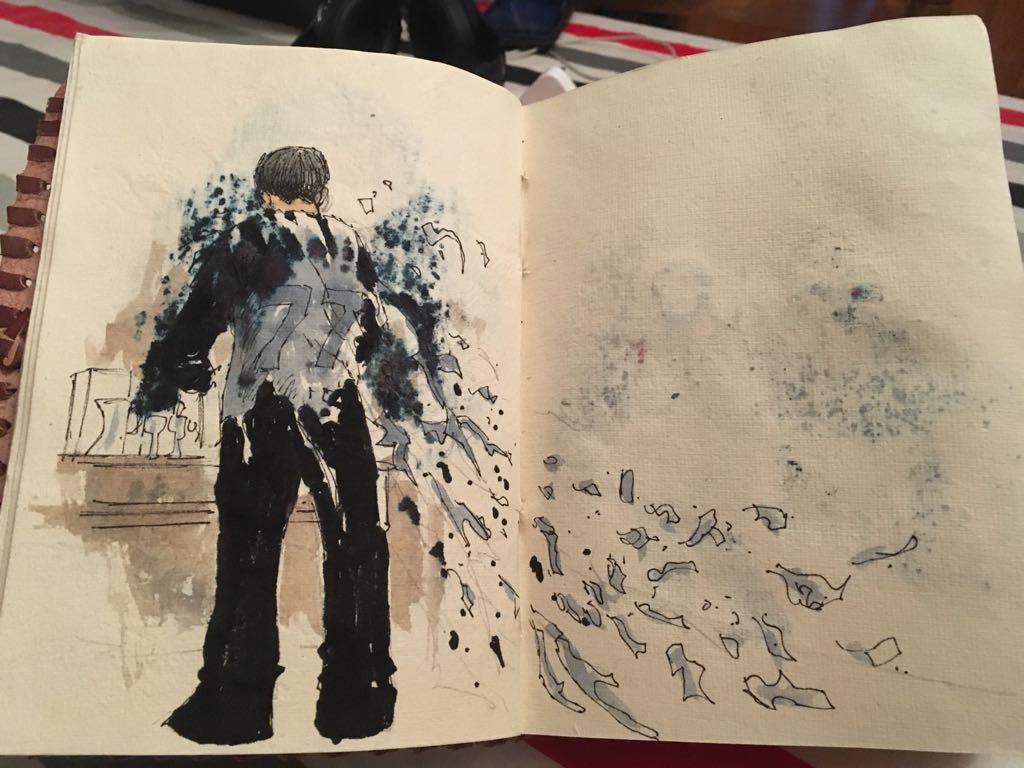
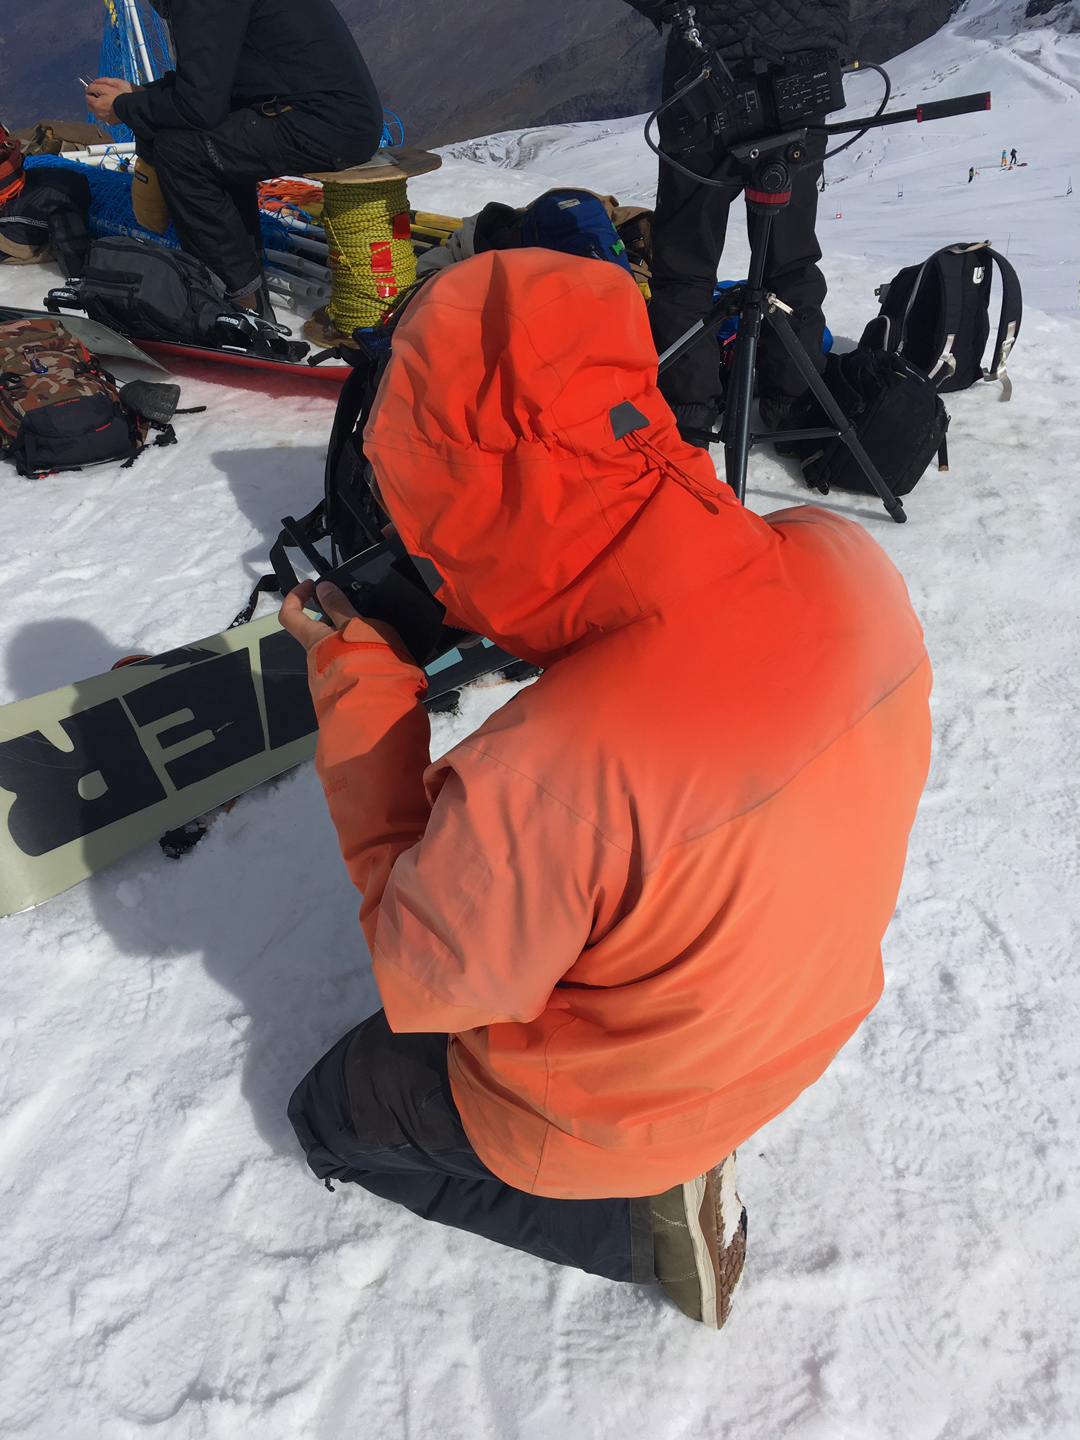
Not so – we’re strong believers in making your kit last for as long as possible and only replacing it if you’re in serious need of an upgrade or if it’s beyond repair. For proof, look no further than our gear editor’s thermal, purchased in 1999, or our dear leader’s legendary faded orange shell.

“Brands like Patagonia are promoting keeping old outerwear going over buying new clothes every season”

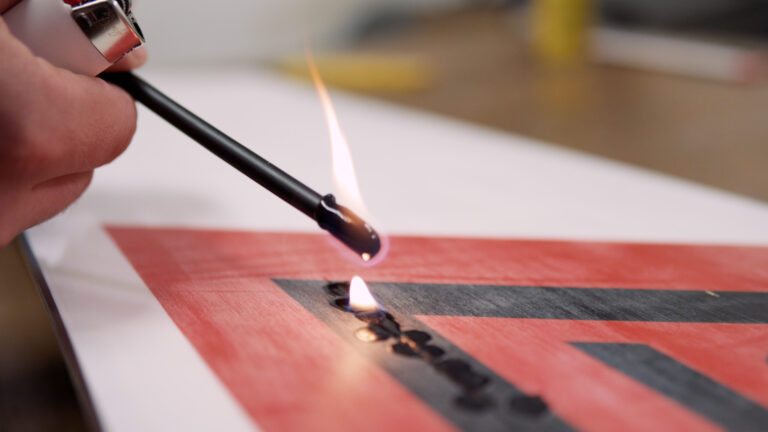
We’re not the only ones though – one great thing about the hipster trend is a surge in interest in moving away from being such a disposable society, and brands like Patagonia are promoting keeping old outerwear going over buying new clothes every season. If you can make it along to one of their Worn Wear events they’ll patch up your gear for you, even if it’s not their brand’s to begin with.

But why wait around for someone else to do it for you? Take matters into your own hands, get stitchin’ and make your gear bitchin’ once again!

Re-Waterproofing

Even the techiest fabrics will eventually lose the ability to repel water in quite the same way as when they were brand new, but rather than binning them as soon as they start to wet-out there’s actually a lot you can do to save them.

If your jacket or pants are half decent to start with, only the outer layer should take on water, with the other membranes still keeping your core dry. This means that the ‘durable water repellent’ (DWR) treatment has worn off, but with a good wash and re-repellent treatment, you should be able to restore some of its former glory.

Left: Snowboard pants wetting out
Right: After re-repellent treatment

We’ve tried a few and have found that Granger’s 2in1 Wash + Repel has worked best for us, but there’s little difference between most brands. What’s important is that you always follow the instructions given on the bottle to make the most of it.

Firstly, make sure that the outerwear in question is properly clean. The chemicals you want to adhere to the fabric are unlikely to stick around if they’re sitting atop the grunge and gunk worked into a well-used jacket, so take time to pre-wash it or even scrub it before mixing in the repellent.

“Rather than binning old clothes as soon as they start to wet-out there’s actually a lot you can do to save them

Put the recommended amount of solution in the washing machine along with your garment and use the settings as advised, and then make sure you immediately stick it in a tumble dryer on a low heat to dry, as this is what activates the repellent. It’s counter-intuitive, but there’s no point in doing the process if you miss this step. You can also iron it dry on a low heat, but in our opinion life’s too short.

Whilst this should add a lot of repellency back to your old outerwear, it won’t be as effective as the original straight-out-the-factory finish. For this, you’ll need to send it off to somewhere a bit more industriously equipped. In the UK, Lancashire Sports Repairs will re-proof a jacket and pants for £55.

[monetizer101 search=’grangers wash repel’]

Fixing Wear And Tear

Ripping through trees, clambering over rocks and carrying sharp edges around will inevitably result in a few tears and split seams. The old school of thought was to always make sure you had a roll of duct tape in your board bag, but these days you can go one better.

Tenacious Tape is a waterproof tent fabric combined with an aggressive adhesive and can be used for temporary and permanent repairs. Since we at WL were introduced to it this winter we’ve been using it to bring back all manner of old outerwear, even successfully using it to reattach a pocket on one jacket. It’s crazy sticky, pretty cost effective and holds in almost all circumstances, even coming in a variety of colours (including transparent) to match your kit as closely as possible.

A pocket repair using Tenacious Tape

To use, simply make sure the area of material you’re cleaning is clean, dry and free from any loose threads. Cut a patch from the roll to the size needed and peel off the paper back and gently apply before rubbing the surface in a circular motion to ease out any air bubbles.

We’ve found that if you trim any sharp corners down so they’re rounded off then you stand less chance of having it peel away, and for really savage tears you might want to apply the tape on both sides. You can use it immediately, but the glue sets completely after about 24 hours.

[monetizer101 search=’tenacious tape’]

Sewing Stuff

That’s all well and good for shells and down jackets, but if your damaged items are more textile in nature, like a shirt or hoody, you’re going to have to bust out the needle and thread. Admittedly, this is where our ‘expertise’ starts to fade, and these days most ski towns seem to have a few people willing to patch and darn holes for a fair price if you ask around online, but in case you want to give it a go yourself here’s a few tips we’ve ascertained:

Patching is usually better than stitching. It gives the area you’re fixing more room to stretch rather than using up the fabric you have left, an inevitable consequence of stitching.

Choose a fabric that’s similar or stronger than the original, and if you’re patching around any existing seams it’s best to follow the original lines to stop anything bunching up weirdly.

Buying new gear isn’t a patch on keeping your old stuff going

If you’re sewing by hand rather than with a machine, patience is key. Grab a beer or two and be prepared to spend some time on it.

If you’re re-attaching something like a belt loop, you can never use too much thread to keep it in place!

Fixing your outerwear not only saves you a bit of cash and stops a few plasticated items finding their way into landfills, in our opinion it also looks pretty rad. Whilst fresh gear always has that certain something, there’s nothing like a faithful old outfit to make you feel at home on the mountain, and if you’ve got a good story about why you had to reattach that entire sleeve some good visible stitching makes a great excuse to air it at the bar.

If you’ve got some good repairs going, please let us know about them and send a few photos to [email protected].

Newsletter Terms & Conditions

Please enter your email so we can keep you updated with news, features and the latest offers. If you are not interested you can unsubscribe at any time. We will never sell your data and you'll only get messages from us and our partners whose products and services we think you'll enjoy.

Read our full Privacy Policy as well as Terms & Conditions.

production