Share

Set Up & Maintenance

How To Make A Snowboard

Watch how a snowboard is made in the factory

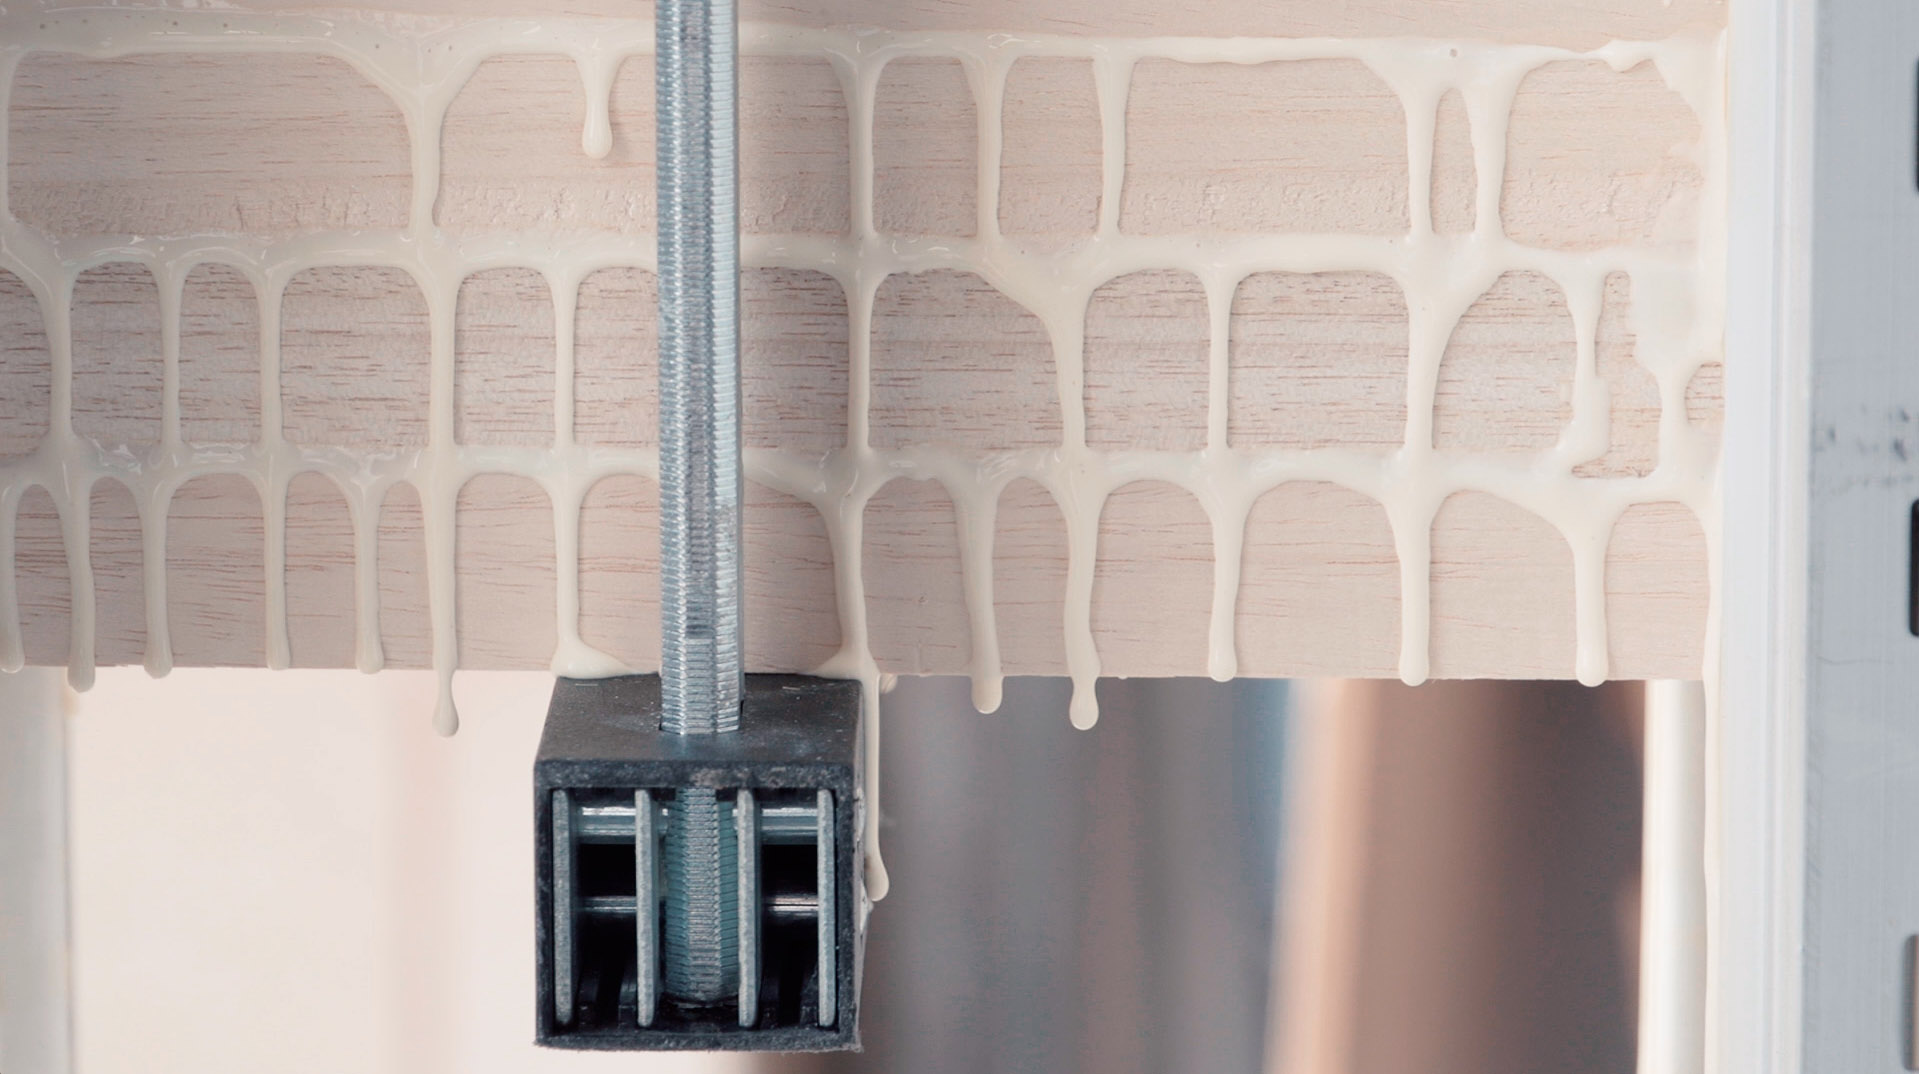
Whilst it’s unlikely that you’ll ever get the chance to make a snowboard yourself, it’s fun to find out exactly what’s inside a board and how they get put together. If nothing else, it helps to make sense of some of the jargon that snowboard companies like to wrap their products in!

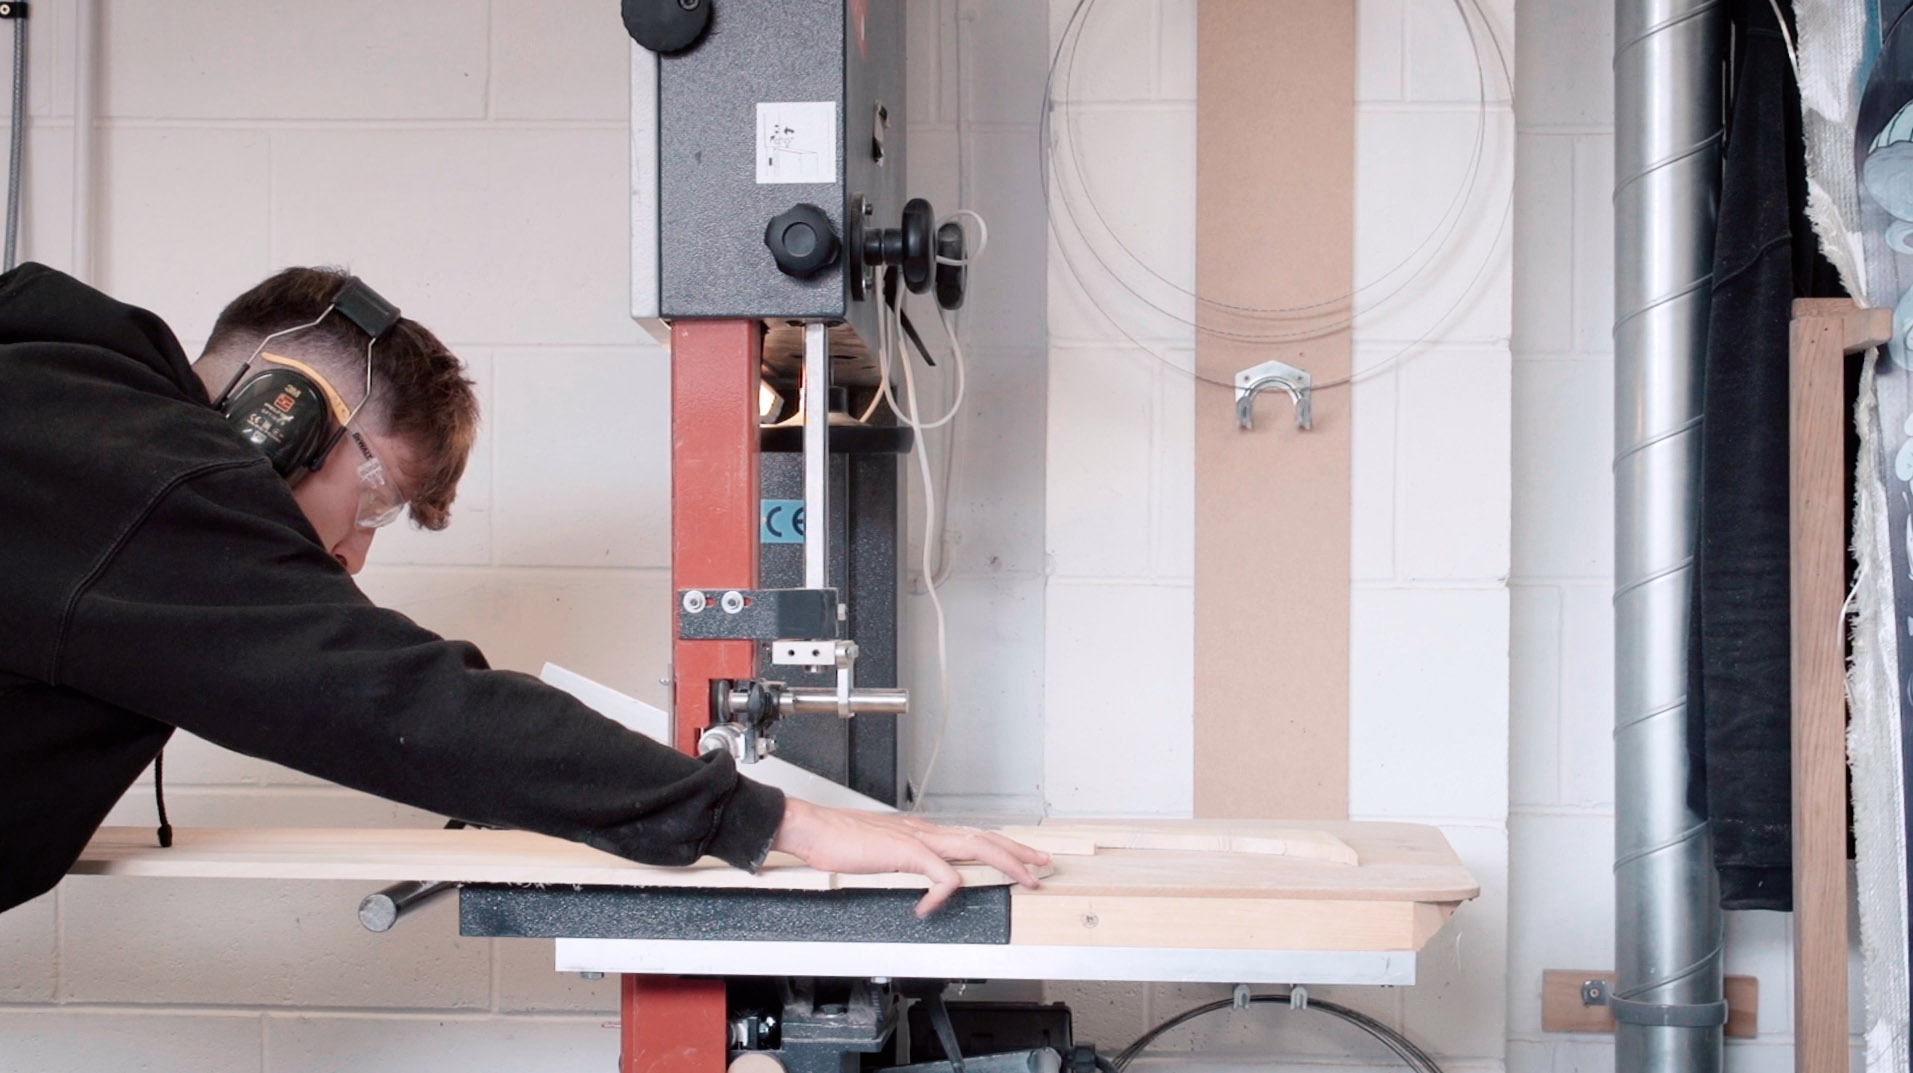
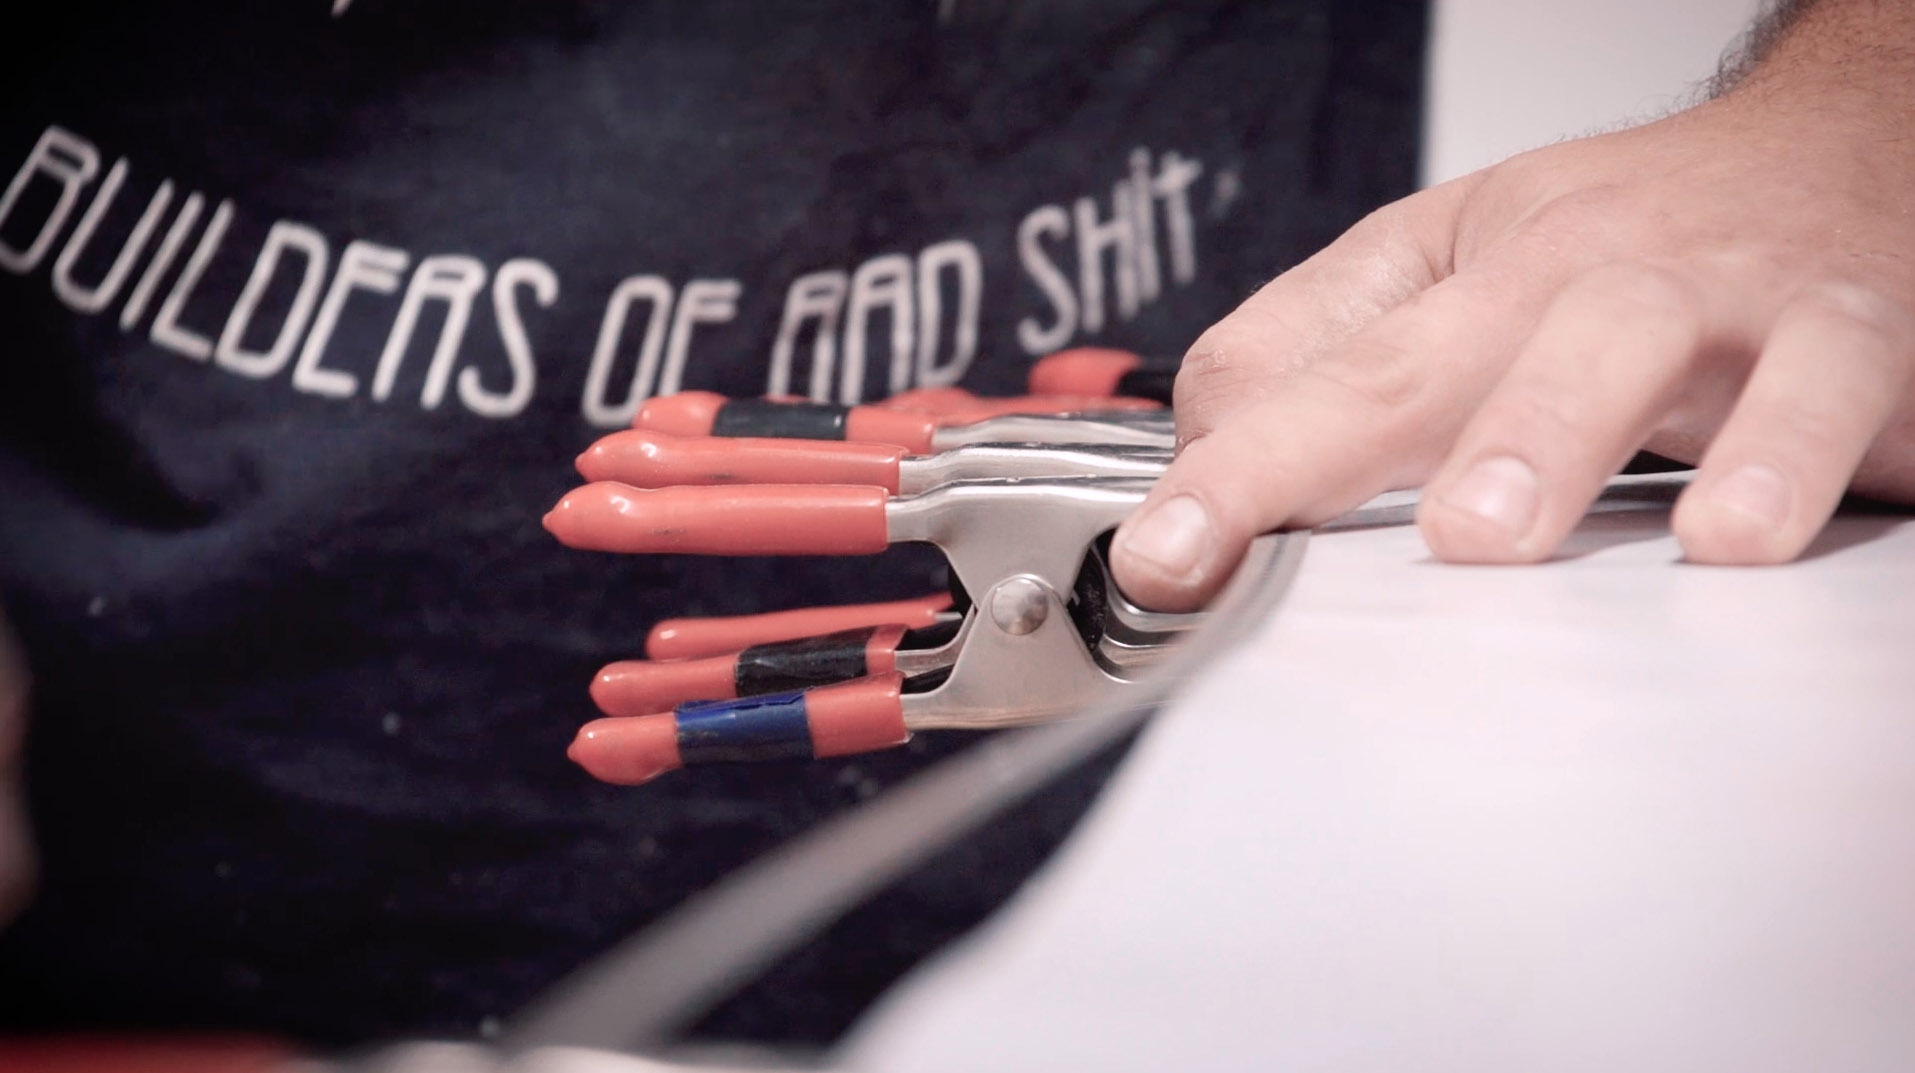
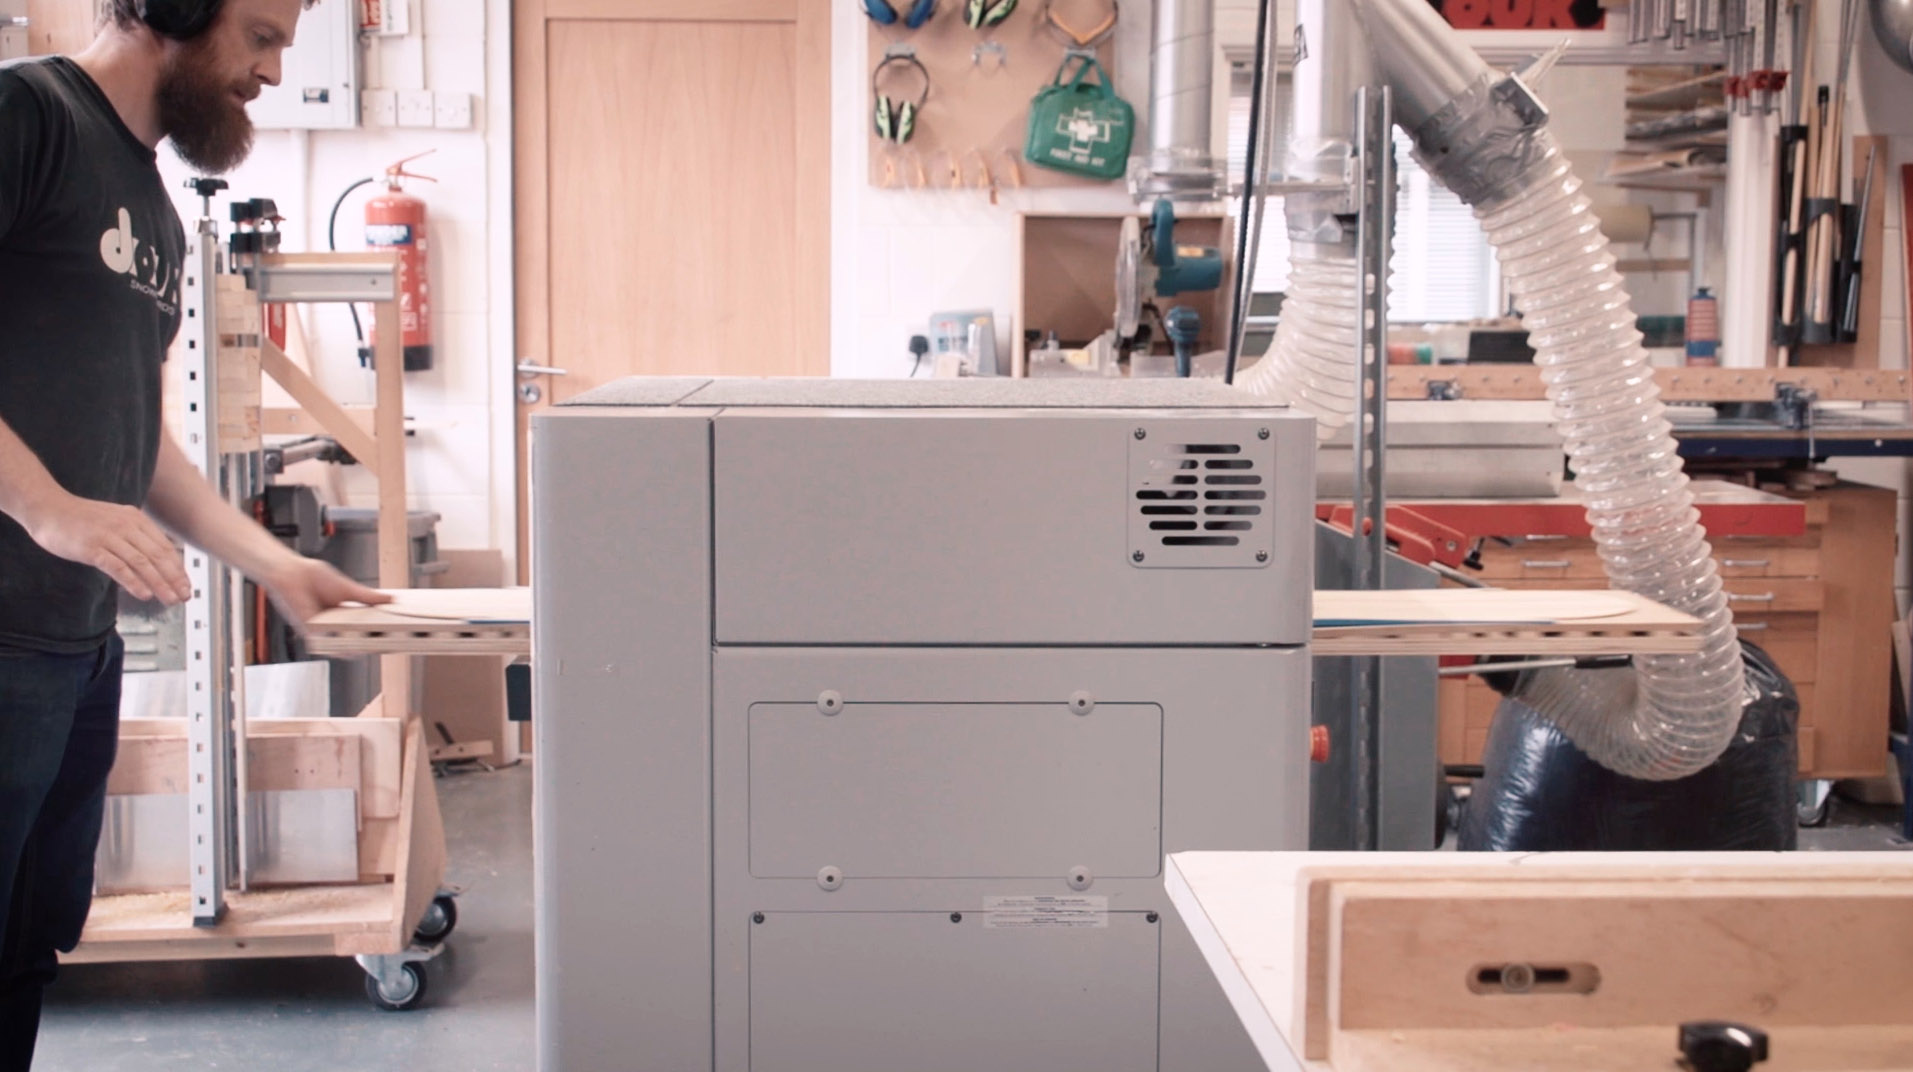
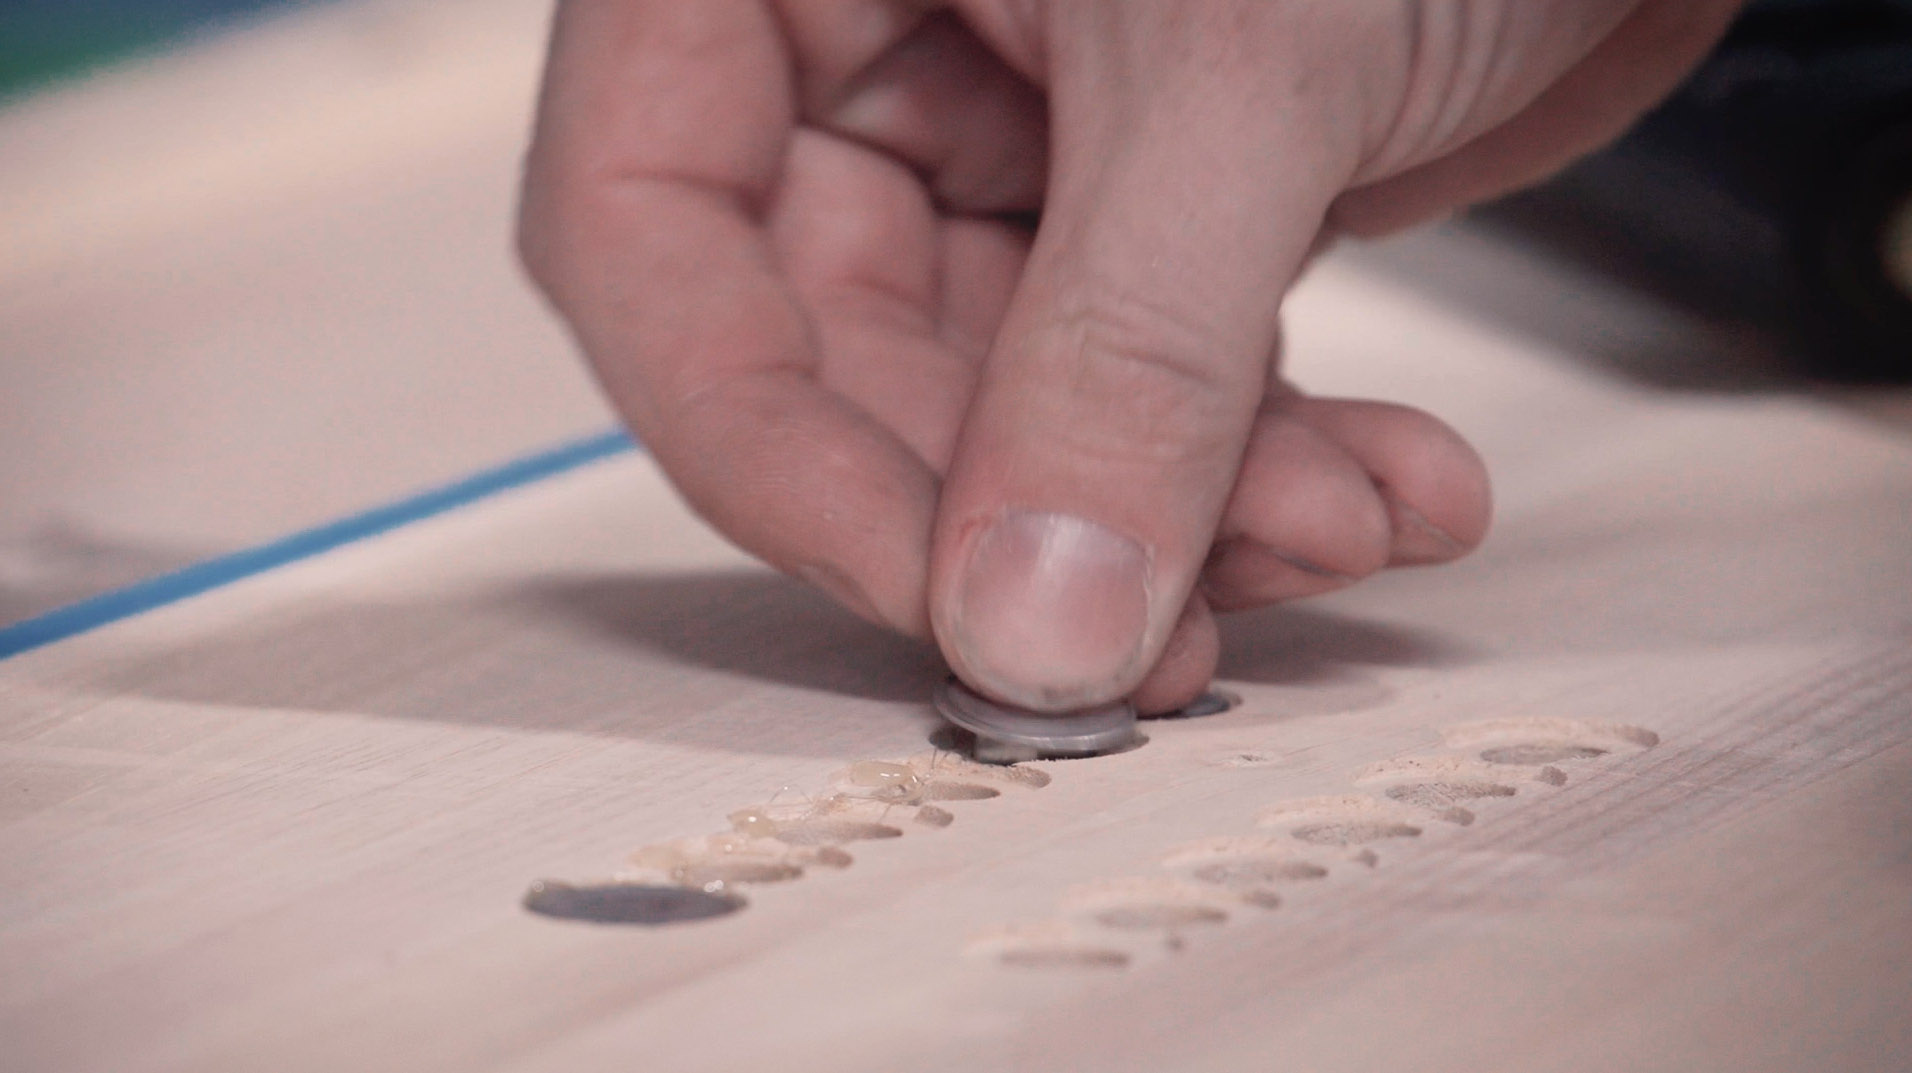
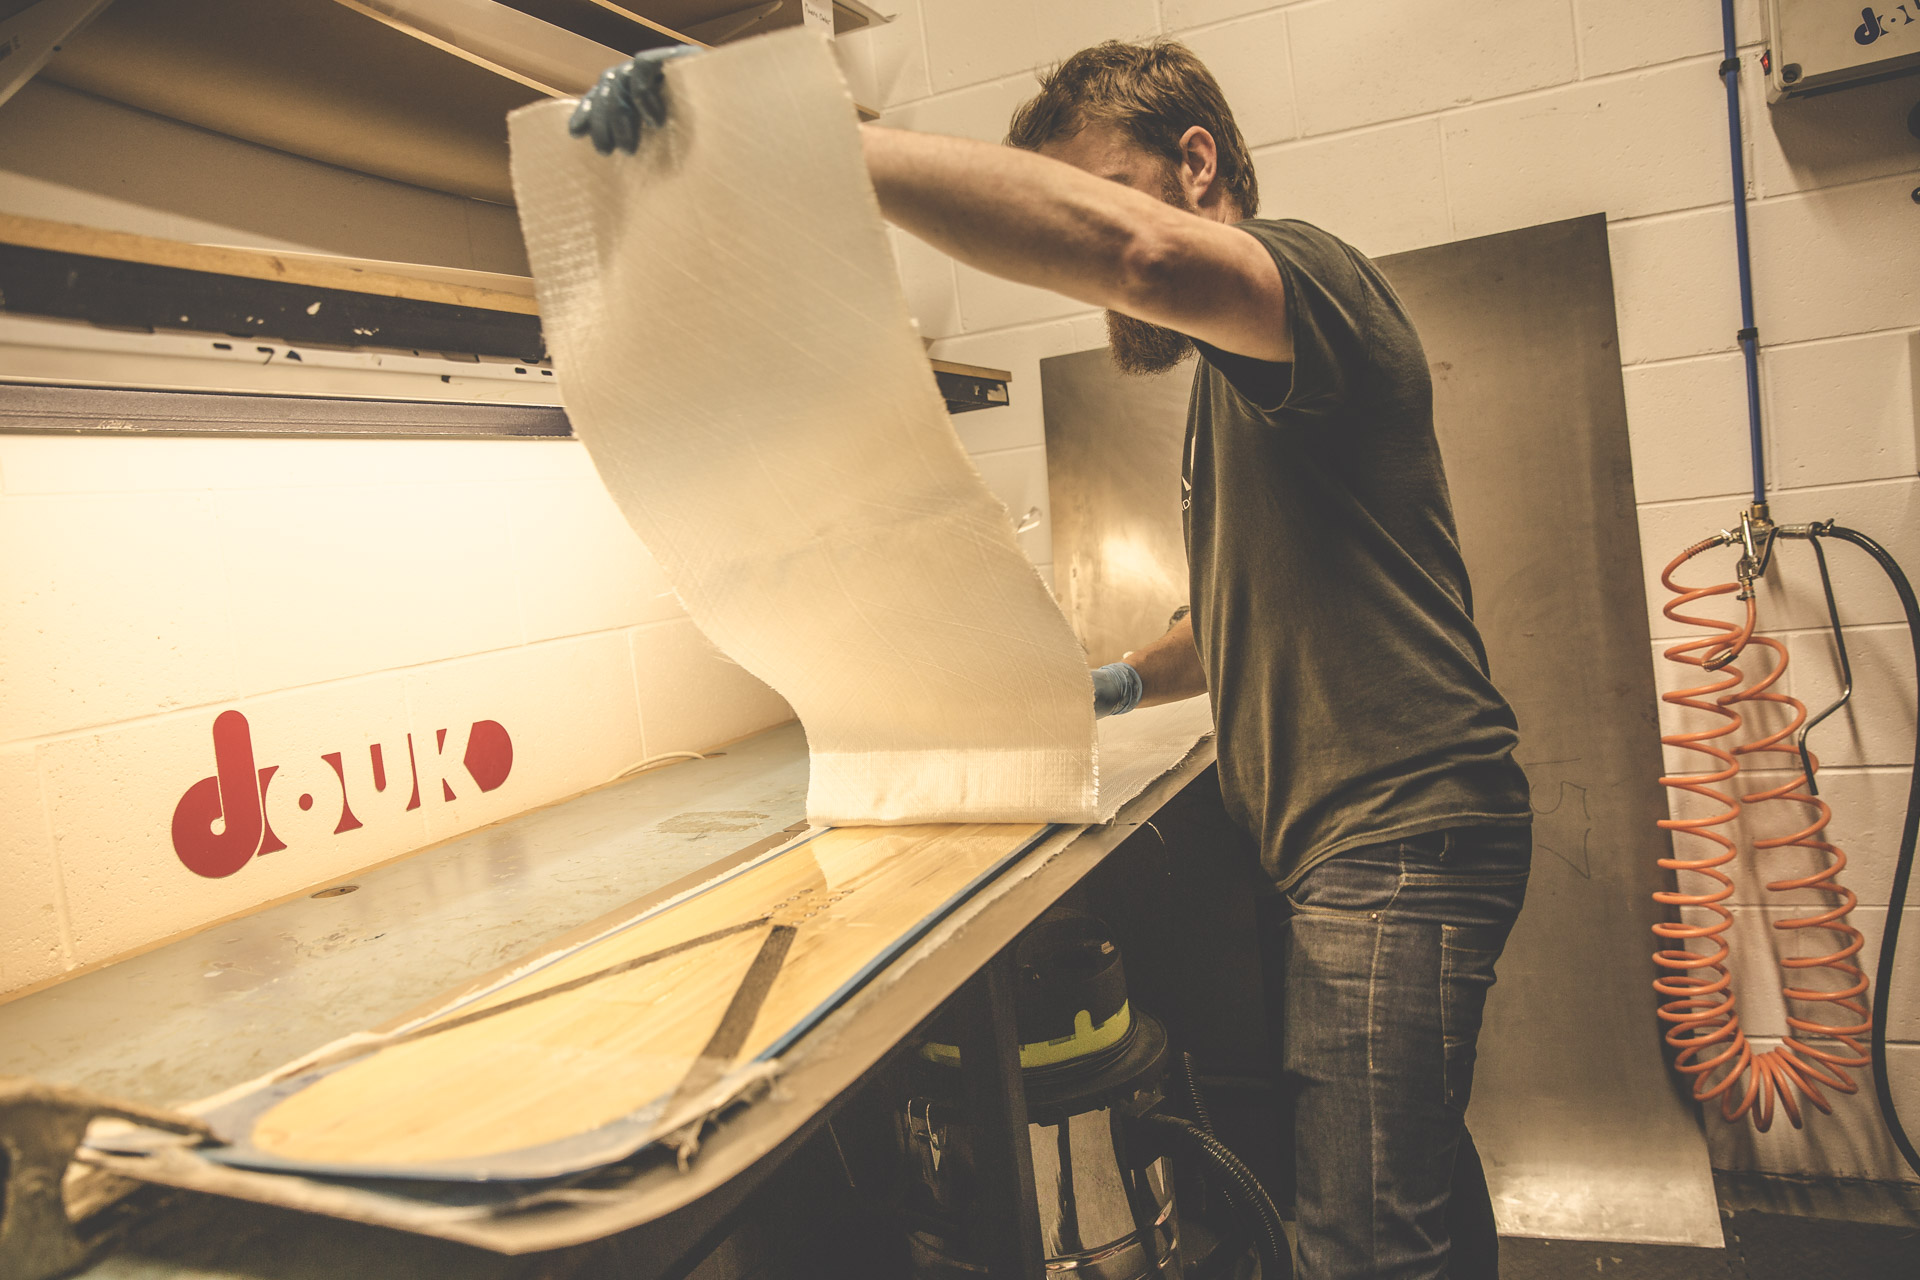
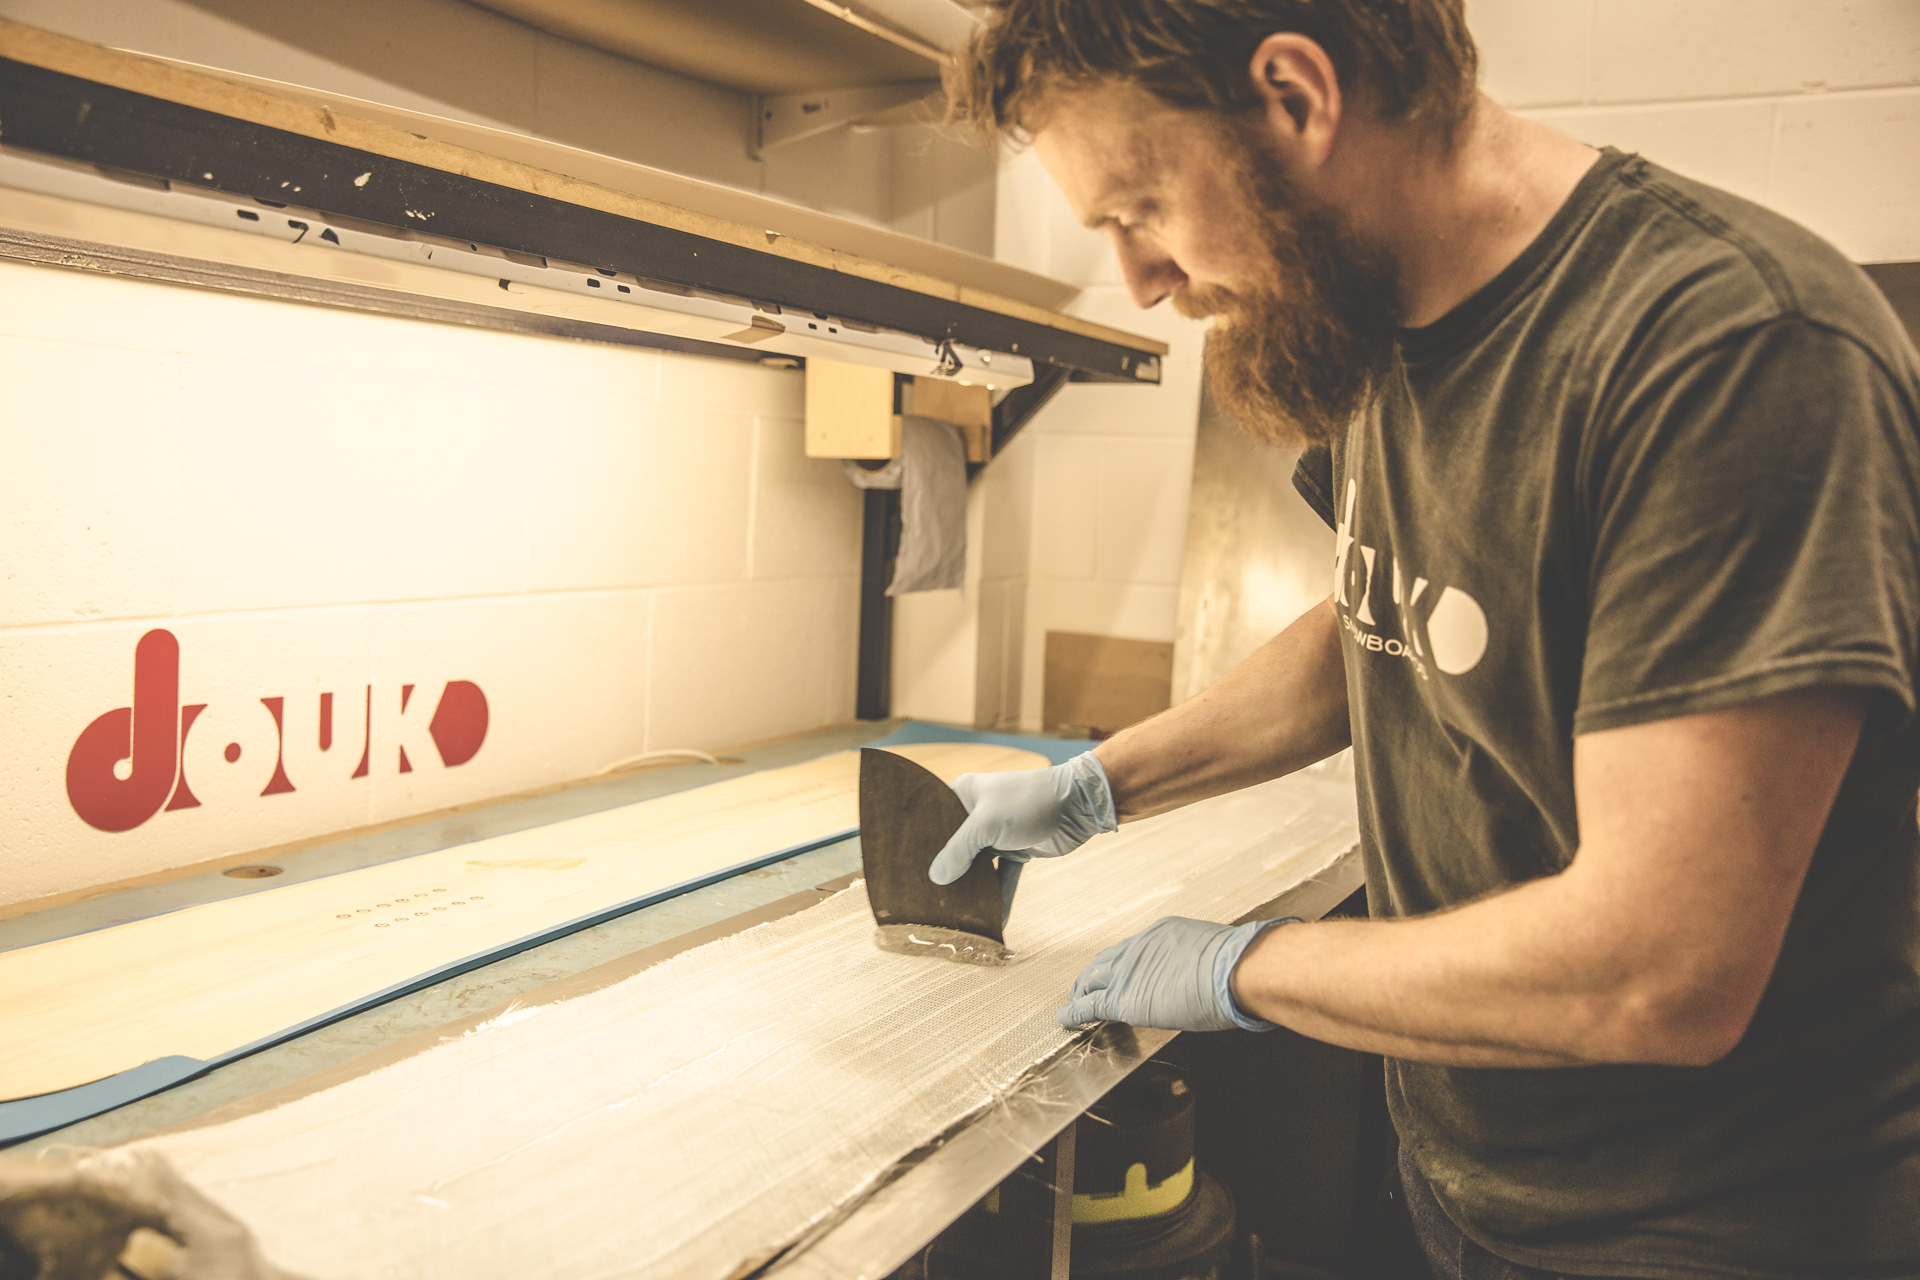
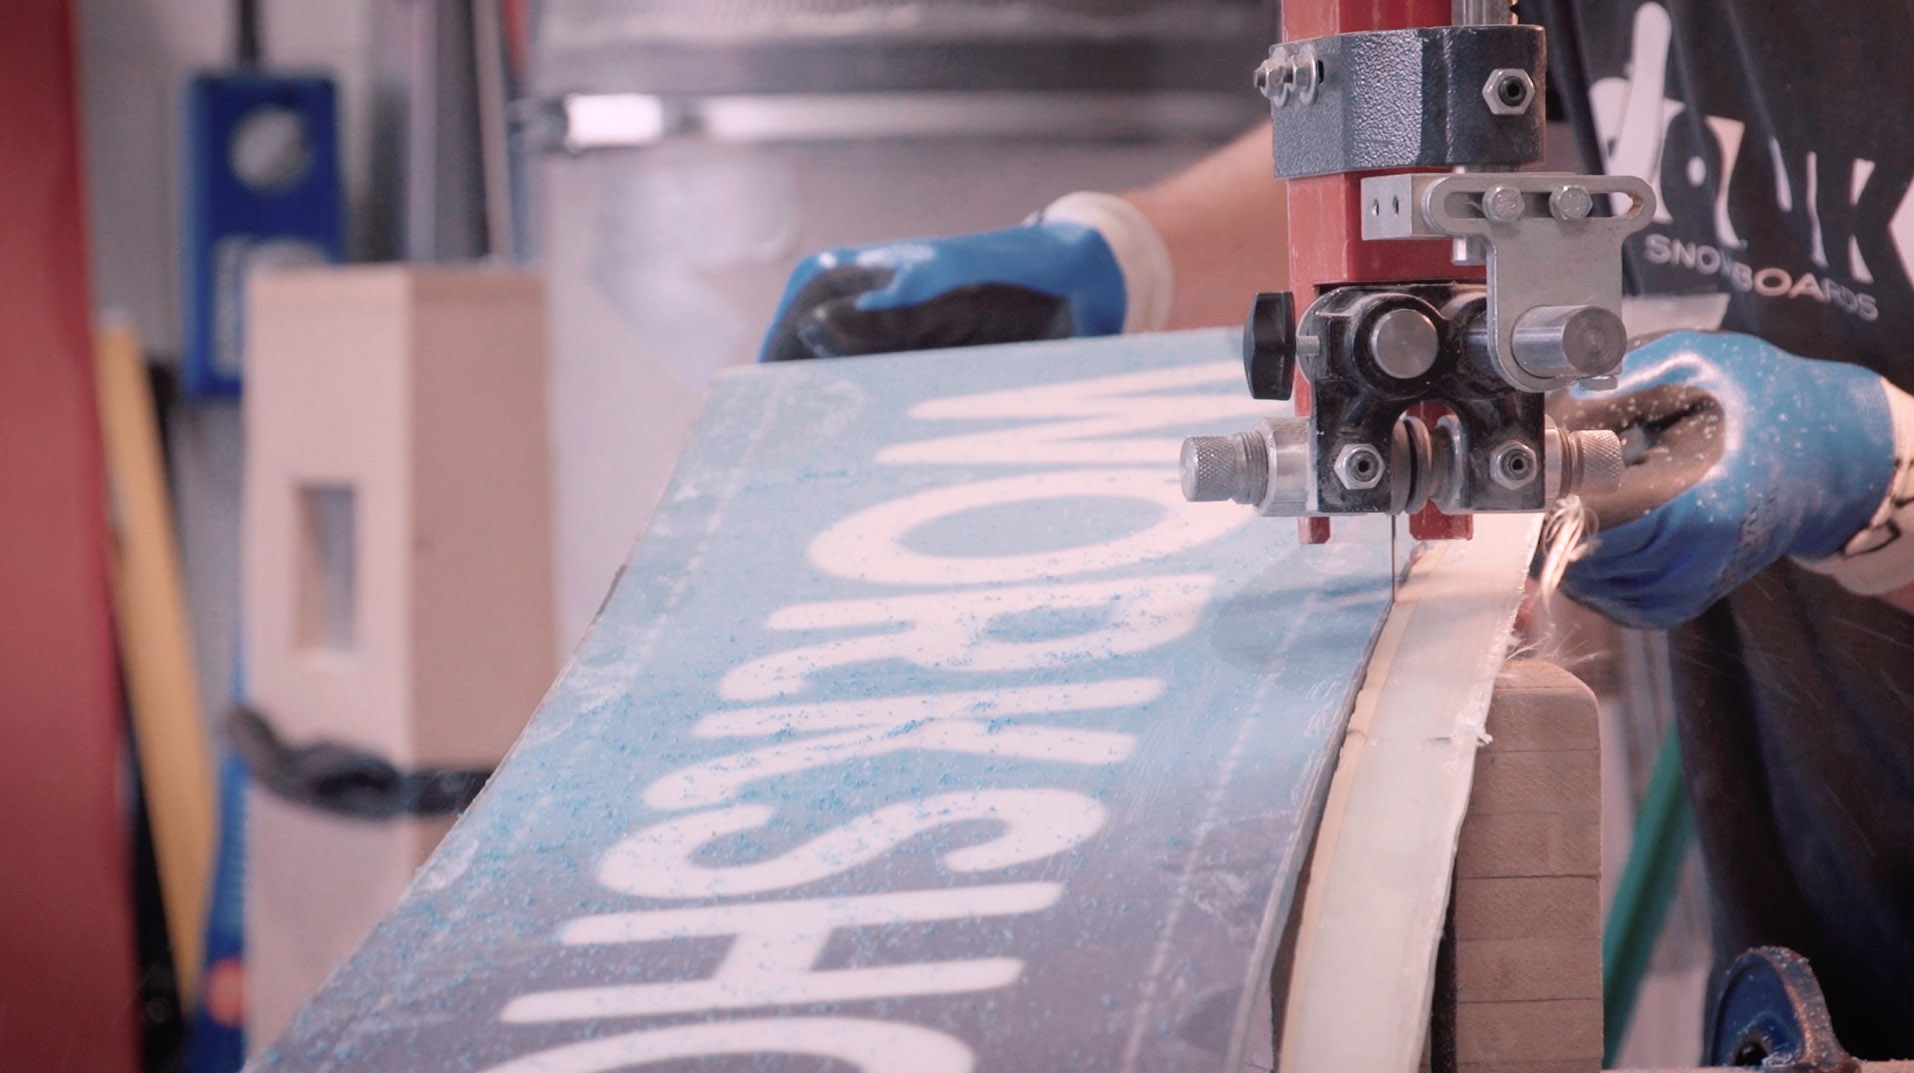
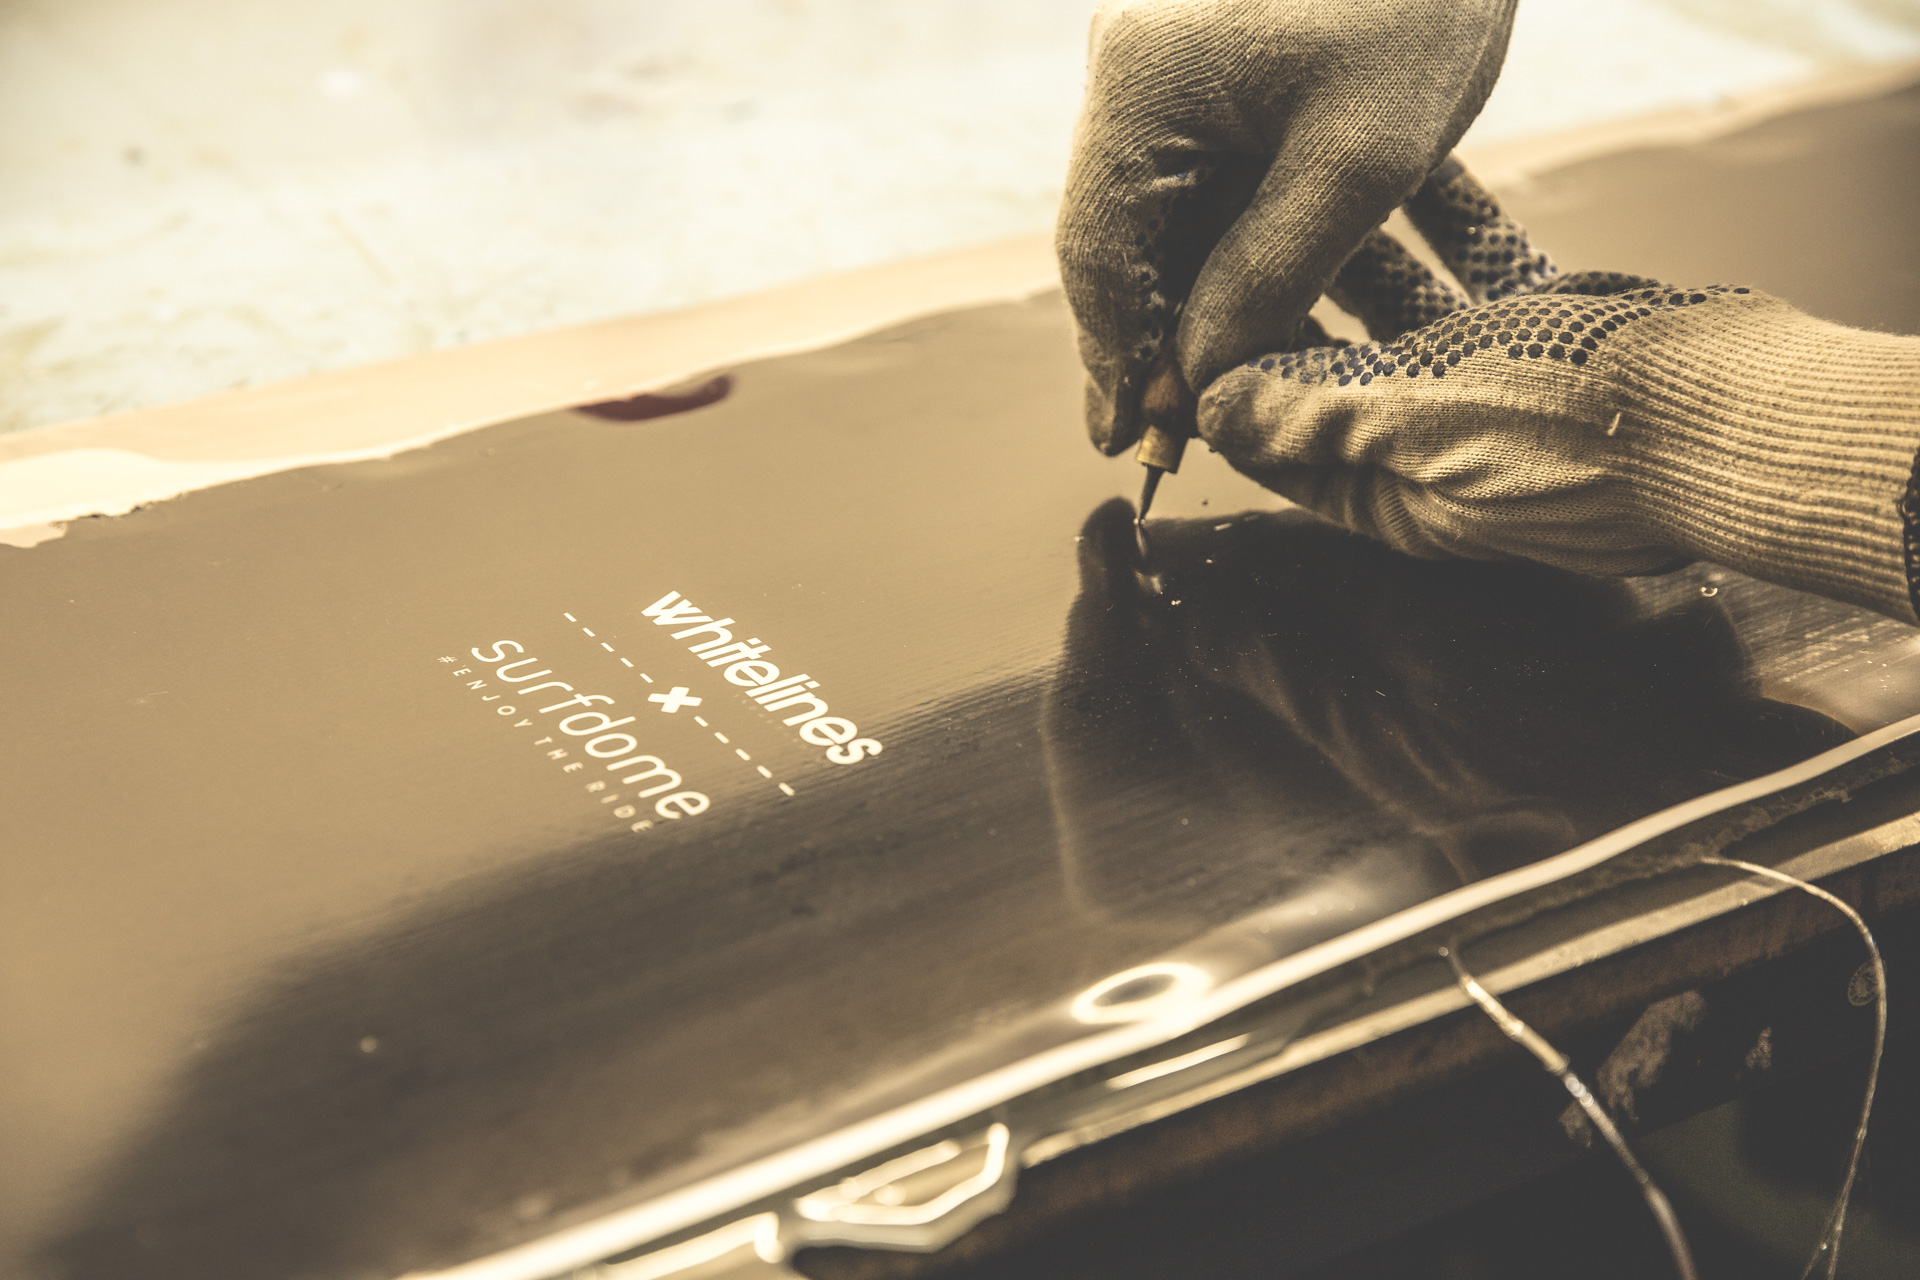
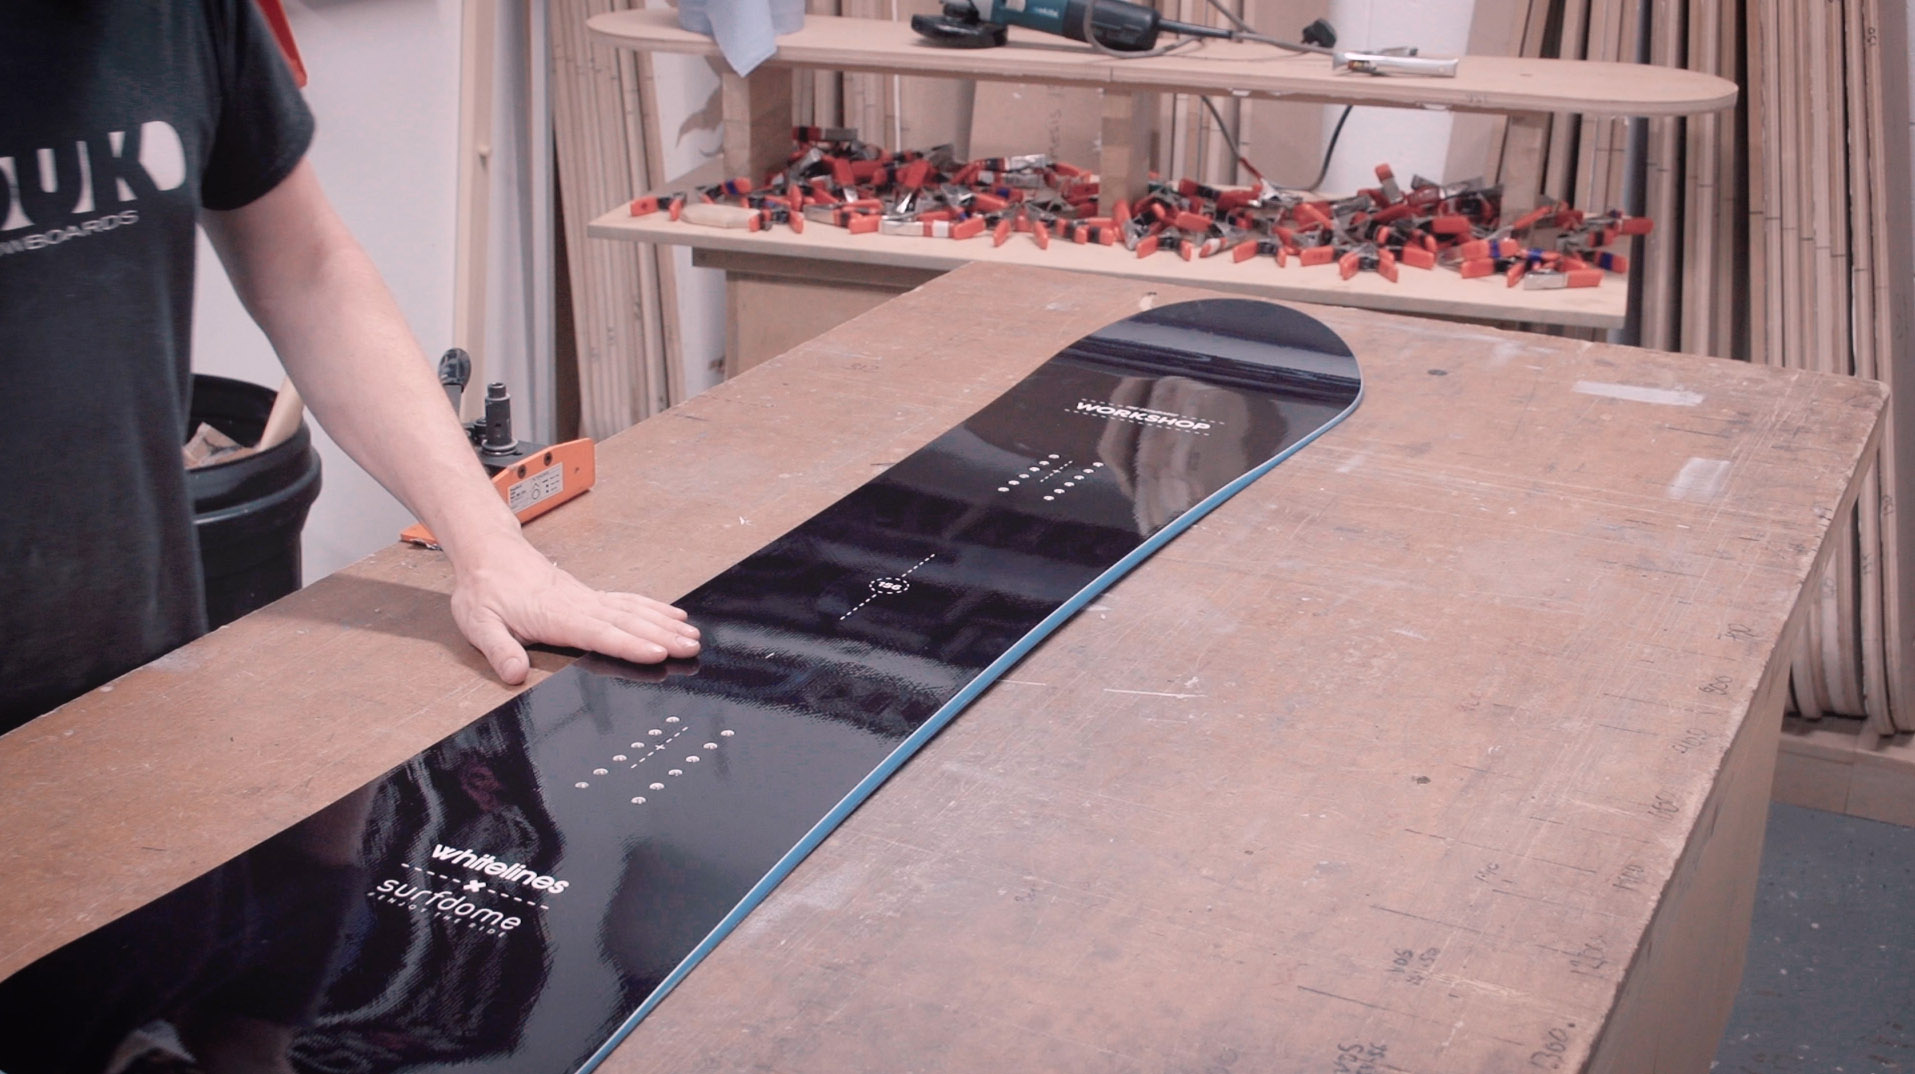
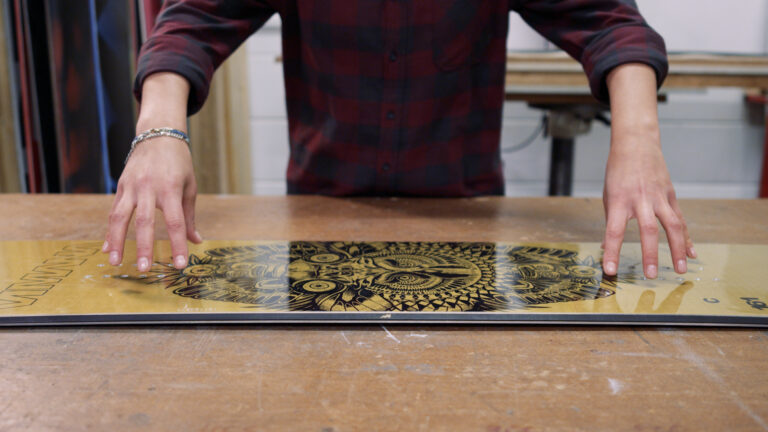
After we finished shooting The Snowboard Workshop videos in the DOUK factory, they were kind enough to show us the build process from start to finish. They hand produce every single board they produce using the tools, presses and jigs in their factory, many of which they made themselves. Stay tuned for details on how to win the board you can watch being built above.

First stage of the core – lamination

To start with, wooden blocks (in this case ash and poplar) are laid out and laminated together. They’re left to dry, then cut lengthways to make what will later become the core.

A jig is used to measure out the rough core shape before it’s cut out with a bandsaw, then fine-tuned with a specialised lathe. Pre-cut sidewalls are then attached with glue and a special vice before it’s left to dry.

Cutting out the core according to the model template.

Printed P-Tex is then measured out into the base shape using another jig to make the base before the metal edge material is bent into shape, then pinned, hammered and finally glued into place.

Attaching the edge to the p-tex base.

Meanwhile the topsheet graphic is printed onto paper and then heat-transferred in a press on to what will eventually be the top laminate. After it’s cooled, it’s given a protective coat to keep it safe during the rest of the process.

Printing out the topsheet before heat transfer (which will reverse the image).

Once the sidewall glue has set, the wood core can now be passed through a planer to get it to a precise width.

Passing the core through a planer.

Then, holes are routed out for the binding inserts before the core is placed into a jig and passed through the planer again to create the board’s profile shape. Finally the binding inserts are glued into place.

Inserts in place…

All the individual components can now be brought together in the process called the ‘lay up’. Starting with the base and edge, each layer has epoxy resin evenly applied to it whilst sheets of fiberglass are sandwiched between the base, core and topsheet. Extra strips of fiberglass or carbon fiber can be placed strategically at this stage for extra strength and stiffness.

Laying up – note the carbon fibre strips that have been added to the previous layer.
Applying resin to the fibreglass.

Once the lay up is finished, the board is then placed into a heat press with model of the desired profile shape underneath. It stays in there under constant heat and pressure until the epoxy is set, then removed from the mold for finishing.

Into the press…

Excess materials are trimmed from the board using a bandsaw and the metal edges as a guide.

Trimming off the excess.

It is then sanded around the edges with a belt before undergoing a base grind on a specialised sander with sandpapers of varying degrees of roughness. This both smooths out any imperfections and adds the board’s structure to the base.

The inserts are found through the topsheet then drilled out by hand.

Marking the inserts to be drilled out.

Next, the edges are finished with a hand sander and edging tool, before the board has a factory wax applied to it. Finally, the protective layer is removed from the topsheet and the snowboard is now ready to shred!

One finished snowboard. Done!

Ready to buy? Check out the latest snowboards at Surfdome.

Share

Newsletter Terms & Conditions

Please enter your email so we can keep you updated with news, features and the latest offers. If you are not interested you can unsubscribe at any time. We will never sell your data and you'll only get messages from us and our partners whose products and services we think you'll enjoy.

Read our full Privacy Policy as well as Terms & Conditions.

production