Share

Set Up & Maintenance

How To Set Up Your Snowboard Bindings

Everything you need to know about stance, binding angles and inserts

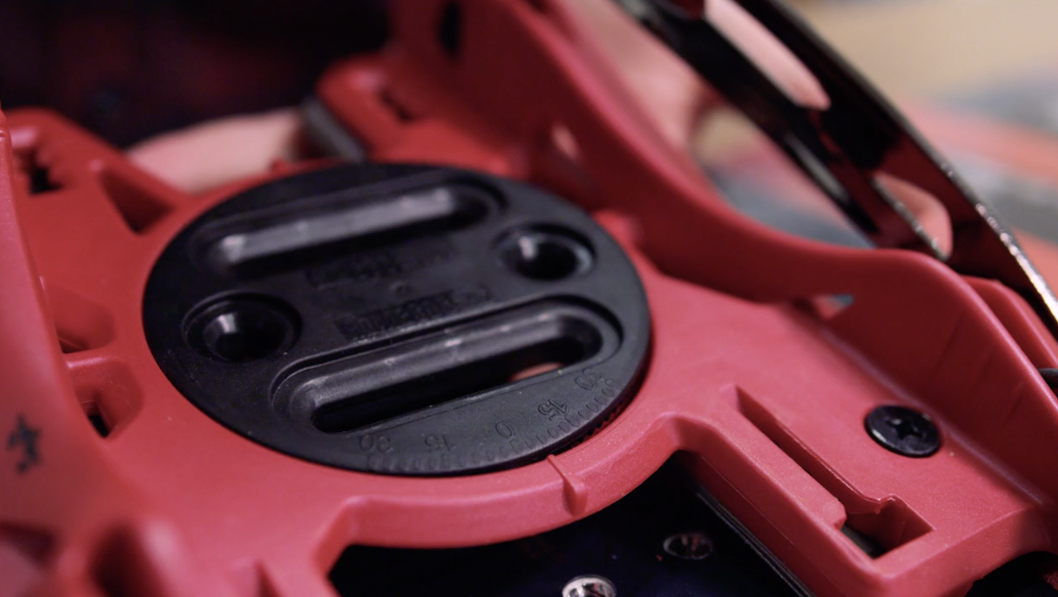
Setting up your bindings differently can make a huge difference to how your snowboard will feel to ride. Getting your binding position right for your height, weight, riding preferences and the conditions is very important. There are four main things when it comes to setting up your snowboard bindings that you need to consider.

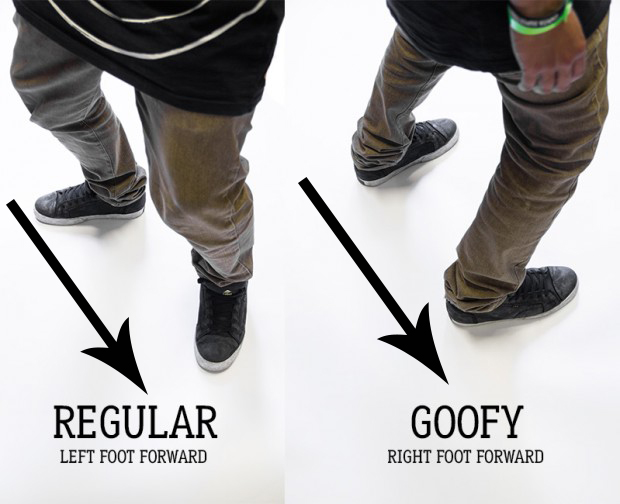
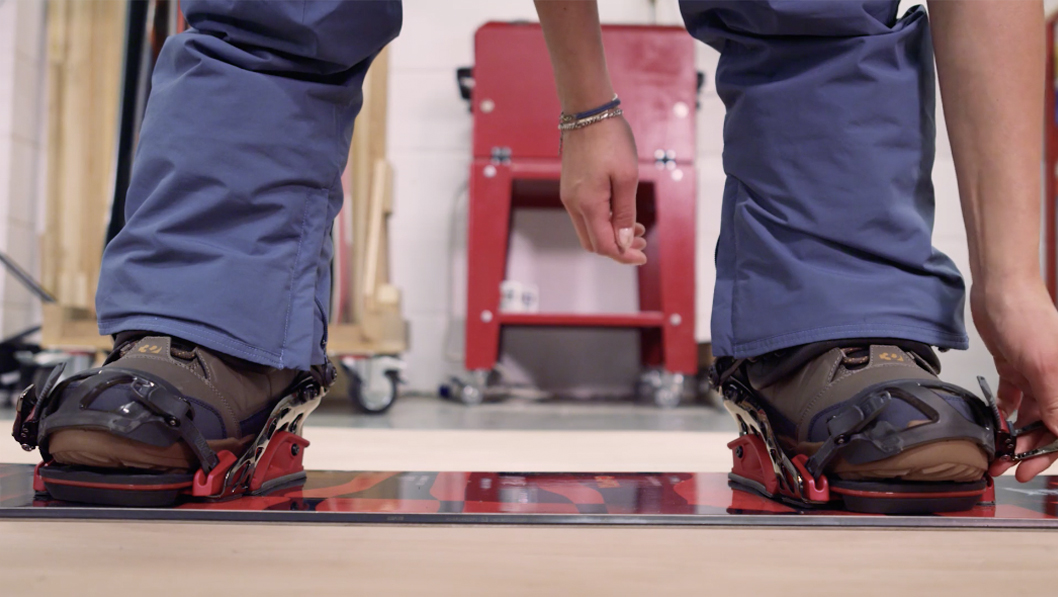
Your first problem to solve is to stand regular or goofy. Que? Well if you stand with your left-foot going forward first you’re ‘regular’, and if your right-foot is furthest forward then you’re goofy.

NB: Being regular or goofy has nothing to do with having a strong eye, a preferred hand, or which foot you might boot a football with. It’s simply your sliding preference.

The big question therefore is: how do you decide? If you’re not sure which feels natural for you, think which way you’d stand if you were sliding in your socks on a wooden floor, or which foot you’d put forward in a tug of war.

And why the unfair names goofy and regular? Well the terms originally come from surfing – with some crediting ‘Goofy’ to the 1937 Disney cartoon Hawaiian Holiday.

When you stand on your board, your feet will be spread apart. Go for a wide stance and you’ll get better stability, while a narrower stance helps the board carve a turn better. As a starting point, to decide your stance width, measure the distance from your heel to your kneecap.

Alternatively, stand with your legs shoulder width apart and wriggle your feet outwards a little until it feels comfortable and stable. Measure the distance between the middle of your feet.

Stretch the measuring tape between the inserts and mark your chosen stance width against the nearest set of holes, ensuring the distance to the nose is NOT shorter than the distance to the tail.

If you’re still unsure, then most boards provide a reference stance on the inserts which you can use until you figure out what works best for you.

And as for how far forward or backwards you go on the board – again this is personal preference, but the general rule of thumb is that if you intend to ride powder, then you need to set your stance ‘back’ an inch or so on the board, and if you wish to ride park, or at least occasionally ride your board backwards (or ‘switch’ as it’s known), then put your stance closer to the centre, if not completely centered.

Find more information on setting up your stance with Burton’s Channel system here.

A common mistake is to place the bindings the wrong way round, with the buckles on the inside. Before preparing to fix them down, double-check that your front binding is facing the nose, so that the ratchets are tightened on the outside of your boot.

The angle of your bindings can be adjusted using the insert disks. Hold the binding and push the disk up from below with your fingers.

Note there are numbers on the disk. Each notch is usually three degrees. Rotate the disk until the your chosen angle faces the marker on the baseplate, and let it settle back into place like a cog.

The angles you choose are a matter of preference. The front binding is always angled forwards, usually between 12 and 18 degrees, while the rear binding might be slightly forwards, slightly backwards or dead flat. Most people have a duck stance – meaning the toes are angled outwards in opposite directions. Play around with it and see what feels comfortable – and remember, you can always change your mind later!

NB: Having your back foot angled more than your front foot, or worse still angling both feet inwards (like a pigeon) is an absolute no no!

Next, carefully line up your binding over your chosen insert holes, and place a washer and screw above each.

Lightly screw down the first, then repeat for the remaining three. Doing it like this means you have a little wriggle-room to line up all the threads.

Once all four screws are engaged, screw them down tightly.

Flip down the footbed and press firmly into place.

Now strap into your board and see how it feels. If the width or angles are uncomfortable, adjust them again.

Bindings have so many changeable parts because they’re meant to be experimented with. There are a ton of other variables like forward lean, highback pivoting and canting that can make a difference to how your board feels.

While you might not know what ‘your’ stance is right now, by playing with your board and bindings – both on and off the hill – you’ll quickly develop an idea of what you like and what you don’t like. Write down what those angles and measurements are, and you’ll be able to set up any board to match so you’re similarly comfortable.

For more info on fine-tuning the straps and other features on the bindings, see our next episode.

Share

Newsletter Terms & Conditions

Please enter your email so we can keep you updated with news, features and the latest offers. If you are not interested you can unsubscribe at any time. We will never sell your data and you'll only get messages from us and our partners whose products and services we think you'll enjoy.

Read our full Privacy Policy as well as Terms & Conditions.

production