Share

Splitboarding

How To: Transition on a Splitboard

Mountain Guide and Jones Snowboard Ambassador Neil McNab talks us through the Splitboard Transition

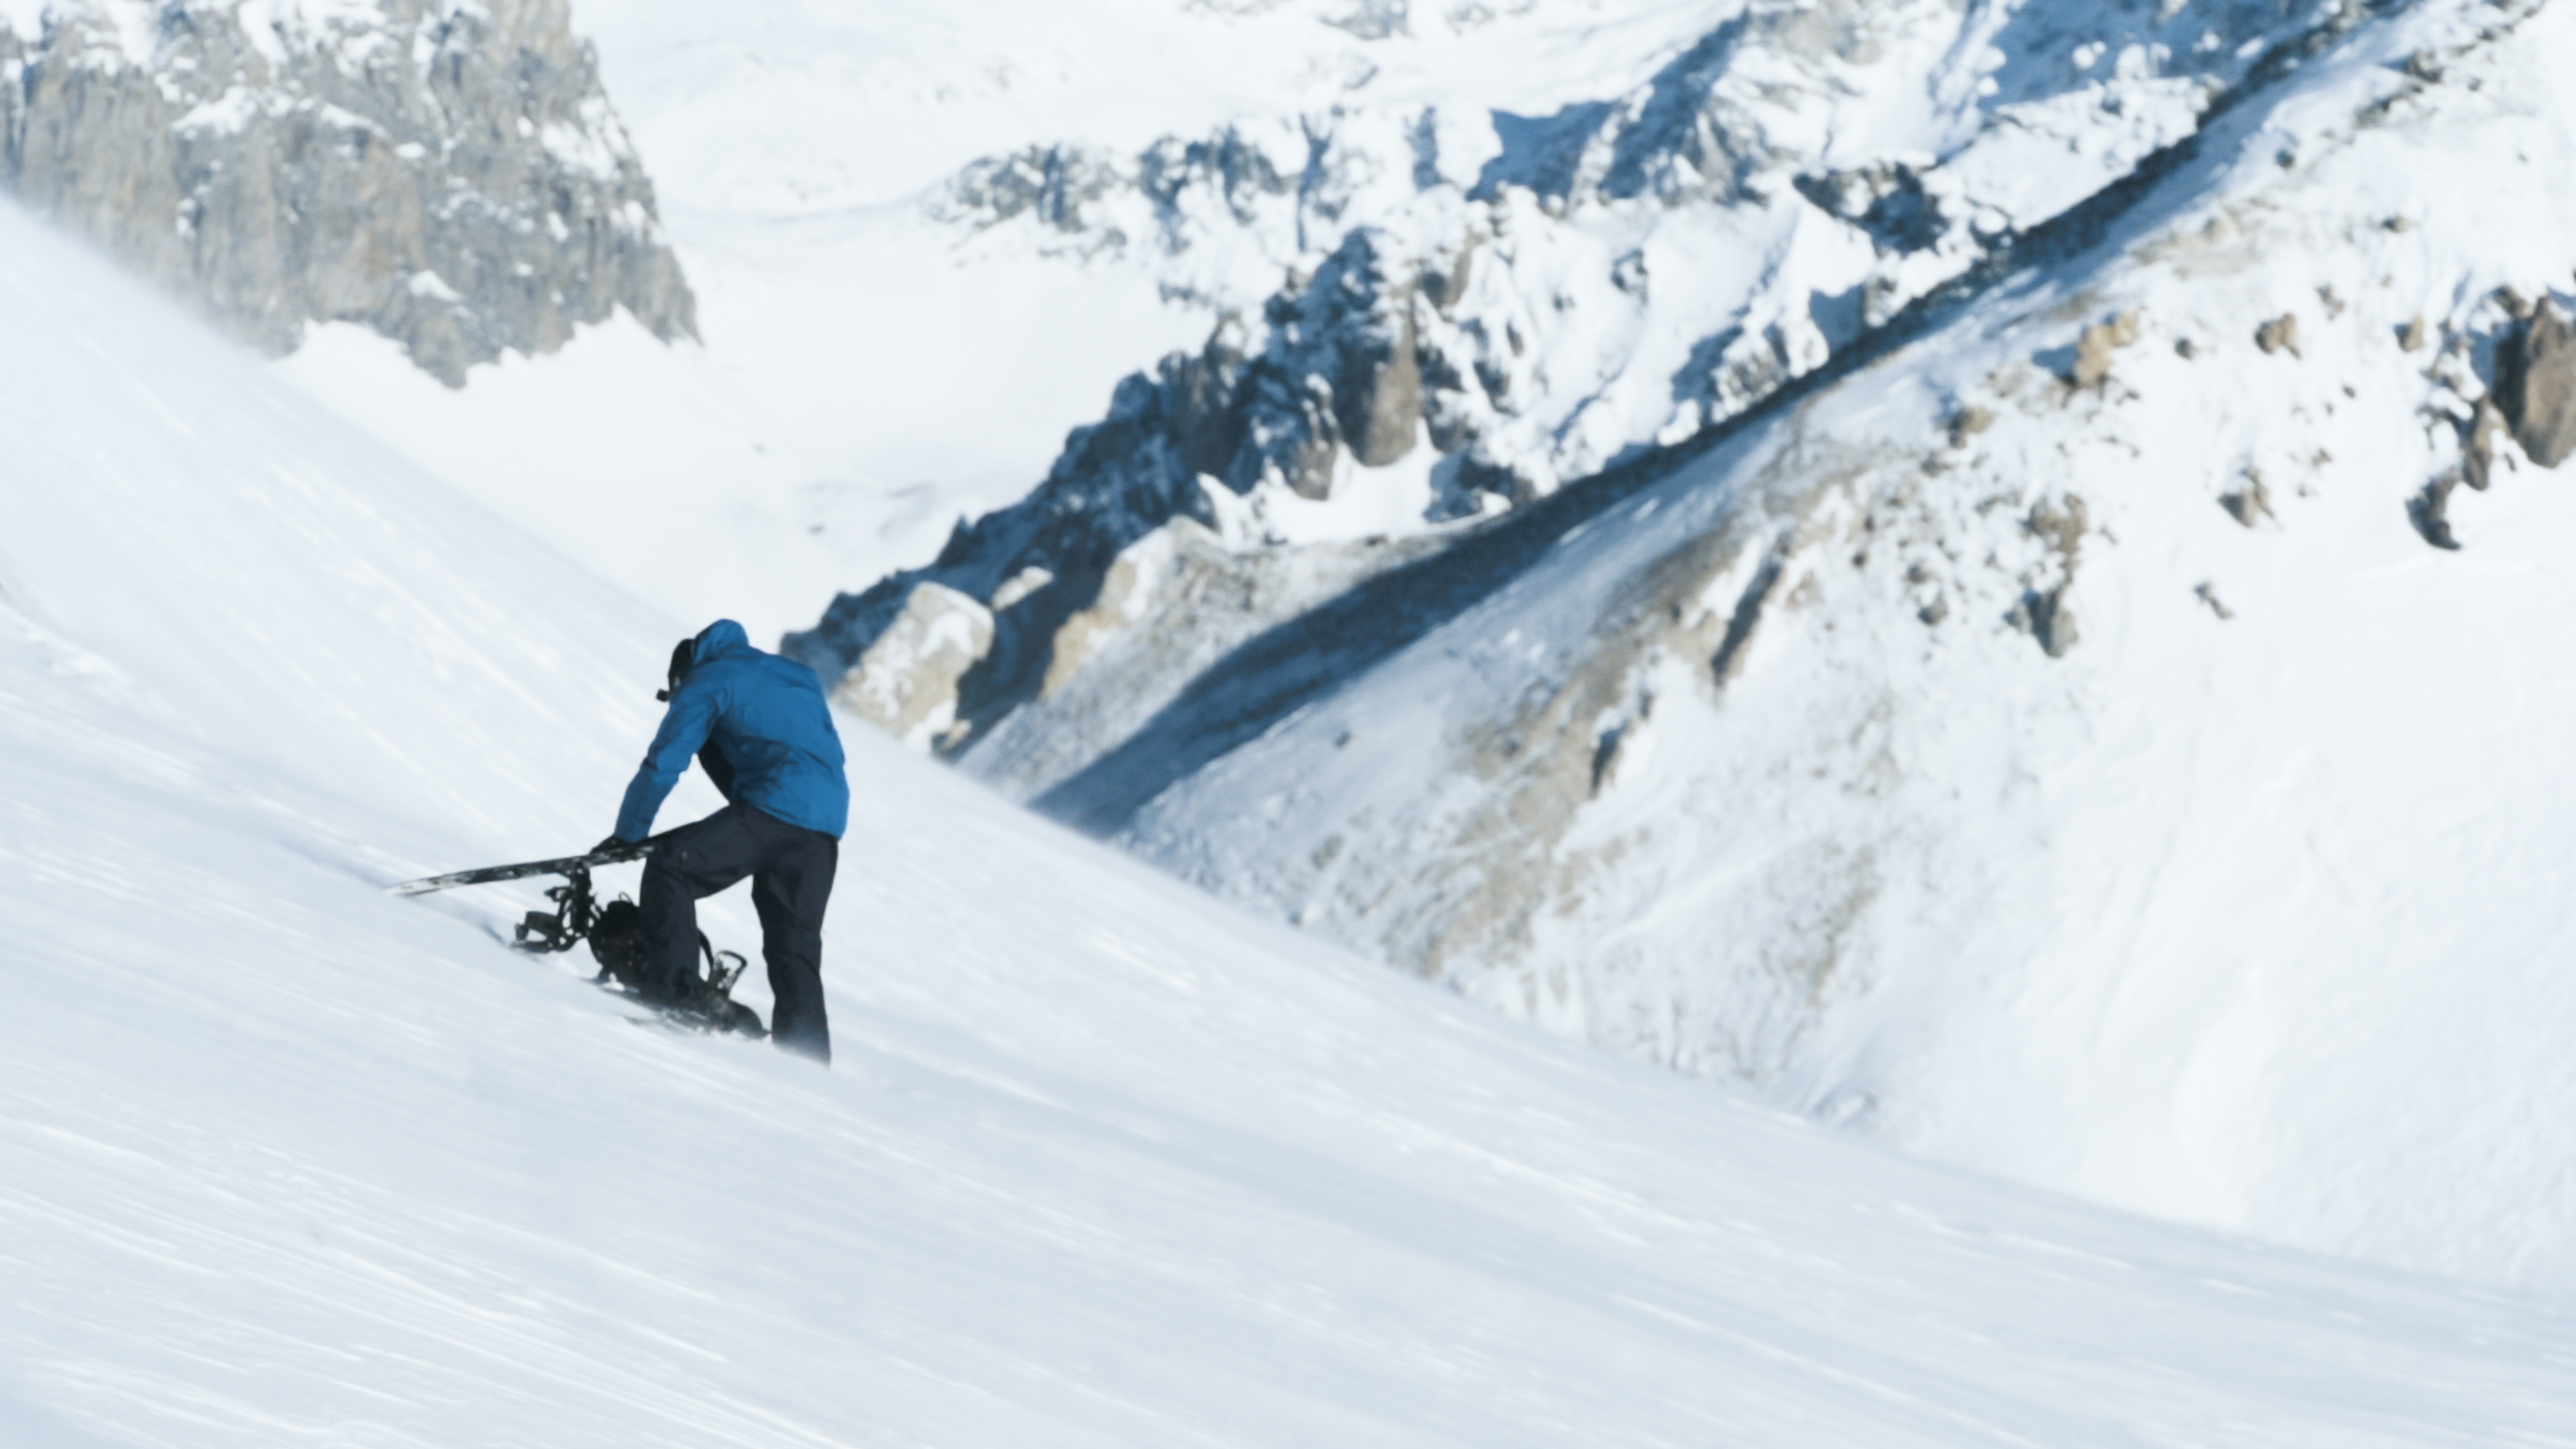
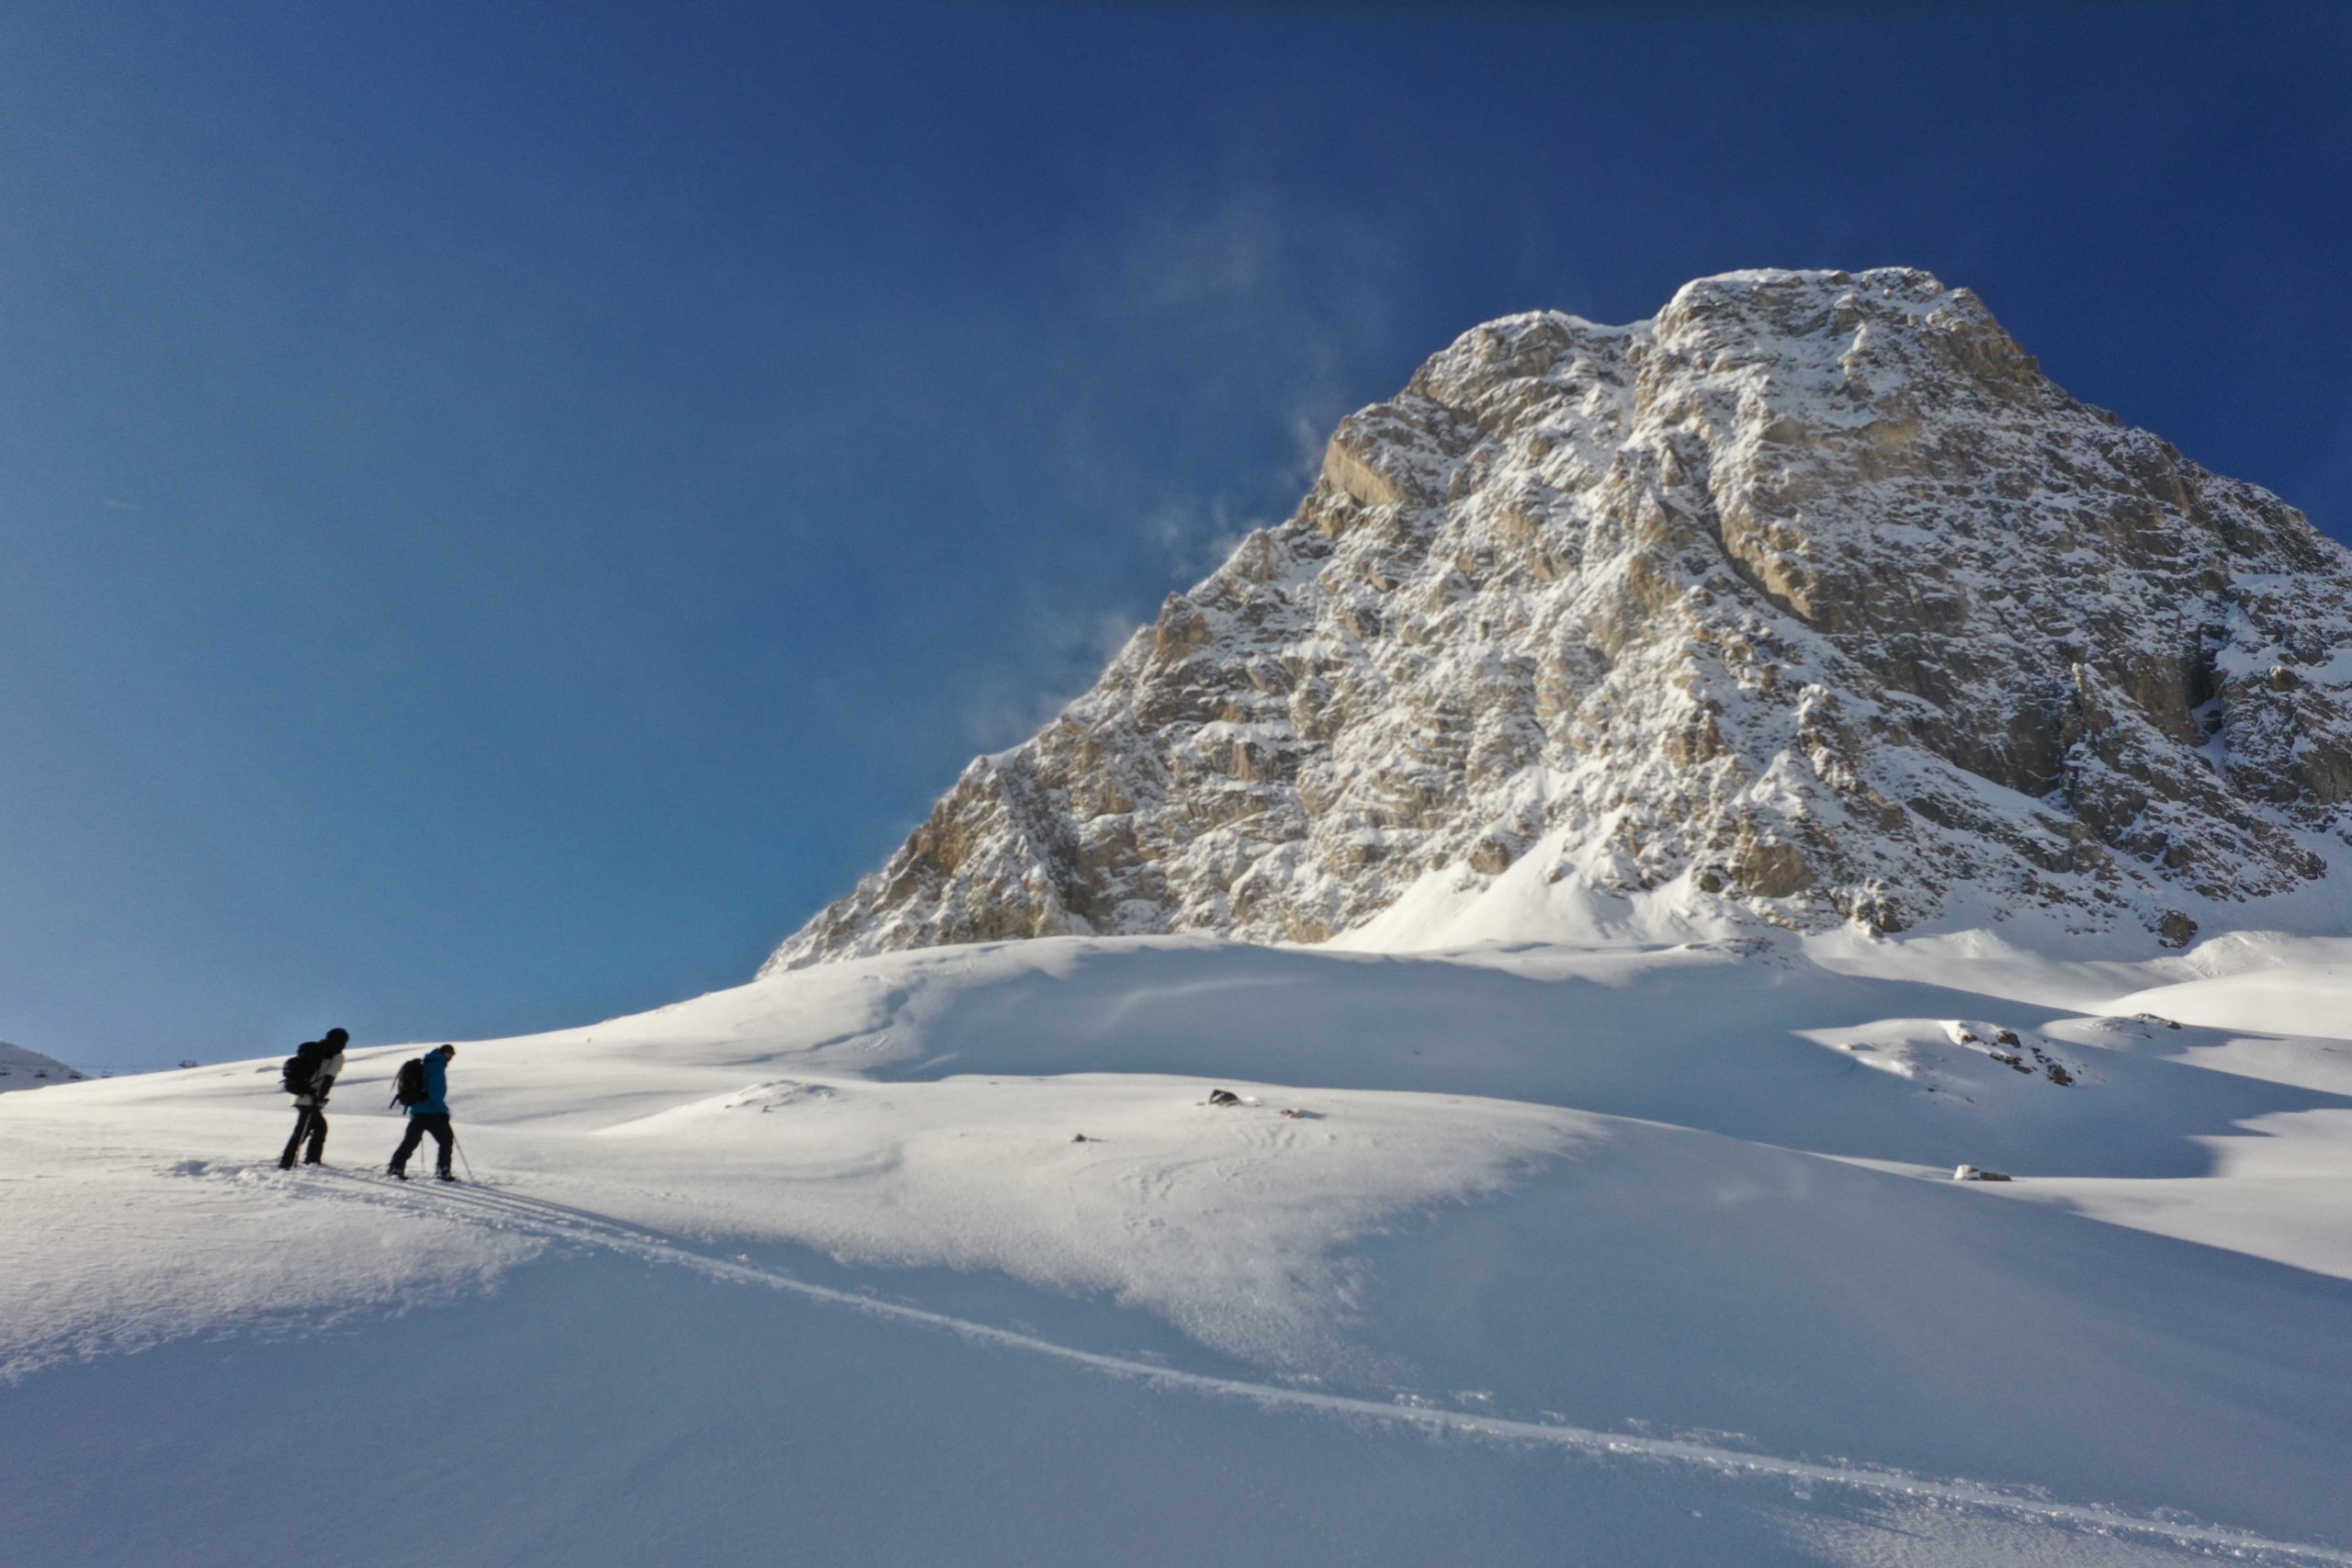
Splitboarding opens up a whole new playground to explore. (Photo: Jordan Tiernan)

Every splitboard transition is different. From the terrain you find yourself on to the weather you’re faced with, there are multiple factors to consider. However, having a system in place will help to keep the process hassle-free and avoid mistakes that could potentially curtail the day’s plans.

Depending on the route, a single tour may require multiple transitions between walk and ride mode in order to access that dream line. Splitboarding seems to have fallen victim to a few myths about the difficulties of switching between these modes, but we’re here to show you how simple it really is.

“Depending on the route, a single tour may require multiple transitions between walk and ride mode in order to access your dream lines”

We’ve teamed up with Chamonix based UIAGM Mountain Guide, and Jones Snowboard Ambassador, Neil McNab, to talk you through the process along with some of his own top tips.

*Disclaimer* Unless you and your group have significant mountain safety and avalanche awareness experience, always travel through the backcountry with a guide.

Pick A Safe Spot To Transition

Easier said than done on certain routes, but picking the right spot to transition makes everything that comes next so much easier. Plan ahead and look for a flat, sheltered spot. Ideally, pick an area that’s protected from the wind but, most importantly, clear or significant exposure from above. If the snow is deep, take a few steps around the transitioning zone to pack out the snow and give yourself an easier space to work in.

“Take a few steps around the transitioning zone to pack out the snow and give yourself an easier space to work in”

Find a flat spot, clear of exposure from above.

Layering Is Key

The old mantra, “Be bold, start cold” is a wise one to live by when out on the trail. It can be sweaty work ascending in the backcountry. That said, don’t underestimate how rapidly the body cools down as soon as you stop. The rule is simple: When you stop to transition, add a layer; when you start moving again, remove (at least) one.

“Be bold, start cold”

Having a second pair of thinner, dextrous gloves will make life infinitely easier, too. Aligning the skins, adjusting your touring poles or securing your bindings can feel quite cumbersome with a thick pair of mitts, so carry a spare set.

If you ride with a helmet and goggles, it’s worth swapping them for a hat and sunglasses before ascending. No amount of anti-fogging technology can save a pair of goggles strapped to your head when you’re on the ascent. Keep them in the bag until you’re ready to ride again.

Secure Your Kit

It seems obvious, but you’ll have a lot more kit to manage than usual, and it’s amazing how easy it is to lose a glove or water bottle on a gentle slope or from unexpected gusts of wind. Use your poles to create an anchor in the snow, loop your backpack straps around them to prevent anything sliding away and keep things in the bag until you need them.

“Use your poles to create an anchor in the snow, loop your backpack straps around them to prevent anything sliding away”

The same goes for your splitboard and bindings. At one point during every transition, your splitboard will be disassembled into 4 separate parts (two bindings and two “skis”). Make sure everything is secured by pushing it into the snow, upside down or on its side.

Secure all your kit in the snow.

Skins

It’s essential that your skins are correctly aligned to the skis. Take time to get it right during the transition, and you’ll thank yourself later when it comes to those icy traverses. Ensure that the base of your splitboard is dry and free of ice. Then, focus on getting the first 20-30cm fitted correctly so that the edge is exposed on either side.

Once it’s set, the rest of the skin should track into place pretty easily. Make sure your tail clips are adjusted so there’s enough tension to hold the skin in place. If you’re using a pair the Quick Tension Tail Clips (compatible with all Jones splitboards since 2016) this is super easy and only takes seconds.

“Take time to get it right during the transition, and you’ll thank yourself later when it comes to those icy traverses”

If you’re likely to be using the skins more than once (and even if you’re not) it’s good practice to keep them warm and dry during the day. Once the glue becomes wet or frozen they lose their adhesive properties. When you’re transitioning back to ride mode, fold each skin in half, stick the adhesive surface together and roll them up. Stash them inside your jacket or chest pocket when you’re on the move to keep them in working condition throughout the day.

Take time to line the start of the skins up…
…and the rest will track into place.

Bindings

Splitboard binding technology has come on leaps and bounds in recent years, both in terms of their touring and riding performance. In this video, Neil is using Spark R&D Bindings, which allow for a super easy transition. Use the butt of your pole, or carry a plastic or metal scraper to clear the pucks and baseplate of any excess ice and snow. Then, simply slide them through over the pucks for ride mode, or slot them through the touring plate for walk mode.

“Remember to adjust the forward lean lever during the transition”

Remember to adjust the forward lean lever during the transition. Spark R&D splitboard bindings allow the highbacks to extend further back for a longer stride when touring but need to be fixed in place again for the descent.

Poles

There’s one quick way to check the sizing of your poles: hold them upside down, let the butt of the handle rest on the snow’s surface and place your hand directly underneath the basket. In this position, your arm should sit at a 90° angle. Get a pair of touring poles which have an extended grip handle for when you’re on long, awkward traverses, and ones that collapse down and attaches to your bag during the descents. Neil is using the Jones Talon Poles in this video.

Look for around a 90° bend in your arm when sizing the poles.
In partnership with

Share

Newsletter Terms & Conditions

Please enter your email so we can keep you updated with news, features and the latest offers. If you are not interested you can unsubscribe at any time. We will never sell your data and you'll only get messages from us and our partners whose products and services we think you'll enjoy.

Read our full Privacy Policy as well as Terms & Conditions.

production