Mountain Guide and Jones Snowboard Ambassador Neil McNab shows us the different techniques for skinning on a splitboard
Once you’ve mastered the transition on your splitboard, there’s still the minor detail of actually ascending the mountain by human and/or sheer will power. In reality, skinning up is a relatively simple process that will come quite intuitively to most riders (pun well and truly intended). We’re not saying this video means you’ll never find yourself puffing, panting and cursing the distant outline of the express chairlift, but it will certainly make life easier out on the trail.
In this episode, Jones Ambassador and UIAGM Guide, Neil McNab, talks us through the basics for skinning on a splitboard, and a couple of bonus tips to get you to the summit faster, fresher and frothing to drop in first to those freeride lines.
“We’re not saying this video means you’ll never find yourself puffing, panting and cursing the distant outline of the express chairlift, but it will certainly make life easier out on the trail”
*Disclaimer* Unless you and your group have significant mountain safety and avalanche awareness experience, always travel through the backcountry with a guide.
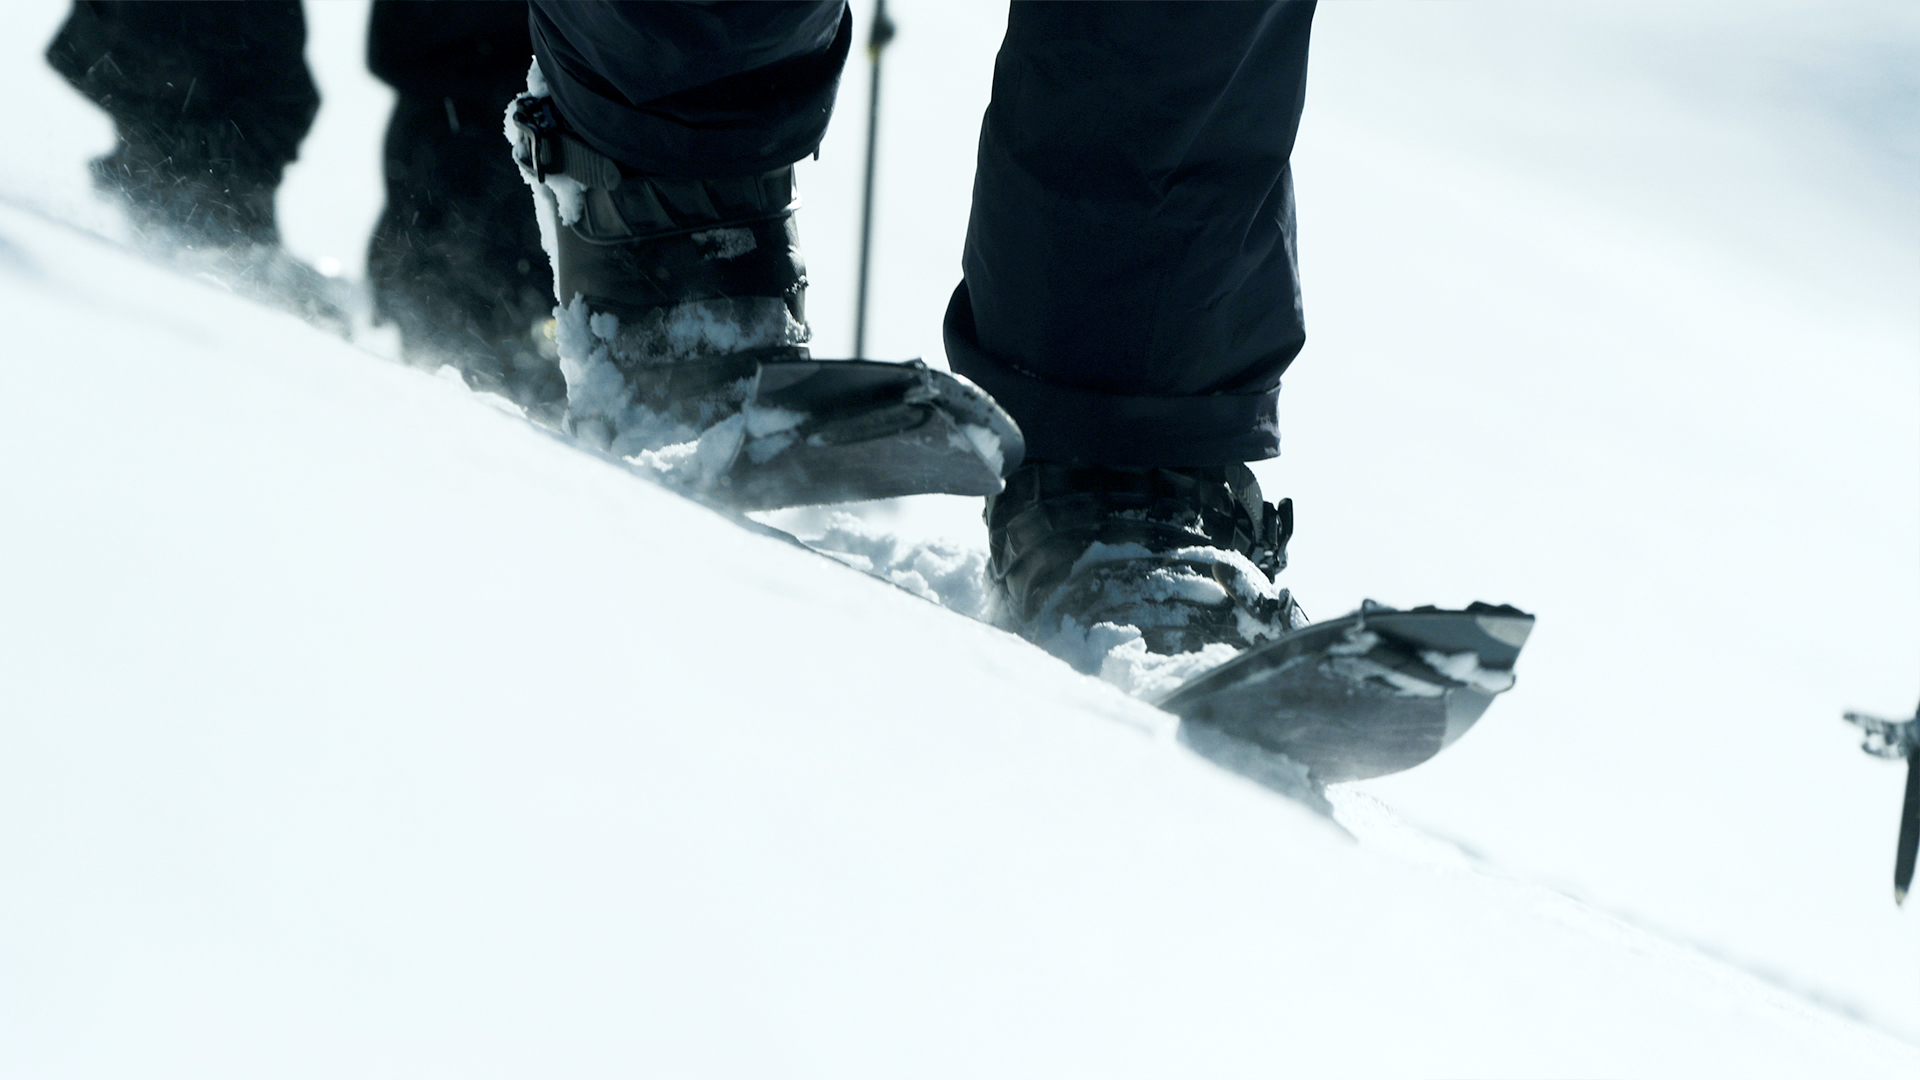
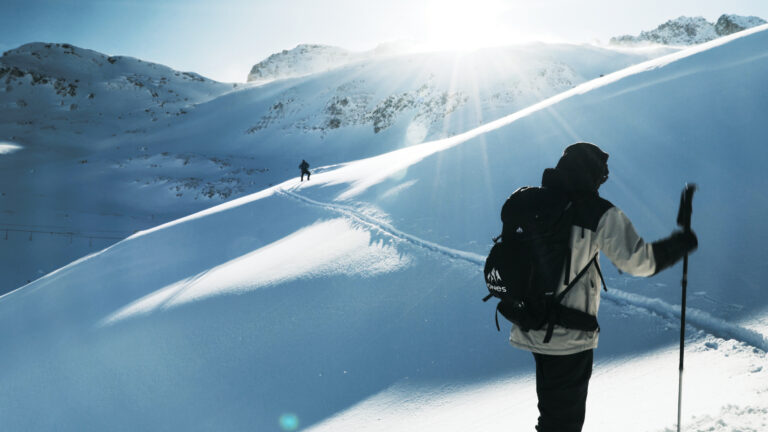
Skinning
Splitboarding is different and more efficient than snowshoeing because instead of lifting your feet with each step you slide them forwards, pole-planting with the opposite hand to maintain balance, enabling you to go further with each step and with less effort. If you’re lifting half a splitboard and binding with each step you’ll be goosed by the time you reach the top. Getting a good gliding motion is essential.
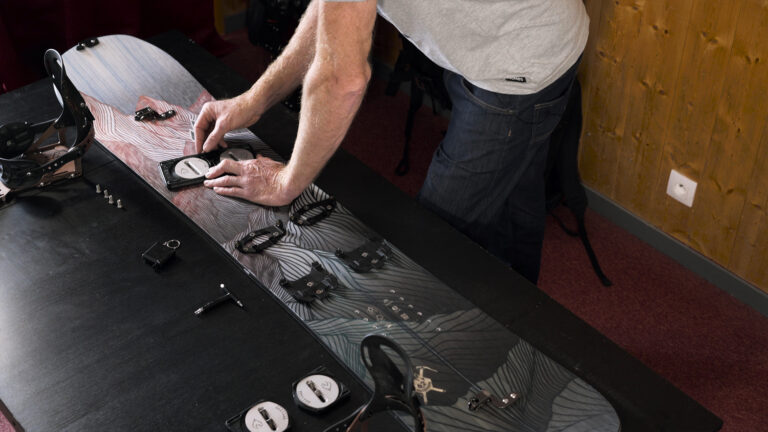
Make sure your bindings have no forward lean whilst skinning, or if they have the option engage negative lean. This will allow you to go further with each step. Neil is using Spark R&D Splitboard Bindings, which all come with this feature.
“If you’re lifting half a splitboard and binding with each step you’ll be goosed by the time you reach the top. Getting a good gliding motion is essential”
The trick is to push forwards without pushing down, aiming to leave two even lines in the snow behind you instead of V-shaped steps. After a few metres it’ll start to feel natural, once it does you should try and keep a constant rhythm. Don’t start rushing straight away, pace yourself and try and keep your heart rate low to avoid burning out too quickly. A wise man once said, “save your energy to get radical on the way down.”
If you find yourself getting tired, try focusing on taking longer strides – you’ll end up taking fewer steps to reach your destination. If you like to wear your pants with a bit of sag it’s surprising how much difference doing your belt up a little higher makes!
Good posture = efficient skinning.
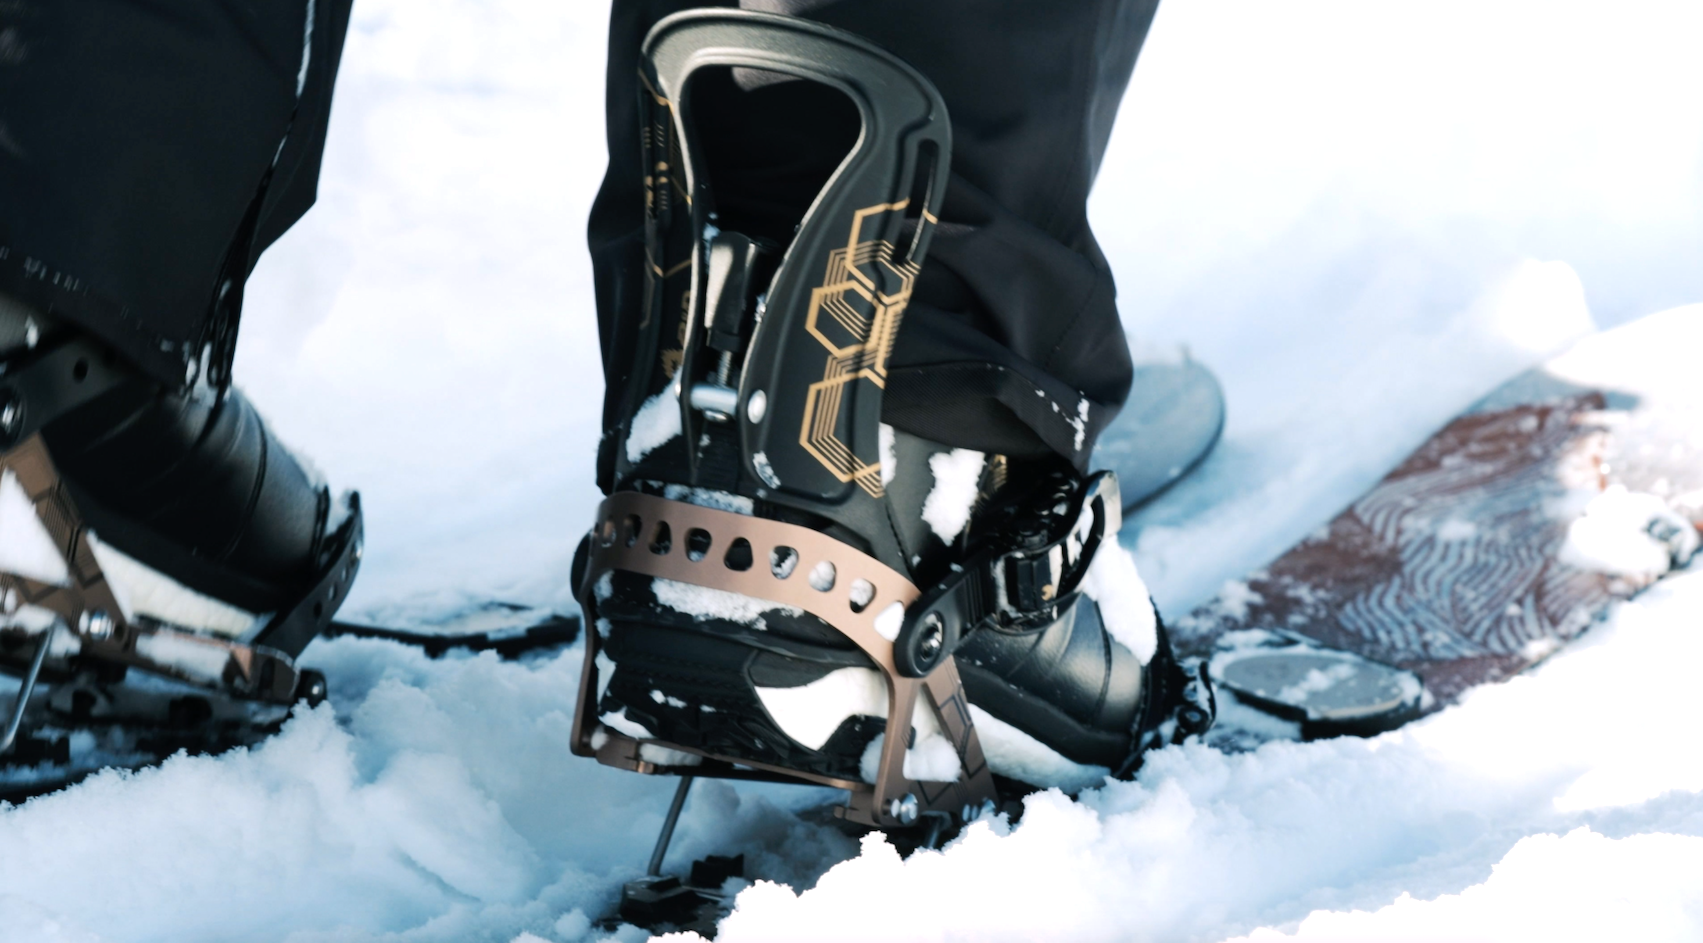
Risers
When you get to an incline you can flip out the heel risers on your bindings so that your feet are still level, but your skis are perpendicular to the slope. You’ll have to start lifting your legs to climb, but it’s important to maintain that same glide, sliding your skis up the gradient rather than stepping.
The instinct is to go straight up a slope, but once it gets too steep – around 20-30° – your skins will quickly lose grip and start sliding backwards. It’s pretty scary when this happens, so it’s always best to anticipate it and make a zigzagging line up steeper bits. If you’re in a busy touring spot you’ll probably see an existing skin track or two – it’s a good idea to follow these. To get around the corners, though, you’ll need to be able to kickturn…
Spark R&D Bindings have two different levels of riser, to match varying steepnesses of terrain.
Kickturns
To begin with, turning on flats and shallow inclines can be done by just shuffling around one foot after the other, but when you need to make sharp corners whilst criss-crossing up steeper slopes, kickturning is the way forward. It’s best practised on the flat first so that you’re not trying to learn something tricky in a precarious position.
First, take a step or two past the corner itself, this means you end up stepping backwards onto the new line, giving yourself more room to swing your skis around. Start by putting your weight on your downhill foot and make sure you’re secure. Lift up your other foot, then extend your leg out in front of you so that your ski becomes vertical. Keeping your balance and trying to keep it from dragging in the snow, swing this leg around and place it down so that you end up looking uphill with your feet facing in different directions, poles planted behind each foot.
“This is an admittedly tricky position to be in, especially if you’re used to having both feet strapped to the same board”
This is an admittedly tricky position to be in, especially if you’re used to having both feet strapped to the same board, so quickly and securely transfer your weight to the new uphill ski. Lift your back foot up and away from you and keeping the tail of the ski from snagging on the snow (or your planted ski or pole), swing it round to end up with both feet next to each other, weight evenly distributed. Make sure you learn it for turning both left and right!
Kickturning – the essential splitboard manoeuvre.
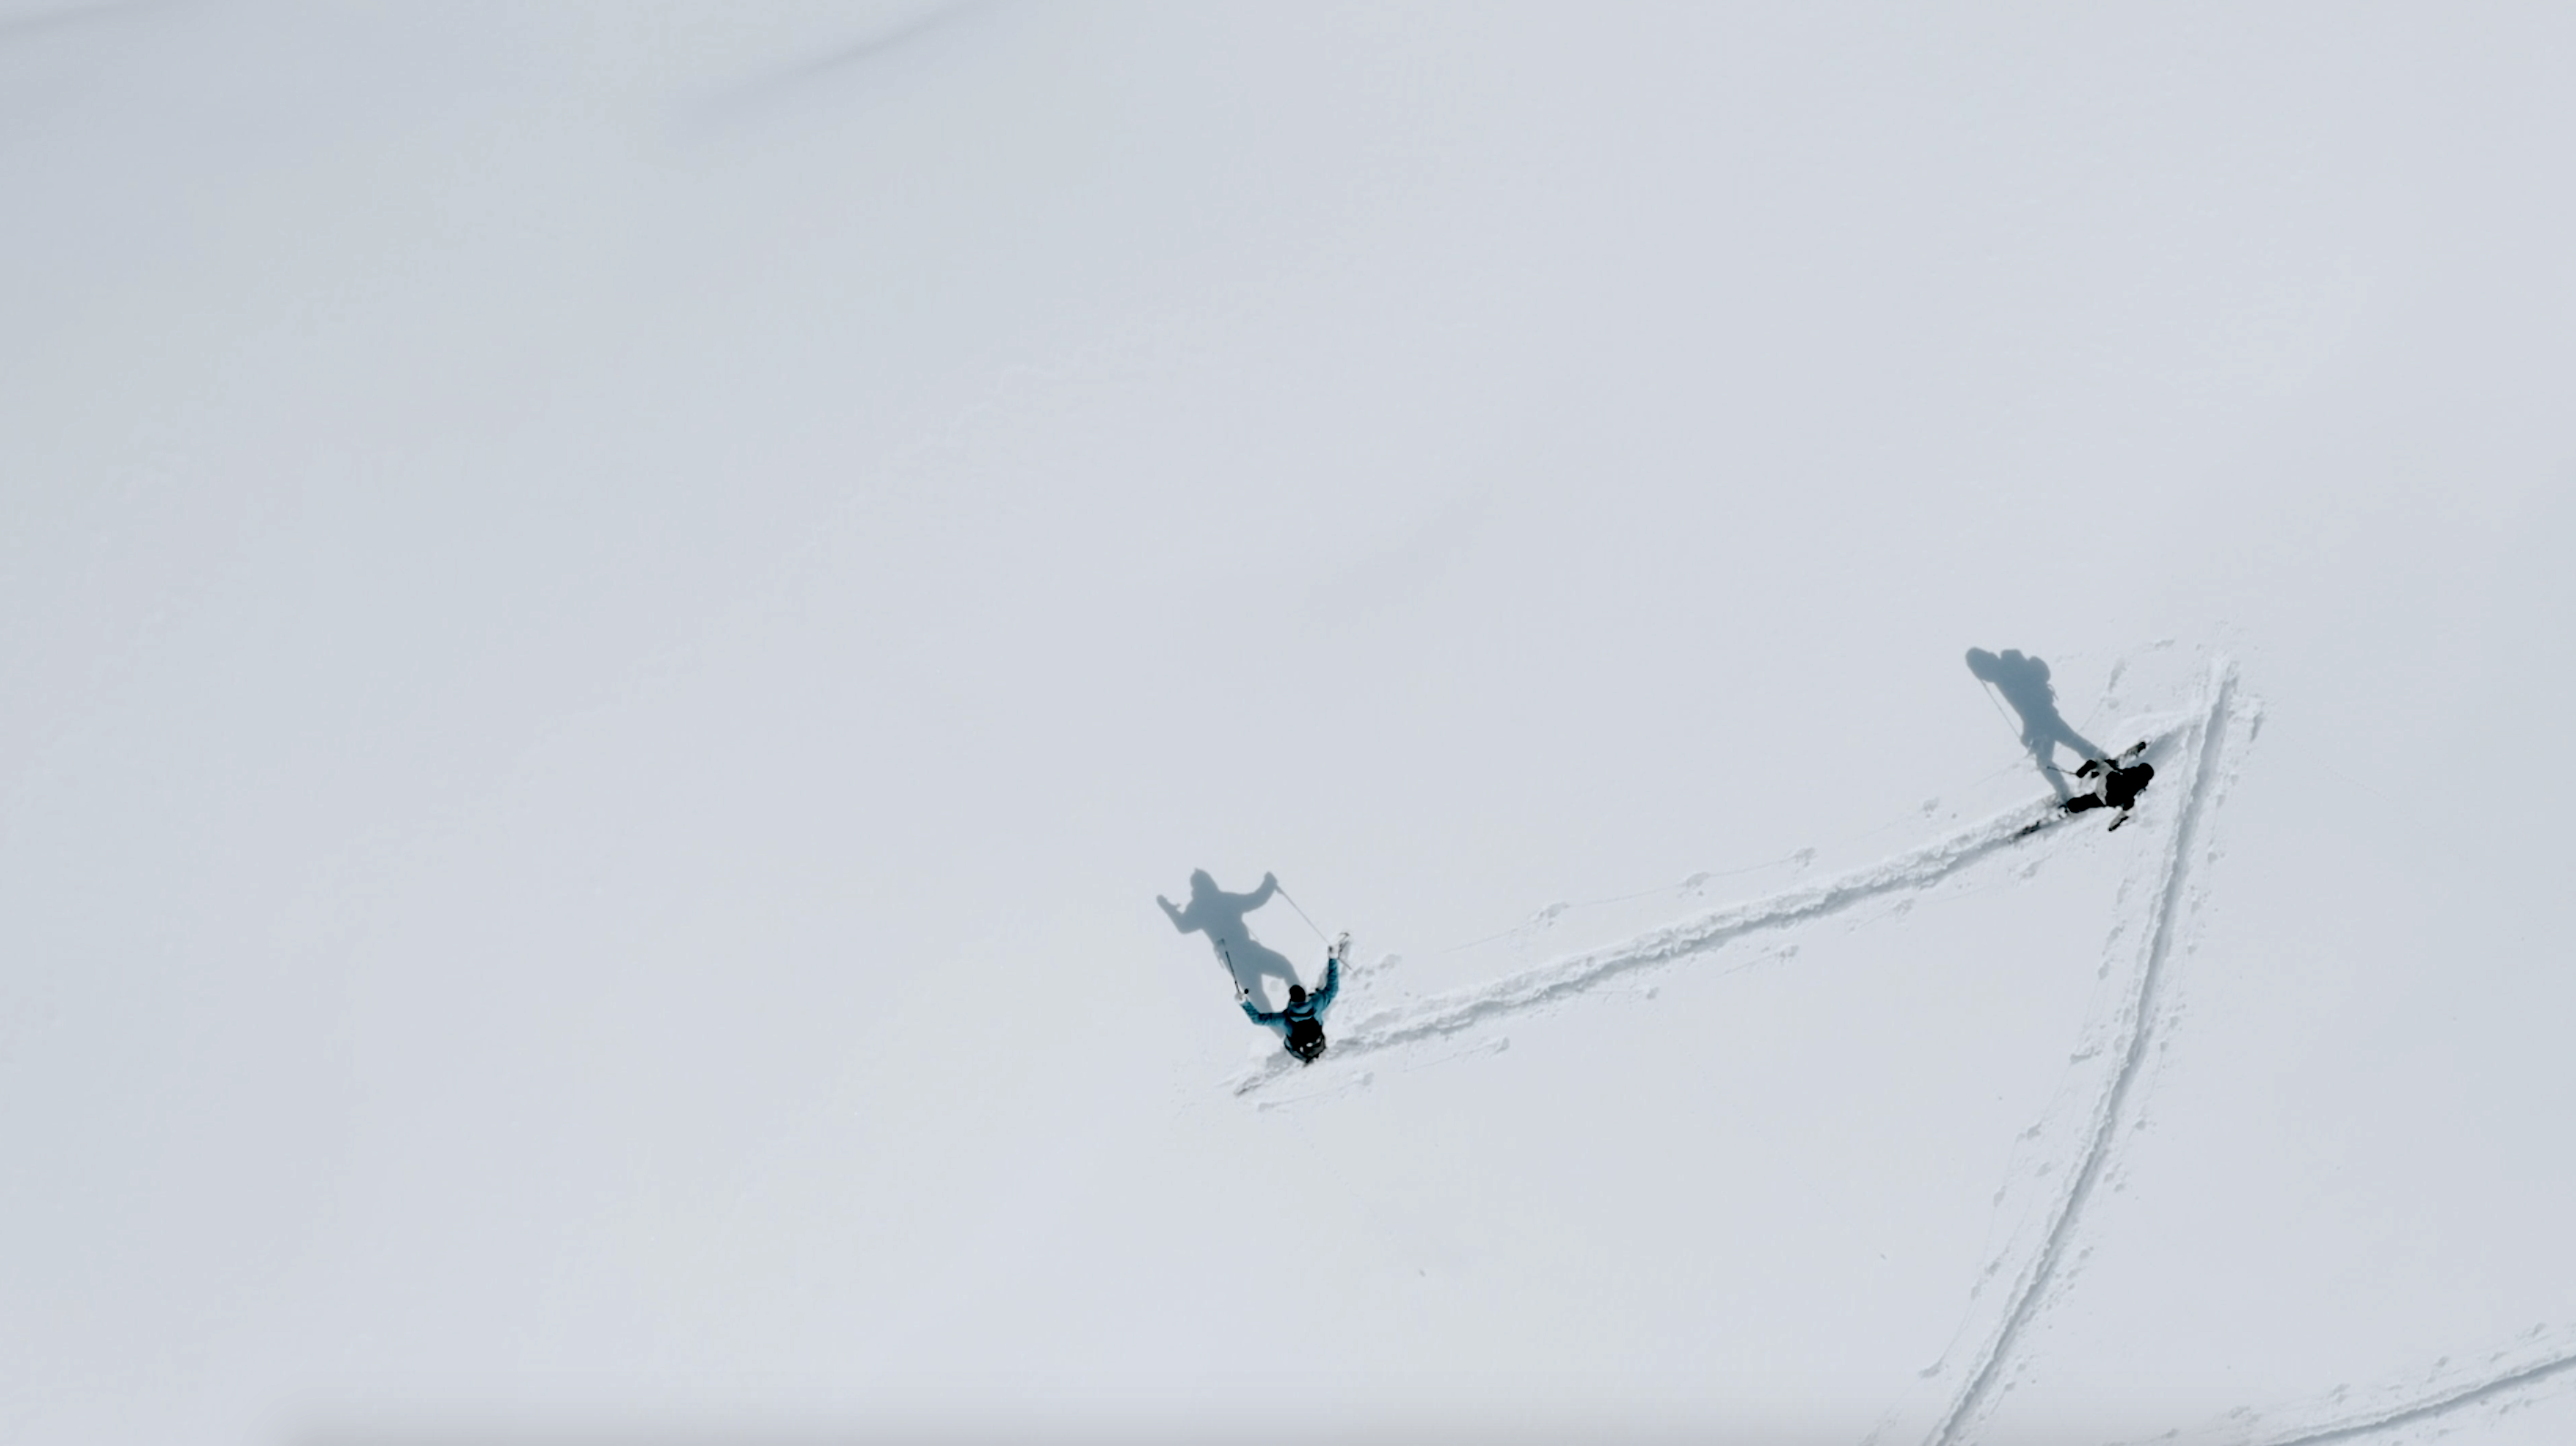
Traversing
If you thought a long, relentless traverse was bad when riding in solid mode, wait till you try it in split mode. There will, inevitably, come a time when you need to move across a slope in less than favourable conditions, where the slope angle and snow conditions will render the skins ineffective and require you to use your edges instead.
While it never feels good, it can feel better, with a couple of simple steps:
Angle your knees in towards the slope a little. This helps you place pressure directly under the edge of the skis.
Glide – don’t lift – the skis, so you are able to continuously feel the condition of the snowpack underneath you. You’ll be able to build up a better picture of where it’s going to provide the most grip and purchase.
Use your poles, but make sure most of the weight is still going through the skis. It’s quite easy to want to rely on the poles to act as a poor man’s ice axe and take the weight of your body. This almost always results in the skis sliding out from underneath you. Focus on planting the edge in and pushing your weight right across hrough the uphill side of your foot.
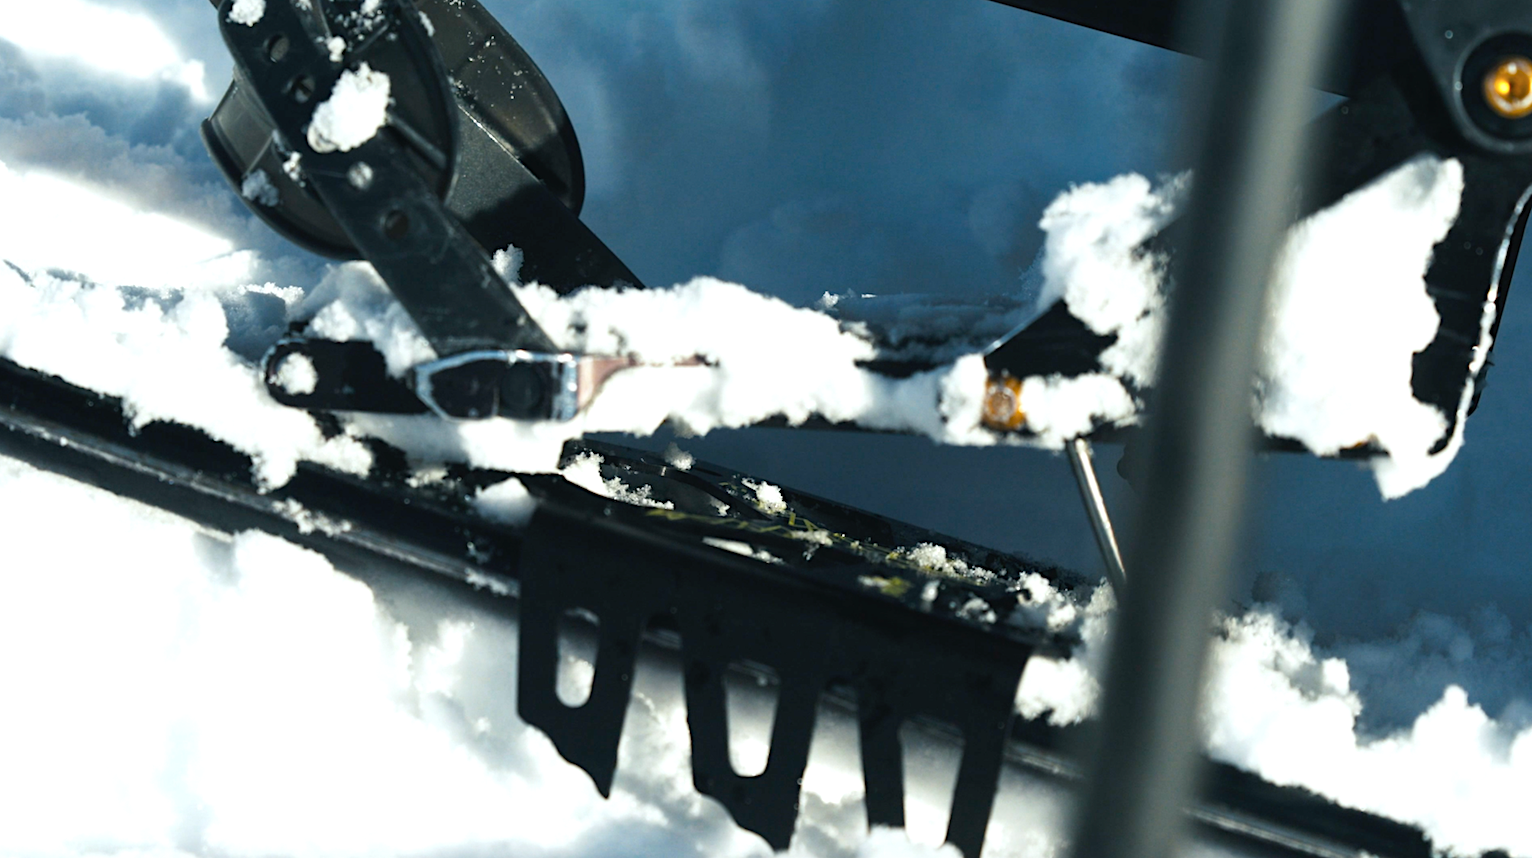
Crampons
Here’s your 4×4 solution to tackling tricky, icy ascents. While a pair of splitboard crampons aren’t an essential accessory for every splitboarder, they sure make life easier when the terrain ramps up a few degrees. Once attached, they limit how effectively the skin can glide. Though, if you’re using them in earnest, efficient gliding fast skinning probably won’t be high up on your agenda at that stage.
The most important thing to know when using crampons is exactly that – knowing when to use them! If you find yourself losing purchase and gingerly reaching into the pack to locate them out the bottom of your bag, you’re already too late. Clip them onto the hip belt of your backpack and affix them shortly before you hit the challenging terrain.
“The most important thing to know when using crampons is exactly that – knowing when to use them!”
4 Wheel Drive engaged!
Skiing
One of the weird quirks of splitboarding is that occasionally you’ll find yourself having to ski down something small. Relax, it’s 2020 – snowsports preference is a spectrum these days and everyone is cool with it
Even if you know how to ski already, it’s unlikely you’ve telemarked, so choose a line that isn’t too steep and flattens out at the bottom so that you can glide gracefully to a stop rather than having to brake. Keep you balance waaaay back as if you stop suddenly get your tips stuck you’ll faceplant immediately!
So that’s going along, up and even down on a splitboard. Start small, on mellow terrain, and master the techniques on low consequences parts of the trail.
Ride For Tomorrow
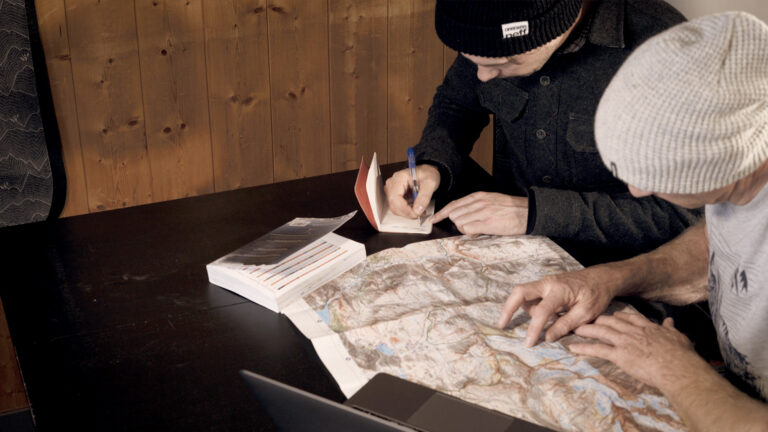
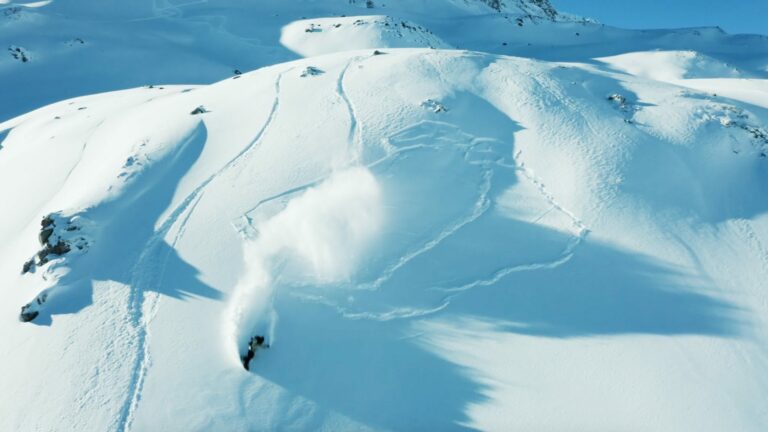
Ignorance is far from bliss when it comes to splitboarding in the backcountry. There are endless complexities and variables that can change over the course of a season, a day, or even in a matter of minutes with big consequences.
Building awareness and an ability to read the environment and snow conditions only comes with time in the mountains. It takes years of experience to acquire the knowledge required to safely venture off-piste. It is essential to go with a guide if there is insufficient experience in your group.
We use cookies on our website to give you the most relevant experience by remembering your preferences and repeat visits. By clicking “Accept All”, you consent to the use of ALL the cookies. However, you may visit "Cookie Settings" to provide a controlled consent.
This website uses cookies to improve your experience while you navigate through the website. Out of these, the cookies that are categorized as necessary are stored on your browser as they are essential for the working of basic functionalities of the website. We also use third-party cookies that help us analyze and understand how you use this website. These cookies will be stored in your browser only with your consent. You also have the option to opt-out of these cookies. But opting out of some of these cookies may affect your browsing experience.
Necessary cookies are absolutely essential for the website to function properly. These cookies ensure basic functionalities and security features of the website, anonymously.
Cookie
Duration
Description
cookielawinfo-checkbox-analytics
11 months
This cookie is set by GDPR Cookie Consent plugin. The cookie is used to store the user consent for the cookies in the category "Analytics".
cookielawinfo-checkbox-functional
11 months
The cookie is set by GDPR cookie consent to record the user consent for the cookies in the category "Functional".
cookielawinfo-checkbox-necessary
11 months
This cookie is set by GDPR Cookie Consent plugin. The cookies is used to store the user consent for the cookies in the category "Necessary".
cookielawinfo-checkbox-others
11 months
This cookie is set by GDPR Cookie Consent plugin. The cookie is used to store the user consent for the cookies in the category "Other.
cookielawinfo-checkbox-performance
11 months
This cookie is set by GDPR Cookie Consent plugin. The cookie is used to store the user consent for the cookies in the category "Performance".
viewed_cookie_policy
11 months
The cookie is set by the GDPR Cookie Consent plugin and is used to store whether or not user has consented to the use of cookies. It does not store any personal data.
Functional cookies help to perform certain functionalities like sharing the content of the website on social media platforms, collect feedbacks, and other third-party features.
Performance cookies are used to understand and analyze the key performance indexes of the website which helps in delivering a better user experience for the visitors.
Analytical cookies are used to understand how visitors interact with the website. These cookies help provide information on metrics the number of visitors, bounce rate, traffic source, etc.
Advertisement cookies are used to provide visitors with relevant ads and marketing campaigns. These cookies track visitors across websites and collect information to provide customized ads.