Regularly waxing your snowboard keeps it running fast, and extends its life too.
You will need:
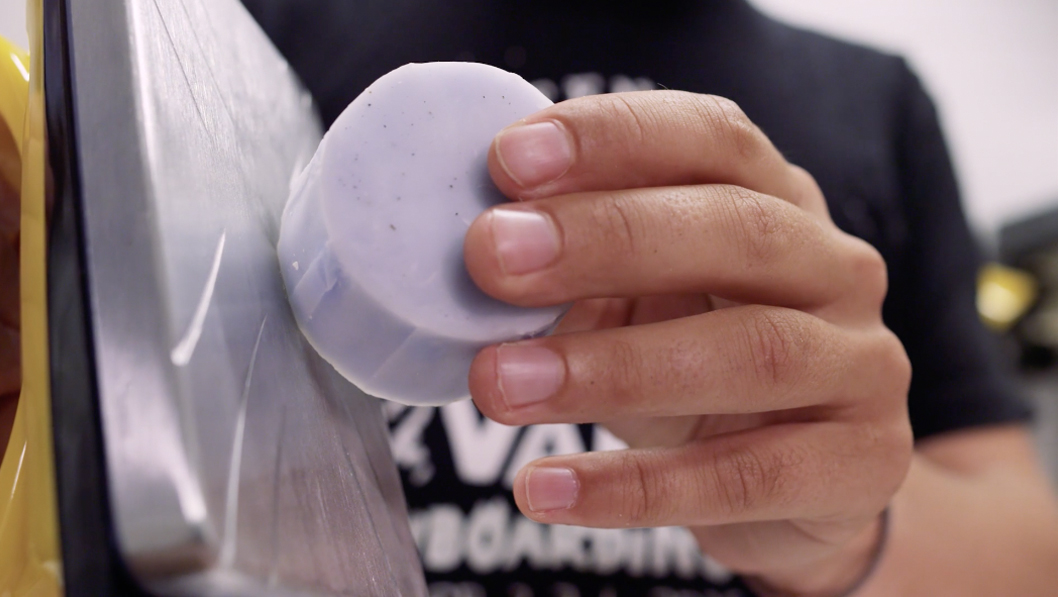
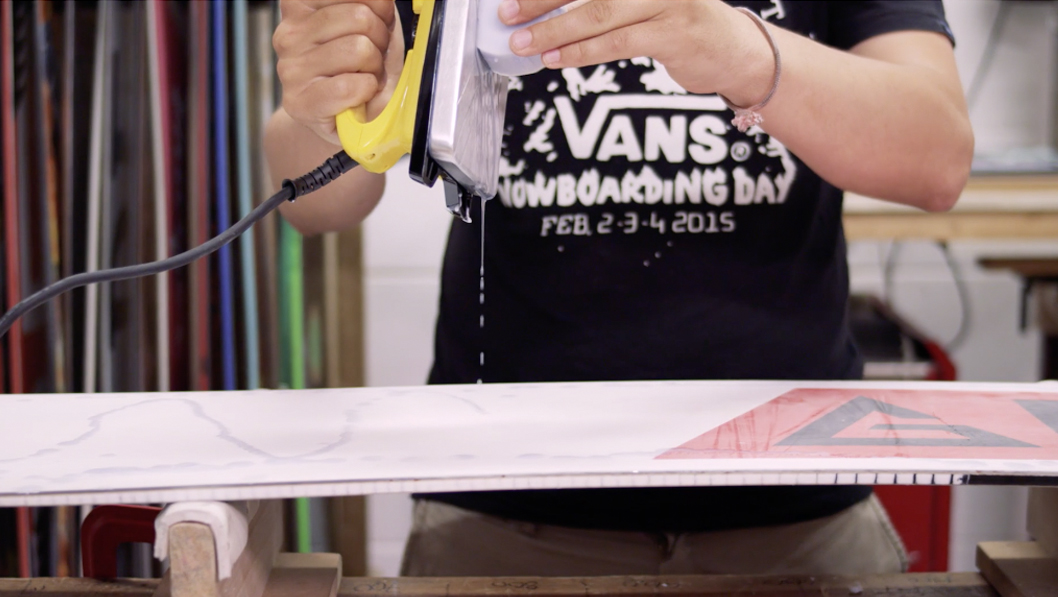
– Wax
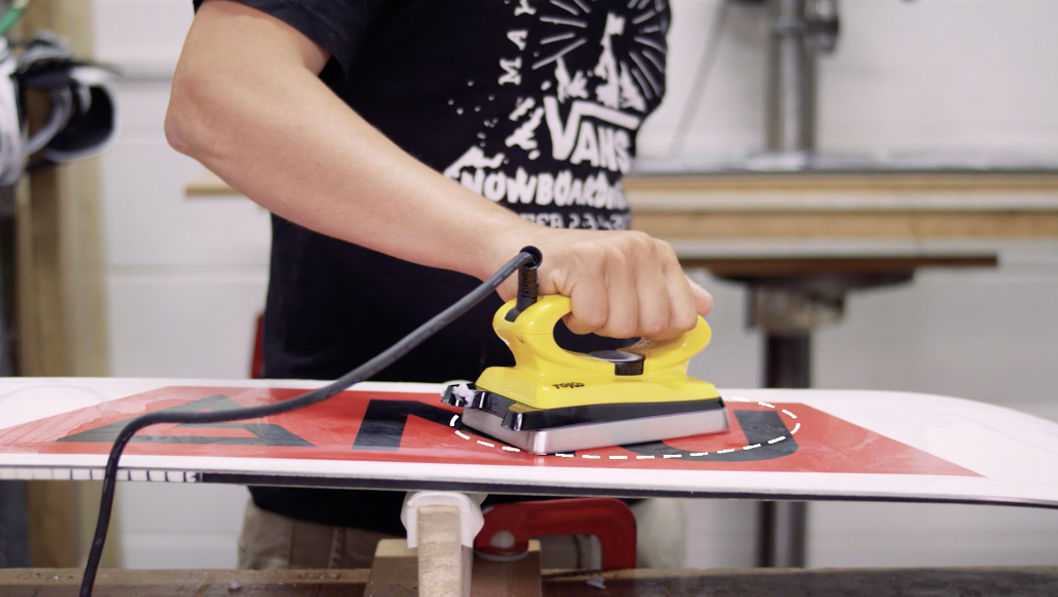
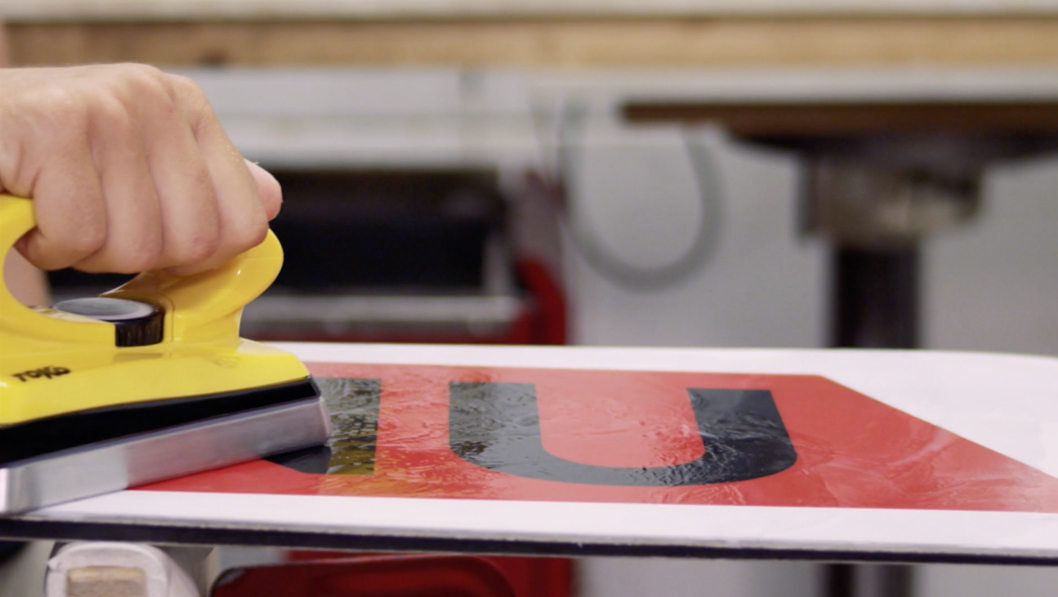
– An iron
– Base cleaner
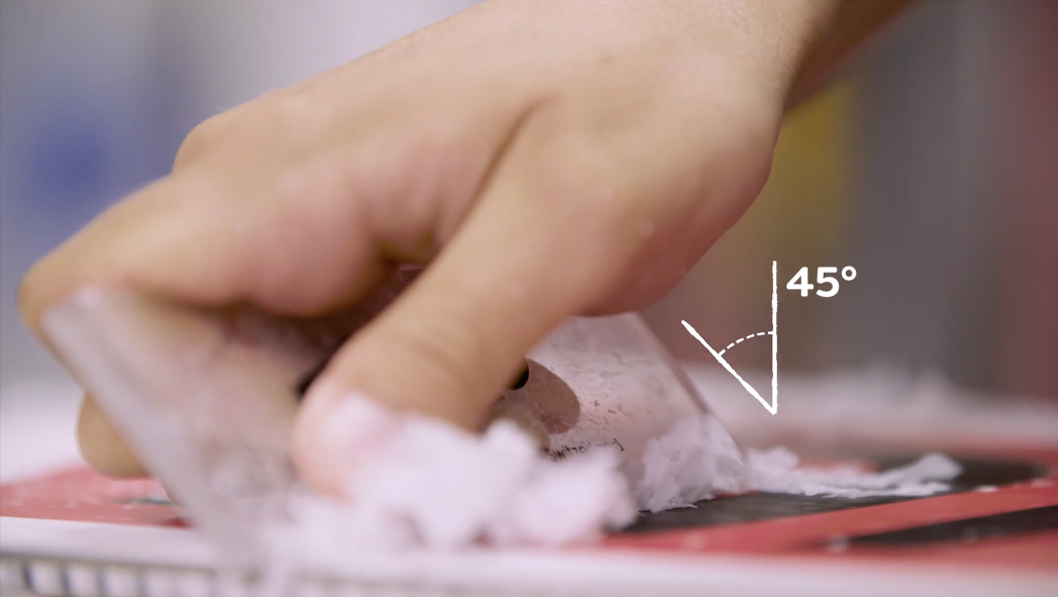
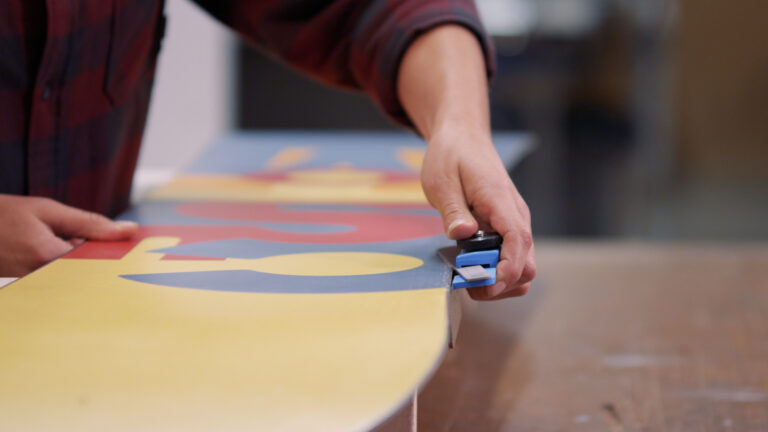
– A plastic scraper
– A scourer
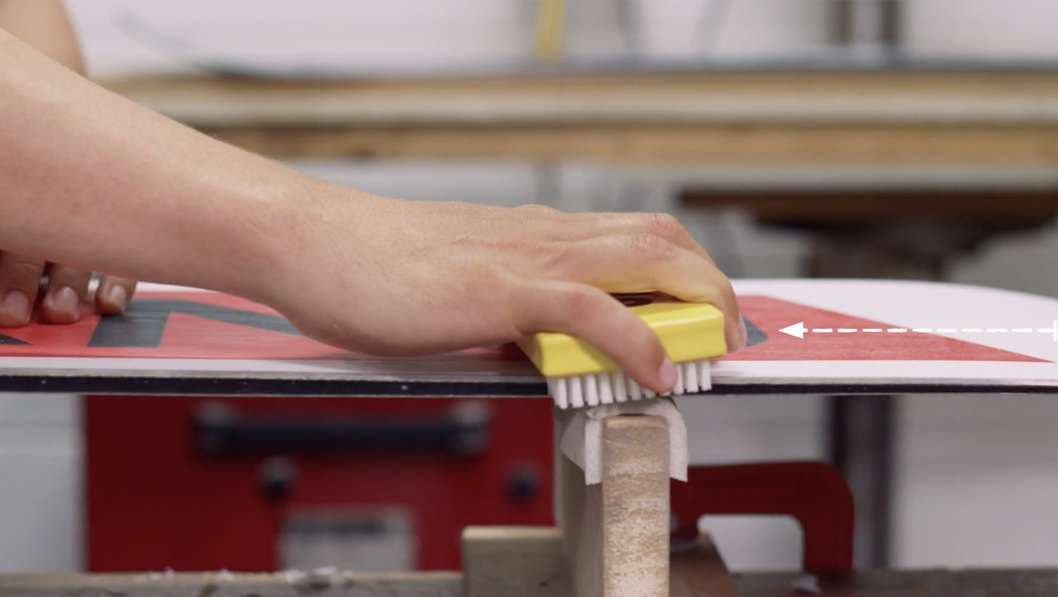
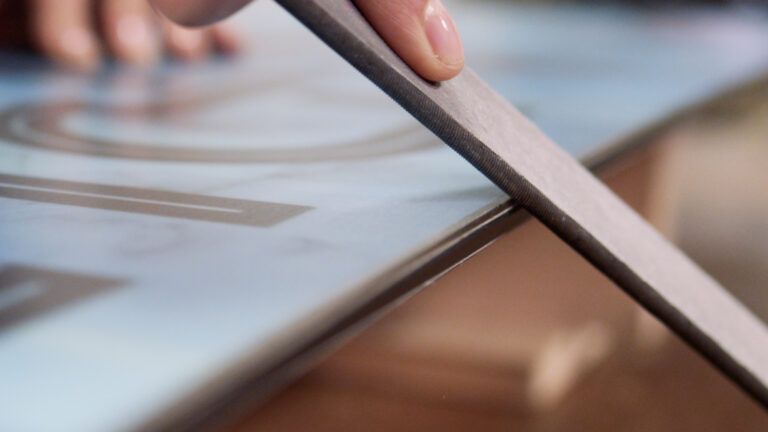
– A structuring brush
– A cloth for polishing
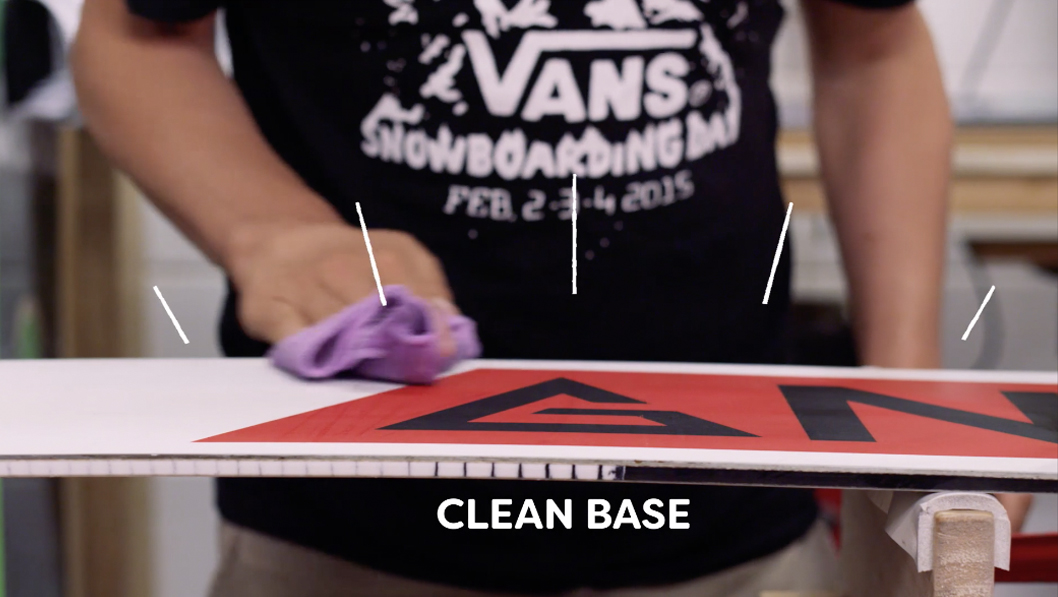
First, take the base cleaner and spray evenly across the base.
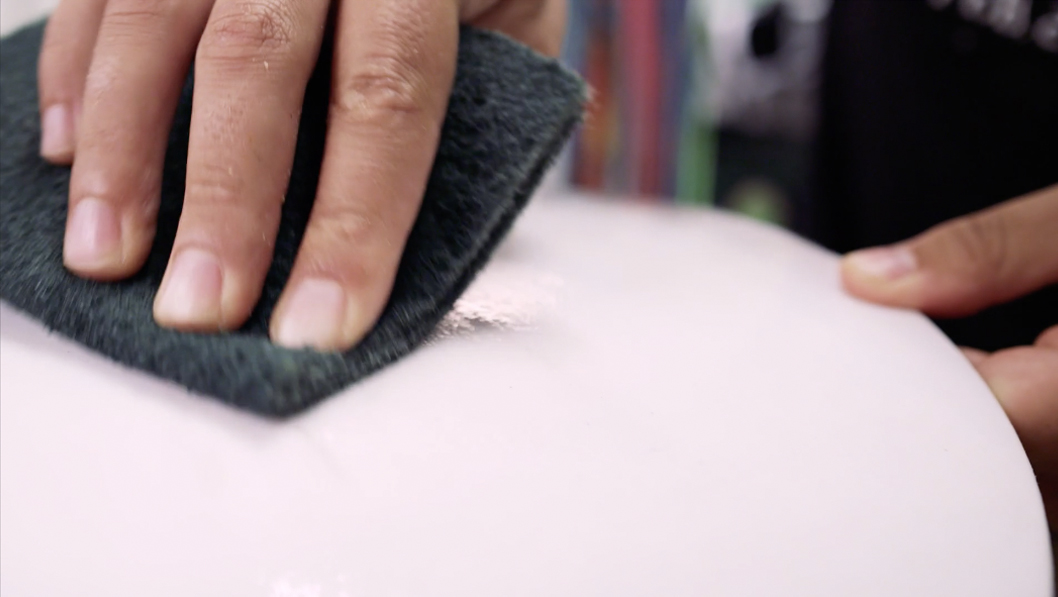
Scrub the base with your scourer, paying extra attention to any grimey areas. Apply more cleaner if you need.