Published in Whitelines Magazine Buyer's Guide Issue, Winter 2010-2011
Words: Andrew Duthie
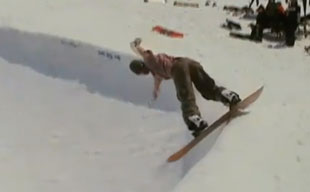
Variations of this favourite old-folks utterance are rife within the snowboard community. Those whose stick has snapped midway through its first season often complain about the manufacturer’s lack of workmanship, or just rant about modern “disposable culture” as a whole before sloping off for a Werther’s Original. In most cases, though, a board’s lifespan can be significantly extended with regular and thorough maintenance. For the cost of a waxing iron, scraper, edging tool and a handful of other items, you can expect to slash the number of times you need a buy a new ride. Follow these tips and your weapon of choice will live long enough in board years to qualify for a bus pass…

FIND A SENSEI
Like snowboarding itself, it’s helpful to see maintenance done right before you try it yourself. Head to your local dome or dryslope and look for an experienced rider with a well-kept board. More often than not, they’ll help you get started in exchange for a few beers. Alternatively, some board shops have been known to give demonstrations, although this is rare.
CHOOSE THE RIGHT SERVICE FOR YOU
Where and how you ride should influence how you service your board. Buy the right wax for the conditions you’re most likely to come across, and set your edging tool to the angle that best suits your riding. For hard carves on bulletproof piste, go for 90 degrees. If you’re more of a rail rider, or concerned about catching your edge, go for 87 or 88 degrees.
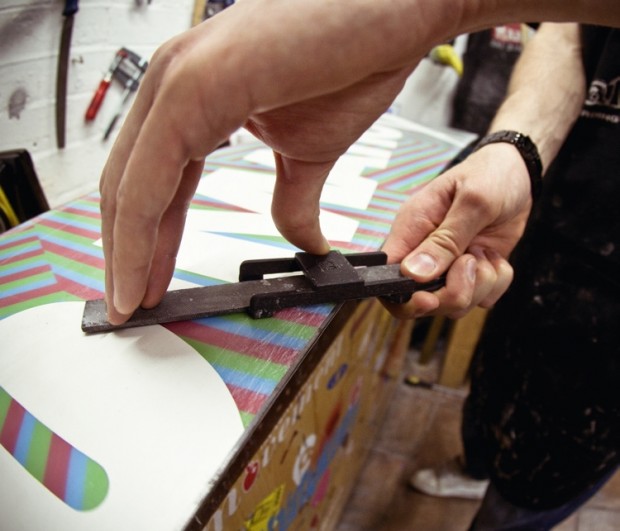
EVEN NEW BOARDS NEED A SERVICE
Most factory-tuned boards need to be ‘de-tuned’ at the nose and tail to avoid nasty edge catches. Take a file and rub from one end of the board to about 6 inches down on either side, at a 45-degree angle. Then do the same at the other end. It can’t hurt to wax it as well, especially if you have the right wax for the snow you’ll first be using it on.
TAKE YOUR TIME
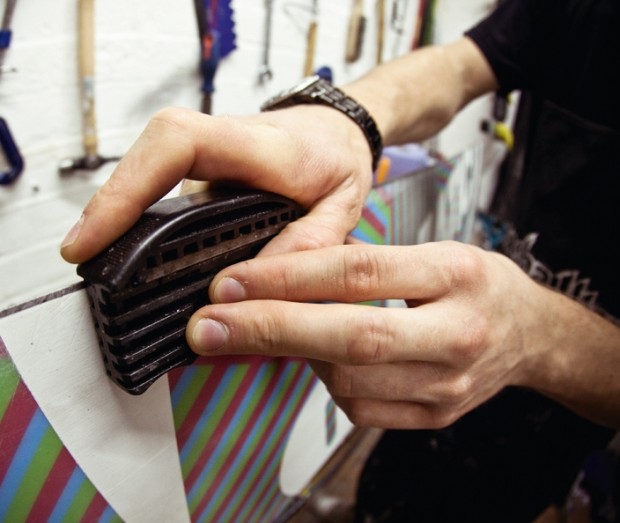
When dealing with the edges in particular, a slow and careful approach is key. Use a hard stone to smooth out any ‘burrs’ (small dings in the edge caused by rocks) before you start. Ensure your edging tool is held as flat to the base as possible, then run the tool along the entire length of the edge in a smooth, continuous motion from nose to tail. Repeat this process until the edge feel sharp to the touch.
PREPARATION IS KEY
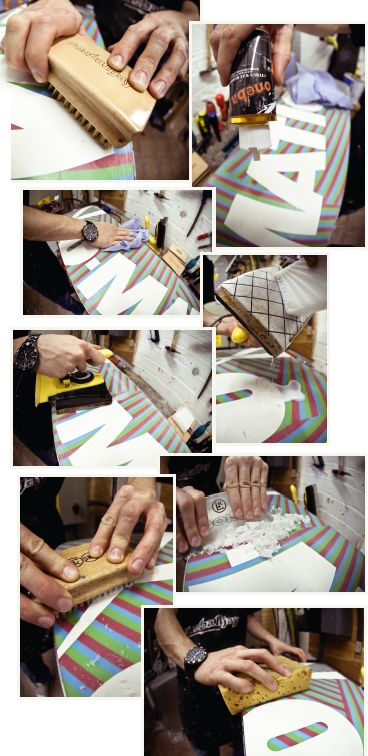
A wax-job works much better on a clean base, so rub a soft brass brush up and down your board to get all the old wax and dirt out of the base. Spray on some base cleaner and wipe down with a cloth, then leave to dry for 20 minutes.
PRACTICE MAKES PERFECT
The more you wax your board, the better you’ll get. You’ll also find it easier to judge how much wax to use. Begin by holding your block of wax against the iron and allow it to drip in lines across the base. Then use the iron to spread the wax drips evenly across the base, keeping their on moving all the time. Give it half an hour to cool, then grab a scraper and hold one side against the nose of your board, away from you at 45degrees to the base. Scrape all the way from tip to tail with smooth, even pressure, and continue until no more wax comes off. Be especially careful when using a metal scraper: it’s easier than you think to take a gouge out of the base if you’re over-zealous.
THE FINISHING TOUCH
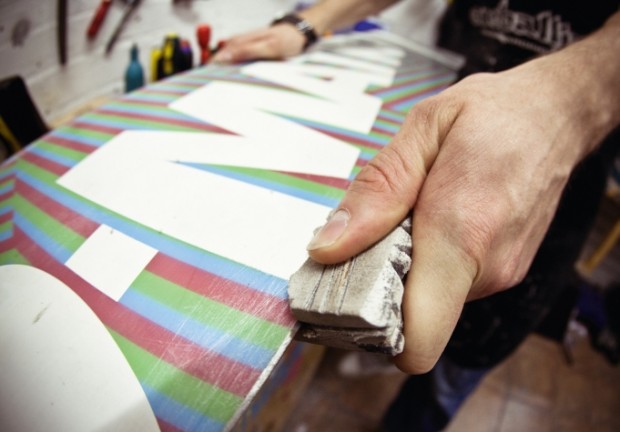
Once your board has been scraped, the base should feel smooth and even. However, to help your stick slide smoothly, you’ll need to break the surface tension that exists between base and snow by making small grooves in the new wax. Use a plastic structuring brush, or the rough side of a kitchen sponge, and with firm strokes rub it down from nose to tail.
KEEP IT UP
Be sure to check your board regularly and thoroughly. Every day you neglect a ding could lead to more water seeping into the wood of the board’s core. Before you know it your ride will feel mushy and unresponsive, and will be much more likely to snap. Technicians these days can do amazing things to revive a knackered stick but, when it comes to board repair, prevention is always better than cure.