Often confused with the frontside boardslide the backslide lipslide a.k.a. ‘back lip’ is arguably even more stylish. So what exactly is a lipslide? Well, it basically means your rear foot passes over the rail first, as opposed to a normal boardslide whereby you lead with your front foot. It’s called ‘backside’ because the rail is behind you when you take off. All this makes them a little harder to master, but trust us it is well worth the effort.
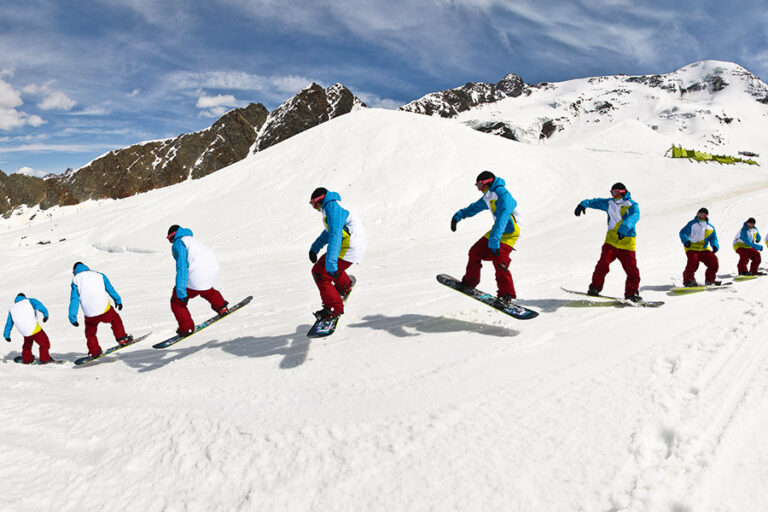
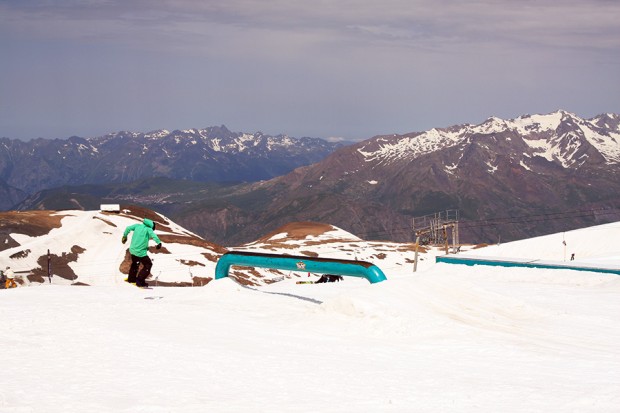
 1. Approach a flat base with the rail slightly to one side (left if you’re regular, right if you’re goofy). You’re aiming to have the rail behind your heel edge, parallel to the direction you’re going – much the same as if you were to do a simple BS Boardslide.
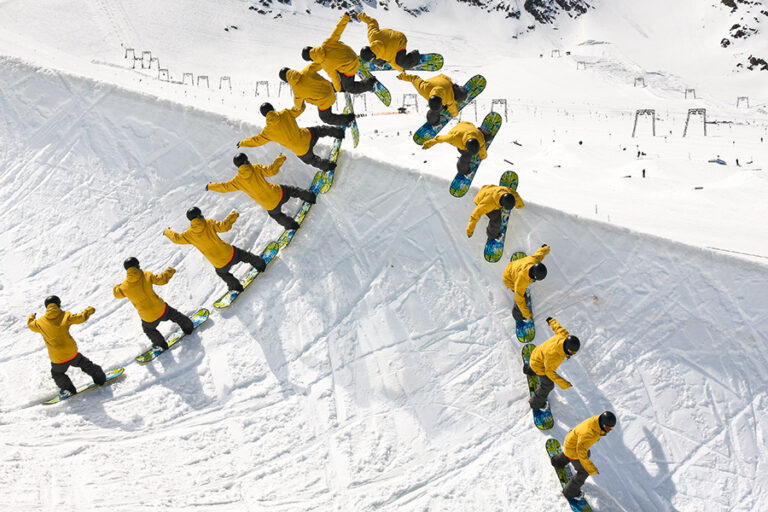
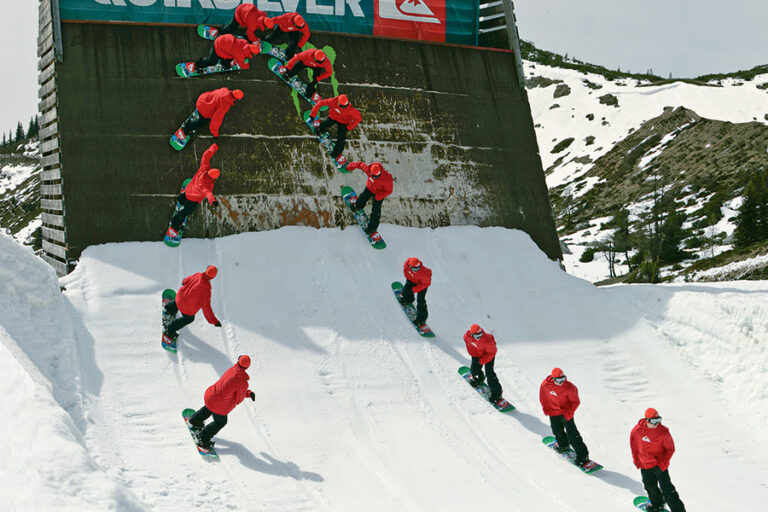
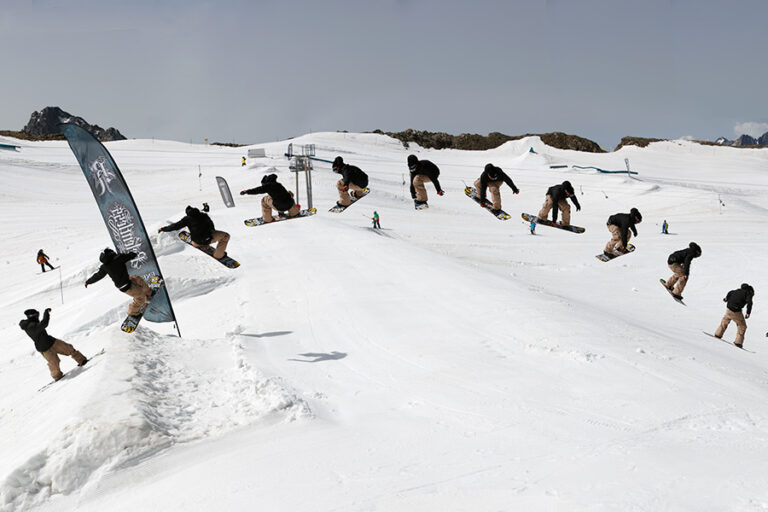
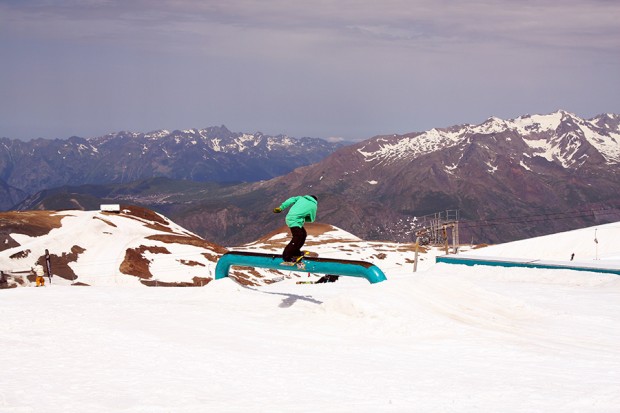
 2. Here comes the tricky bit: as you ollie off the kicker, you need to pass your rear foot over the rail. To make this happen, you’re going to have to twist your upper body a little awkwardly – it helps if you’ve practiced backside shifties (see page xxx). The key is to counter rotate your arms. At the same time, make sure you’re lifting the tail of your board well clear of the rail, otherwise you might clip it and eat shit.
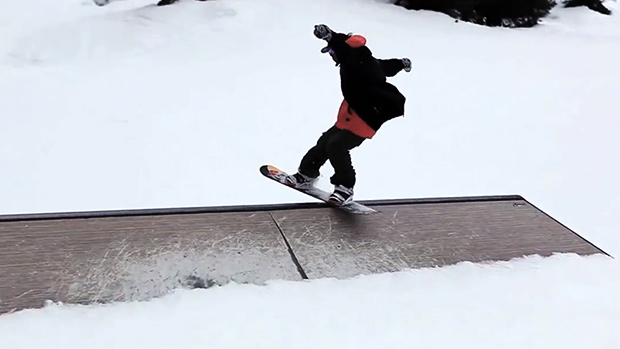
 3. As with all slides, you need to land with your body perfectly perpendicular to the steepness of the rail. If it’s flat you need to stand straight upright; if the rail is angled down a slope of ten degrees, then you’re going to have to angle yourself ten degrees forwards. Likewise, your board should land flat against the angle of the metal – if you put your toe edge in you’ll slip out onto your face.
 4. One more thing: you’ll need to land the board between the bindings, but with the rail slightly closer to your front foot to keep the balance right (because most people tend to lean more on their front foot when doing this trick).
 5. Try and land – or rather place – your board gently onto the rail. The smoother you can get on the rail the less likely any shock is going to kick you off.
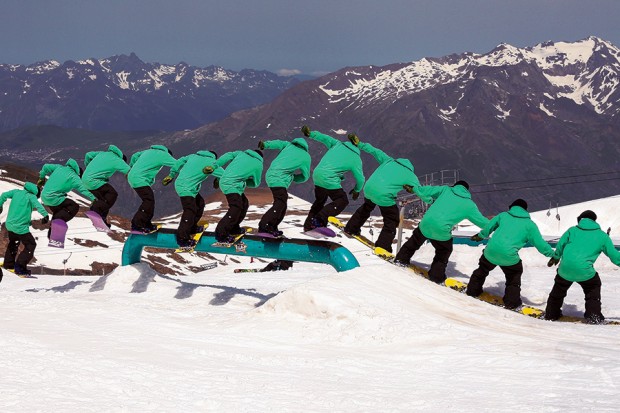
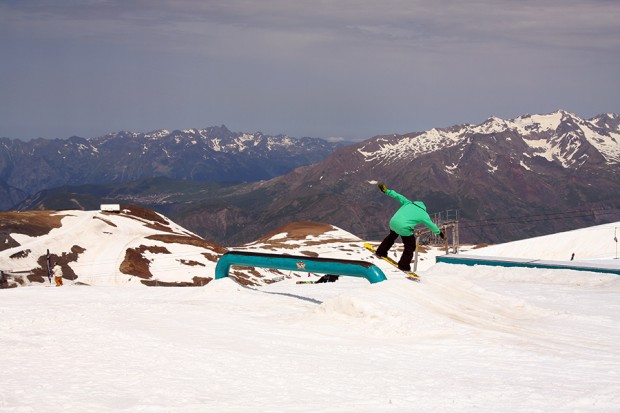
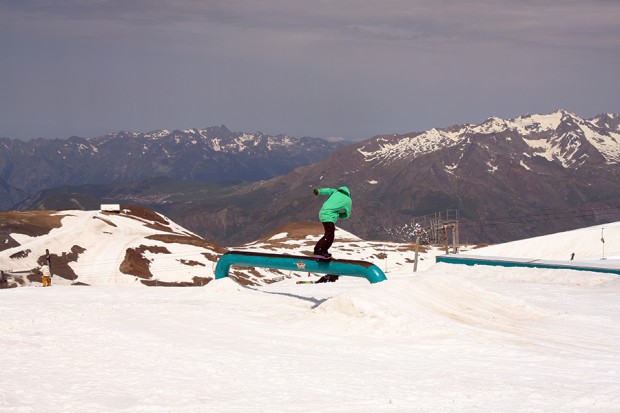
 6. Now you’re on the rail, and you’ve got into the right position, your board should be perfectly 90 degrees and your eyes should be focused on the end of the obstacle. Don’t do anything. Stay dead still. The more you can hold this position, the better it’ll look.
 7. At the end of the rail, if all has gone well, you simply wait for the board to go over the end (or pop off if you prefer), then unwind your upper body back to your normal riding position and your legs will do likewise.
 8. Extend your legs to meet the ground, and ride off feeling like a very accomplished snowboarder indeed.