There are no waymarkers in the backcountry, so how do you know where to go? Here’s a quick guide to picking your line off-piste…
From Whitelines Basics 2013…
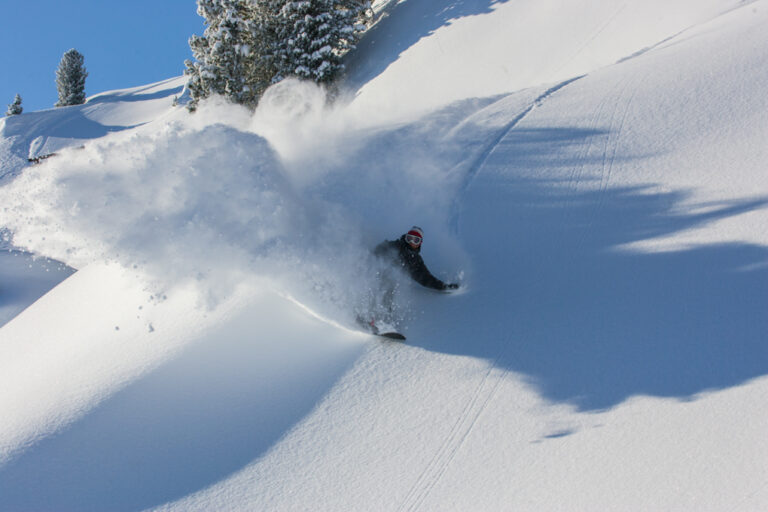
Riding down any face requires that you know where you're going, or else you're gonna get yourself into big trouble, real fast. Backcountry dangers include slopes that cliff-out (end in a cliff), glaciers, slopes that simply get way too steep, or the worst of the lot: slopes which head the wrong way or access horrific flat spots. Anyone who' trudged over a flat lake through waist deep snow will understand. So how do you pick a line and make it a good one?
1. Study your line.
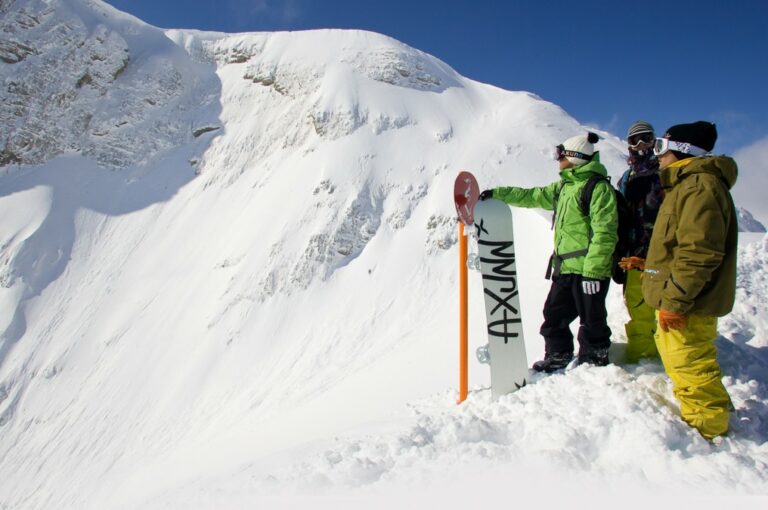
So you need to know the face you're about to ride down. Assuming you don't have a guide, the best way is to spec it on your way up. If you’ve got a camera or phone, take a picture for reference. But the best of speccing your route is to walk, (or skin) up the face, as you'll both note the features AND get to check out the snow conditions too.
2. Get creative with the terrain.
Before you take creativity to the backcountry, practice your creative snowboarding on the piste: see banks as waves to carve and slash, and the lips at the side of the piste as rails to slide. Rollers can be nollied off, or try skidding the tail out in a blunt slide before dropping down the other side. Look for natural kickers to launch off and try to keep everything flowing smoothly.
3. Take it to the big hill
Now you’re in the groove, it’s time to up the ante with some ‘on sight’ descents. Most of the big descents you see in the movies, although not previously ridden, have been studied and visualised thoroughly beforehand – Mr Jones has waited 10 years for the right conditions to tackle some faces. Ultimately, though, once you drop in on a line for the first time, you’re going to be making decisions and adjustments as you go. Things might look different as you ride towards them than you imagined. It’s ok though, just get creative (again!)
4. Spot features.
It takes practice to learn the skills to spot features quickly and know how to use them. Banks and windlips are like waves for the inner soul surfer – charge up them and slash and slide the top before cutting back in. Lips and rollers are for boosting off (so long as the landing is suitable); look for things you can hit from the side if possible, especially if it’s steep. You’ll almost always land facing straight down the hill, so be ready to hold some speed on the run-out!
5. Drops.
Drops feel great, but again the landing needs to be steep enough to realistically ride out, so you need to be 100% sure that the cliff you’re about to go off is the one you spotted on the way up. If this is the case, when you approach a drop you’ll not be able to see the landing, so even a small drop-off can seem like a massive leap into the abyss. Make sure you know the speed and line, and again, be ready to straight line out of there if things go wrong.
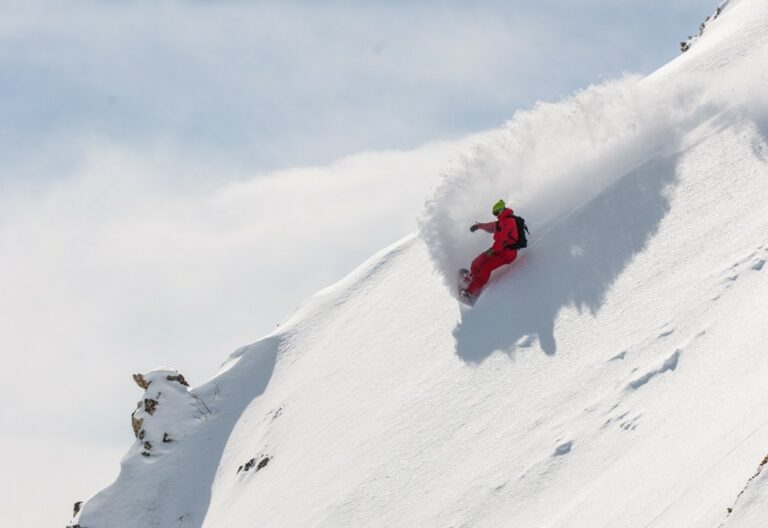
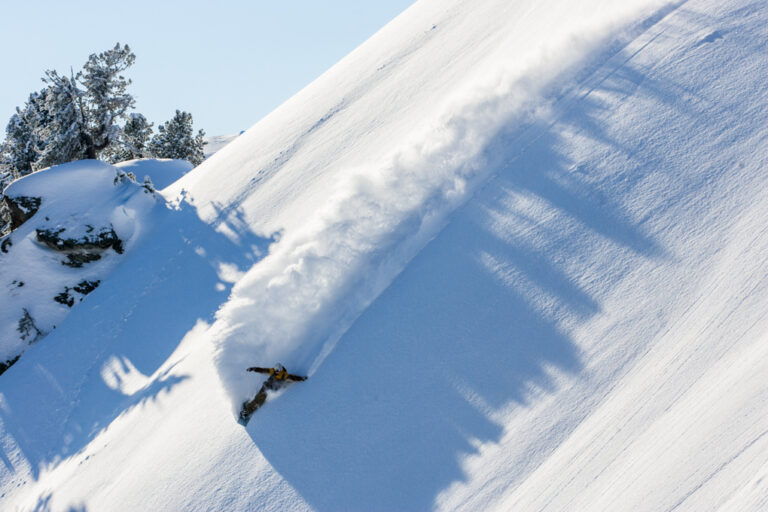
6. Slash EVERYTHING.
If it’s deep, try to power the tail into the snow and dynamically snap round the end of the turn, filling the air with snow like a pro. Then you can ‘enter the white room’ by cutting back through the white wave you’ve created and out into the sunlight the other side.
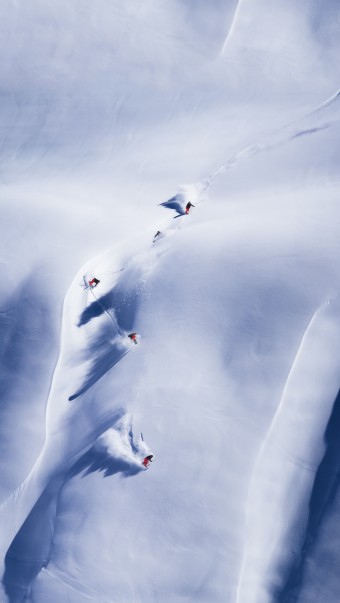
7. Have pointers and markers so you know where you are.
So how do you spot markers? Well cliffs are bad to uses as markers because you can see them from the bottom of the slope but not the top. Instead, use trees, rollers, chute entrances or anything that juts out of the snow (marmot trails, rabbit holes, avalanche debris, or the tell-tale tracks of where a snow boulder has tumbled down) basically anything that will allow you to calibrate your position.
8. Communicate well.
After that, use walkie talkies to communicate to your buddies, and get the lingo dialled: ‘skier's left' means ‘left if you're coming DOWN the slope'. The last thing you want is someone screaming confusing instructions at you while you're heading towards a crevasse .
9. Remember it’s not a contest, it’s about how much fun you’re having.
And how do you know how to find the best ‘route' down the hill. Well that's where imagination is required, but start with the easiest route, and look for things that you enjoy doing. There’s no more magic ingredient than that.
It takes practice to learn the skills to spot features quickly and know how to use them. Banks and windlips are like waves for the inner soul surfer – charge up them and slash and slide the top before cutting back in. Lips and rollers are for boosting off (so long as the landing is suitable); look for things you can hit from the side if possible, especially if it’s steep. You’ll almost always land facing straight down the hill, so be ready to hold some speed on the run-out!